Common Mistakes When Setting Up A Turntable And Speaker Setup That Is Easy To Live With
A practical step-by-step guide to common mistakes when setting up a turntable and speaker setup that is easy to live with, including preparation, instructions, common issues, tips, and next steps.
Common Mistakes When Setting Up A Turntable And Speaker Setup That Is Easy To Live With
Setting up a turntable and speakers involves more than just plugging in cables. Common mistakes—such as placing speakers on the same surface as the turntable, ignoring speaker placement, or using the wrong phono input—can cause vibration feedback, poor stereo imaging, and muddy sound. This guide walks you through the essential steps to create a turntable and speaker setup that is both sonically pleasing and easy to live with, covering equipment placement, connections, and everyday maintenance.
Fast Answer
- Place speakers on a separate surface from the turntable to avoid vibration feedback, and position them at ear level forming an equilateral triangle with your listening spot.
- Connect the turntable to the phono input on an amplifier or receiver, or use a separate phono preamp; never plug into a line input unless it has a built-in preamp.
Before You Start
- Read the manuals for your turntable and speakers to confirm connection options, such as built-in phono preamp, Bluetooth, or wired only.
- Choose a stable, level surface for the turntable, away from vibrating appliances and with at least 2 feet of clearance from walls and corners.
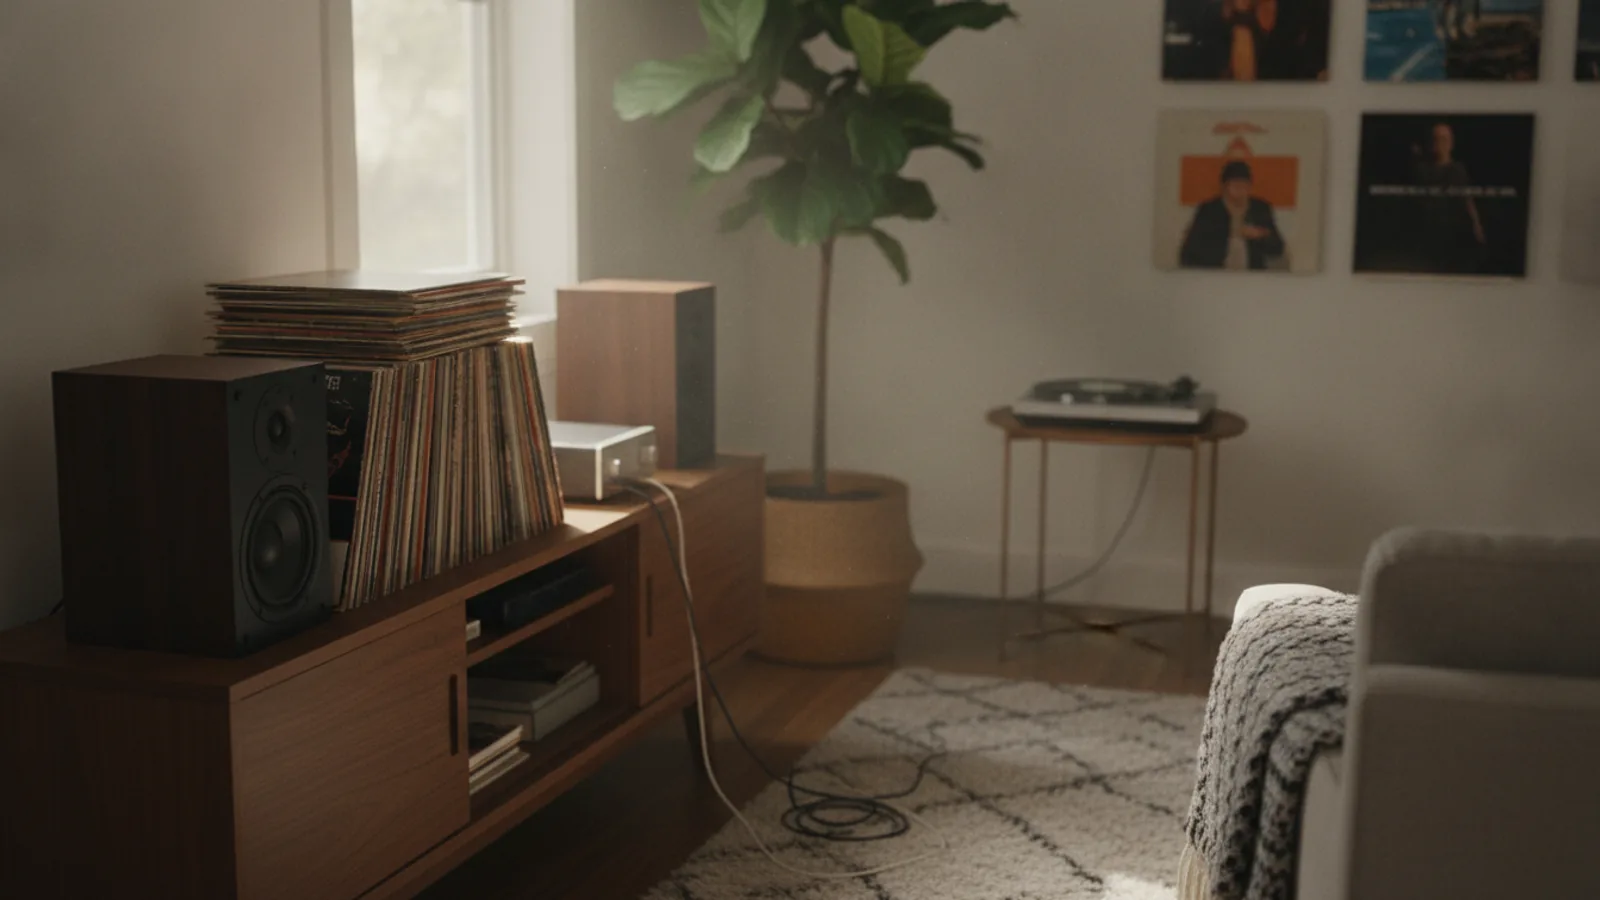
- Decide on speaker placement: consider placing them on dedicated stands or wall mounts at ear height, or on heavy bookshelves that are not attached to the turntable.
- Gather necessary cables: RCA cables for phono connection, speaker wire for passive speakers, or interconnects for active speakers, and ensure they are long enough to route without stress.
Step-by-Step Instructions
Position the Turntable on a Stable, Level Surface
Place the turntable on a solid, level surface that is completely independent from the speakers. A sturdy wooden or metal rack works well, but avoid flimsy shelves or any surface that you can easily wobble. Use a spirit level to check in both directions; if it is not level, adjust the feet or use thin shims under the base. A level platter is essential for even tracking across the record groove, reducing channel imbalance and wear on the stylus and your records. When choosing a location, keep it at least 2 feet away from large speakers or subwoofers, and avoid proximity to wall-mounted speakers that can resonate through walls or floors. The surface should also be in a low-traffic area to prevent accidental knocks, and away from heating vents or radiators that could cause records to warp.
Set Up Speakers at Ear Height and Equal Distance
Place the speakers so that the tweeters are at ear level when you are sitting in your normal listening position. If you have floor-standing speakers, this is often already the case; for bookshelf speakers, use dedicated stands or wall mounts. Each speaker should be the same distance from your listening spot, and the distance between the speakers should be roughly equal to the distance from each speaker to your ears, forming an equilateral triangle. This placement creates a well-defined stereo image with a stable center. Toe the speakers in slightly toward your listening position, about 15 to 20 degrees, if they are more than 8 feet apart. This aligns the high frequencies, which are directional, toward your ears. Avoid placing speakers flush against walls or in corners, as this causes bass to boom and muddy the midrange. Use speaker isolation pads or spikes to decouple them from the floor if they are on stands.
Connect the Turntable to the Correct Input
Check the back of your turntable for a built-in phono preamp switch. If it is set to 'LINE' or 'PHONO', you can connect it to a line input on your amplifier or receiver. If you use a turntable without a built-in preamp, you must connect it to a dedicated phono input on your amplifier, or to a separate phono preamp plugged into a line input. The grounding wire is usually a thin wire with a spade connector; attach it to the grounding post on the amplifier or preamp. Incorrect grounding causes a low hum. When connecting RCA cables, ensure they are fully inserted and that the left and right channels are not swapped. For turntables with a moveable magnetic cartridge, the cables are typically interchangeable, but for moving coil cartridges, the manufacturer's instructions are critical. After connecting, set the amplifier input to 'PHONO' or the corresponding line input, and start with the volume low to avoid a loud burst.
Set the Tonearm Balance and Tracking Force
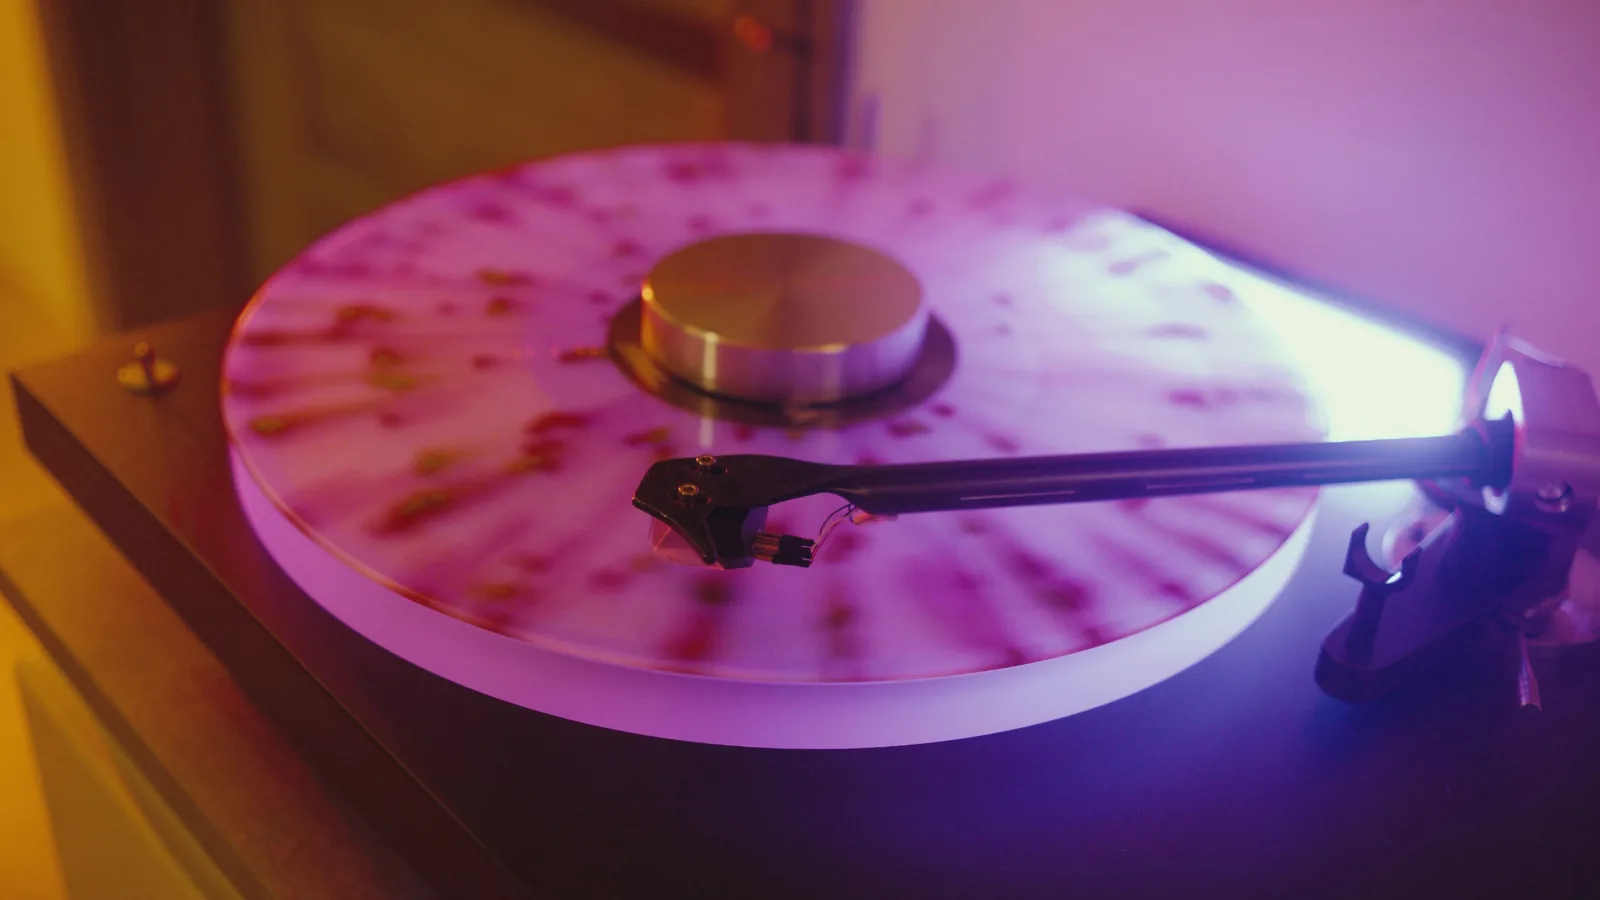
Before playing records, you must set the tonearm's tracking force and anti-skate. Start by setting the counterweight to zero, then balance the tonearm so it floats horizontally. After balancing, turn the counterweight dial to the recommended tracking force that is printed on the cartridge body, often between 1.5 and 2.5 grams. Set the anti-skate dial to the same value as the tracking force. Apply the cueing lever to lower the stylus onto a record and listen for distortion, sibilance, or skipping. If you hear sibilance, increase the tracking force by 0.1 gram; if the stylus tends to skip, also increase it. If the bass is bloated or the stylus bounces, decrease it. A proper balance ensures that the stylus follows the groove faithfully, reducing record wear and preserving high-frequency detail.
Check the Phono Preamp and Volume Settings
After connecting everything, power on the amplifier and select the correct input. Turn the volume down, then start a record and gradually raise the volume to your preferred listening level. Listen for a constant hum which indicates grounding issues; if you hear it, re-check the ground wire. Also, listen for distortion at low or moderate volumes, which may indicate that the turntable is set to 'LINE' but connected to a phono input, or vice versa. If you hear no sound, verify that the phono preamp is powered and not muted. For turntables with no preamp, the volume should be comparable to other sources like a CD player; if it is too quiet, the phono preamp may be bypassed incorrectly. Set the volume to a comfortable level and make sure it is not so high that the amplifier goes into clipping, which sounds harsh and can damage speakers.
Optimize for Daily Use and Flexibility
To make the setup easy to live with, consider how you will use it daily. Place the turntable in a spot that is easy to access for cleaning and changing records, but also keeps it safe from dust and accidental bumps. If you have active speakers, make sure their volume and input controls are within reach, and if they have a sleep mode, know how to wake them quickly. If you switch between speakers and headphones, keep a headphone amplifier or a switch box handy, and label the controls so you don't forget. For wireless streaming from your phone, check that your receiver or speakers have the right input or that you have the correct adapter. Also, ensure that all cables are organized and secured so they don't get tangled or pulled when you clean or adjust. Finally, keep a record cleaning brush near the turntable, because dust accumulation can cause skips and a loss of clarity.
Quick Reference
| Situation | Action | Why it helps |
|---|---|---|
| You hear a low hum or buzz when the platter spins or when the stylus touches the groove. | Check the ground wire connection from the turntable to the amplifier or phono preamp. Make sure the spade is fully inserted and that the wire is not frayed. If the hum persists, try a different input and unplug other devices to rule out interference. | The ground wire prevents an electrical potential difference between the turntable chassis and the amplifier, which manifests as 50 or 60 Hz hum. |
| The sound is distorted or seems to lack highs, and you have a built-in phono preamp. | Verify that the turntable's phono/line switch is set correctly: if you are using a phono input, it should be in 'PHONO' position; for a line input, set it to 'LINE'. Then re-adjust the tracking force to the recommended value. | Incorrect input impedance or excessive tracking force causes distortion and dulls the highs, so your cartridge must see the right load and force to trace the groove accurately. |
| The speakers are in different areas of the room and you feel the sound is uneven or one side is louder. | Measure the distance from the tweeter of each speaker to your ears and adjust the speaker placement so they are exactly equal. Use a tape measure and check the height, then angle the speakers inward so they point at your head. | For a stable stereo image, both speakers need to have equal sound travel time to your ears; any difference causes time-of-arrival errors that shift the perceived center. |
Common Issues
- Speakers are placed on the same piece of furniture as the turntable, causing vibration feedback.: Move the speakers to dedicated stands or wall mounts, or place them on heavy, non-resonant platforms that are not connected to the turntable's surface. Use isolation foam or pads under the speakers to decouple them from the floor.
- The turntable is connected to a line input without a phono preamp, resulting in very quiet and thin sound.: Connect the turntable to a phono input if available, or add an external phono preamp. Ensure the preamp's output is connected to a line input on the amplifier, and that the preamp is powered and switched on.
- Stylus repeatedly skips on new records, especially during loud passages.: Increase the tracking force slightly as per the cartridge's maximum, and adjust anti-skate accordingly. Make sure the turntable is level, and that the tonearm is not being influenced by dust or static. If the issue persists, check the cartridge alignment.
Advanced Tips
- Place a heavy-duty turntable isolation platform under the turntable to reduce the impact of footfalls, but avoid soft foam that might bounce; the goal is to decouple without introducing resonance.
- For small rooms, using nearfield monitoring or small bookshelf speakers with the ability to adjust bass via room DSP can help integrate the speakers without overwhelming the space.
- Consider a phono preamp with adjustable capacitance and resistance settings to fine-tune the sound to match your cartridge's loading needs.
Final Checklist
- Turntable is level and placed on a surface independent from the speakers and away from wall-mounted speakers.
- Speakers are at ear height and equidistant from your listening spot, forming an equilateral triangle with toe-in.
- Turntable is connected to the phono input or a dedicated phono preamp, with the ground wire attached.
- Tracking force and anti-skate are set to the cartridge's recommended values, and a test track plays without distortion.
FAQ
How can I keep my turntable and speakers setup child- or pet-safe?
Place the turntable on a high shelf or wall-mounted table that is out of reaching range, and protect the speakers with grilles. Use speaker stands that have a small footprint and a heavy base to prevent tipping. You can also secure cables with cord clips or guides to minimize tripping hazards.
Do I need to set the same volume for every record I play?
No, different records are mastered at different levels, so you may need to adjust the volume. However, note the volume position that gives a comfortable level for the majority of your records, and use that as a baseline. Always return to that position after adjusting to prevent sudden volume spikes.
What is the best way to test for correct speaker placement?
Play a track with a centered vocalist and walk around the room. The sound should appear to come from a point between the speakers, with the vocalist staying anchored even as you move slightly. Also, check that bass is not boomy and that cymbals and hi-hats have air and distinction.