How To Plan A Compact Desk Audio Setup For Music And Calls
A practical step-by-step guide to how to plan a compact desk audio setup for music and calls, including preparation, instructions, common issues, tips, and next steps.
How To Plan A Compact Desk Audio Setup For Music And Calls
This guide teaches you how to plan a compact desk audio setup for both music listening and voice calls. It covers essential components, arrangement, and adjustments to ensure clear sound and reliable communication, with practical tips for small spaces.
Fast Answer
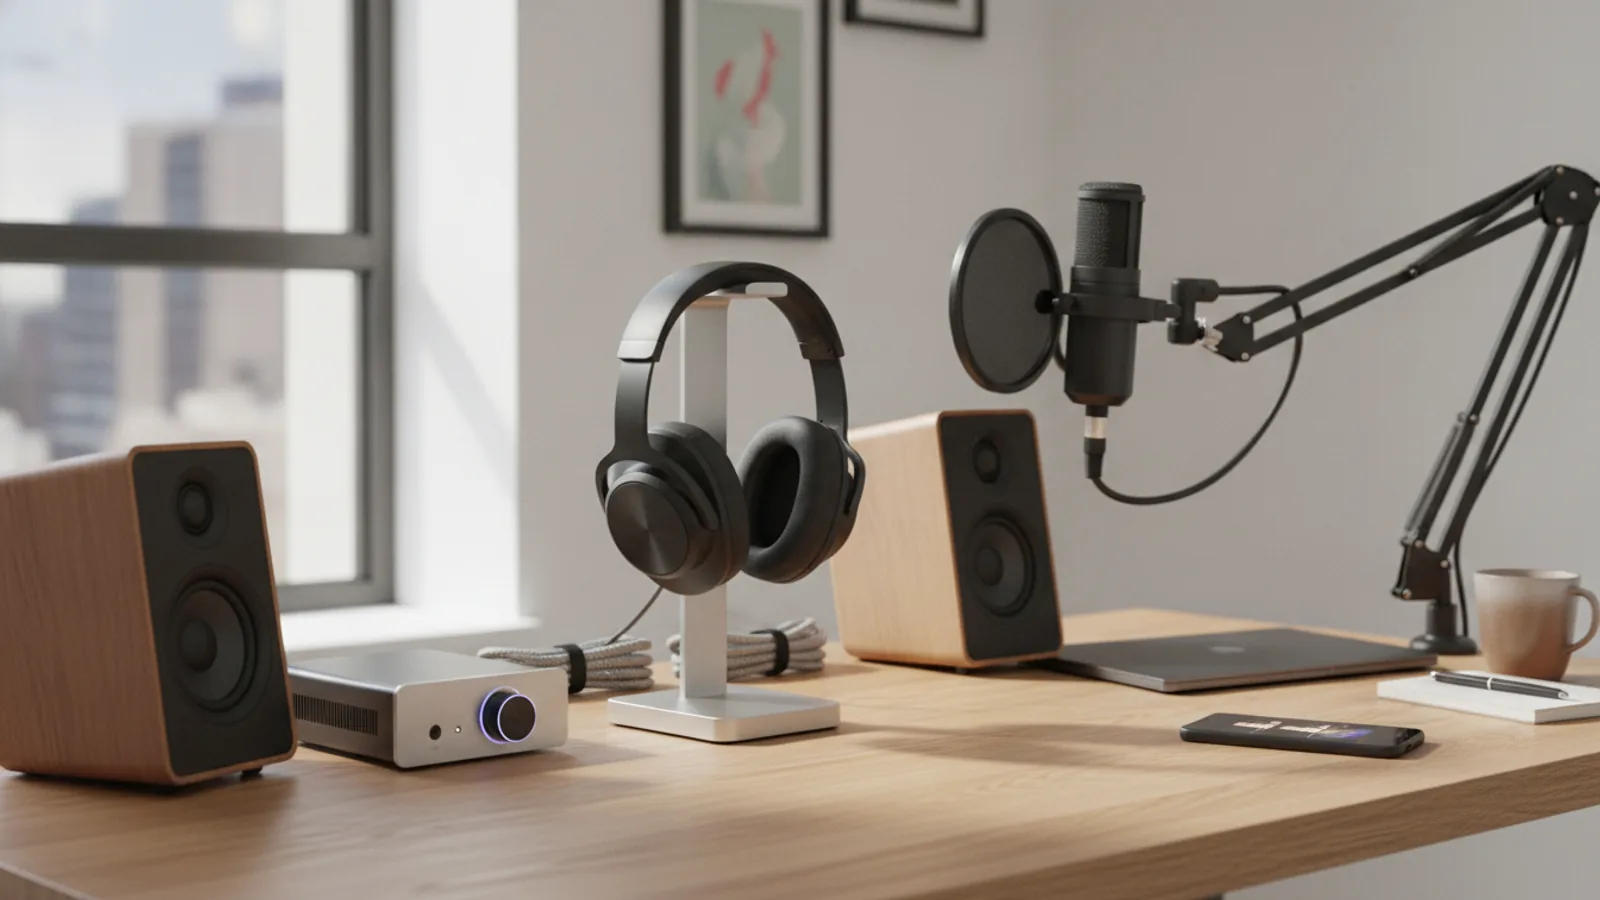
- Start by measuring your desk space and choosing a simple setup: a pair of compact speakers, a USB microphone, and a headphone amp with headphones.
- Position speakers at ear level, place the microphone near your mouth, and set up a headphone amp for private listening.
Before You Start
- Measure your desk area to know the maximum footprint for your speakers, microphone, and other gear.
- Decide on a budget range for each component, focusing on quality within your means.
- Check your computer's audio outputs: does it have a headphone jack, USB ports, or optical output?
- Consider the acoustics of your room: is it echoey or quiet? This affects speaker and microphone choices.
Step-by-Step Instructions
Define Your Needs and Limitations
Before purchasing anything, clarify what matters most: is high-fidelity music playback your priority, or are crystal-clear calls at work more important? Your answer determines where to spend your money. Also, measure your desk's usable width, depth, and any shelves or monitor stands that might interfere. Write down these numbers. Decide on a maximum budget that includes all components, but avoid overcommitting before you research. A practical check is to list the three most common tasks: listening to music, taking video calls, and occasional gaming. For each task, note the environment: is it a quiet room, or do you have background noise? This step matters because it prevents you from overspending on features you do not need, like multi-room streaming if you only use the setup at one desk. By defining constraints, you narrow down options and avoid frustration later.
Select the Core Audio Components
Choose powered speakers that can connect to your computer without extra hardware, such as models with USB or Bluetooth input. For calls, add a separate microphone, because built-in laptop mics often pick up keyboard noise. Consider a dynamic USB microphone, which rejects background sound better than condenser models. If you often work late or share space, get a good pair of closed-back headphones and a headphone amplifier that connects to your computer via USB. A practical check is to compare the frequency response and polar pattern of the microphone; for a typical desk, a cardioid pattern is best. This step matters because the right components minimize feedback and echo during calls, and provide accurate sound for music. Write down the specifications you need, such as speaker size (3-inch drivers are compact), microphone pickup pattern, and headphone impedance that your computer can drive.
Plan the Physical Layout
Arrange your desk so that speakers sit at ear level when you are seated, ideally with the tweeters at your ear height. Place them at least 20 inches apart, forming an equilateral triangle with your head. This is the sweet spot for stereo imaging. Set the microphone on a boom arm or a stand that keeps it near your mouth but out of your line of sight, about 6-8 inches away. Keep the microphone away from speakers to avoid feedback. For headphones, place the amplifier within easy reach but not under a stack of papers. A practical check is to simulate a call while you talk and adjust the microphone angle to reduce plosives. This layout minimizes reflection off your desk, reduces echoes, and ensures you are heard clearly without strain. Taking time to position gear correctly is better than adjusting in software later.
Set Up Software and Connection Routing
Install the necessary drivers and software for your audio interface or USB devices, as recommended by the manufacturer. Ensure that your computer's default output and input devices are set to your new speakers and microphone. For calls, select these devices in the application's settings, not just the system default. If you have multiple applications using audio, use a simple audio router (often included in software for USB interfaces) to direct different programs to different outputs. A practical check is to make a test recording and listen back for any distortion or clipping. Adjust the microphone gain so that your voice peaks at about 70% in the level meter. Also, turn off any build-in effects that enhance sound quality, as they can introduce latency. This step matters because correct device selection prevents the 'no audio' problem and ensures that your call partner hears you clearly without echo or duplicate sound.
Calibrate for Consistent Volume and Tone
Play a song you know well and adjust the volume on your speakers or amplifier to a comfortable level. Use a decibel meter app on your phone to check that you are around 70-75 decibels, which is loud enough without causing fatigue. For calls, set the microphone gain until your voice is consistently audible but not peaking. Use the equalizer in your operating system or hardware to adjust for room acoustics: if the room is echoey, reduce midrange frequencies slightly. A practical check is to walk around the room while music plays to see if the sound is balanced. This calibration is vital because it prevents sudden loud noises from hurting your ears and ensures that other people on calls do not hear echoes or distortion. Write down your preferred settings for reference.
Implement Everyday Habits and Maintenance
Make a habit of starting with the volume low before playing anything, to avoid sudden loud surprises. Regularly dust your speakers and microphone, as built-up dust can muffle sound. Check cables for wear and ensure connections are secure. Once a week, test your microphone by recording a short snippet, and adjust as needed. For calls, mute your microphone when you are not speaking to avoid background noise. A practical check is to set a reminder to clean your equipment monthly and update drivers quarterly. This routine extends the life of your gear and maintains audio quality. Consistent habits also help you become aware of any subtle changes in performance, so you can troubleshoot early. Keeping your setup clean and organized makes it a joy to use daily.
Quick Reference
| Situation | Action | Why it helps |
|---|---|---|
| You hear echo or reverb on a call | Move the microphone closer to your mouth (6-8 inches) and adjust its pickup pattern to cardioid, then lower the speaker volume. | A cardioid mic rejects sounds from the side and behind, and a closer position reduces captured room reflections, minimizing echo. |
| Speaker volume is loud but distortion occurs | Turn down the software volume to 80% and use the hardware volume knob to reach your desired level, checking for any clipping indicators. | Digital clipping occurs when the signal exceeds 0 dB, and using a hardware control prevents that by not overdriving the input. |
| The microphone picks up keyboard clicks | Position the mic on a boom arm to point toward your mouth, and angle it so that the keyboard is at the rear of the cardioid pickup pattern. | Cardioid mics are most sensitive at the front and least sensitive at the rear, so placing the keyboard behind the mic reduces noise pickup. |
Common Issues
- Distorted audio when recording or calling: Lower the microphone gain in the sound settings and speak at a consistent distance. If using a USB mic, adjust the input volume in the operating system's sound mixer.
- No audio output after connecting speakers: Check that the speakers are set as the default output device in system settings, and try a different USB port or cable. Look for a physical mute button or volume knob set to zero.
- Feedback loop between mic and speakers: Move the microphone out of the speaker's direct sound path and reduce the speaker volume. Use headphones for calls, or enable echo cancellation in your communication app's settings.
Advanced Tips
- Use acoustic panels or foam to reduce reflections behind your speakers, but do not over-dampen the room.
- Try using a dedicated digital-to-analog converter (DAC) if your computer's built-in sound is noisy.
- Experiment with placing speakers on isolation pads to reduce low-frequency vibrations transmitted to your desk.
Final Checklist
- Measure your desk and choose components that fit within the footprint.
- Set up speakers at ear level and equidistant from your head position.
- Configure your computer's default input and output to the new audio devices.
- Test everything with a real call and adjust microphone gain to avoid clipping.
FAQ
What is the best way to avoid echo during video calls?
Use headphones instead of speakers, or place your microphone very close to your mouth (within 6 inches) and use a cardioid pickup pattern. This reduces the chance of the microphone hearing your own voice from the speakers.
Do I need an audio interface?
Only if you plan to use multiple microphones or instruments simultaneously, or if you need higher-quality analog-to-digital conversion than built-in sound cards provide. For a simple desk setup, a USB microphone or USB speakers often eliminate the need.
Can I use the same audio setup for both music and calls?
Yes, but you may need to adjust the volume and equalizer settings when switching tasks. For calls, you want a flat frequency response and lower volume. Many systems let you save different profiles or you can manually adjust.