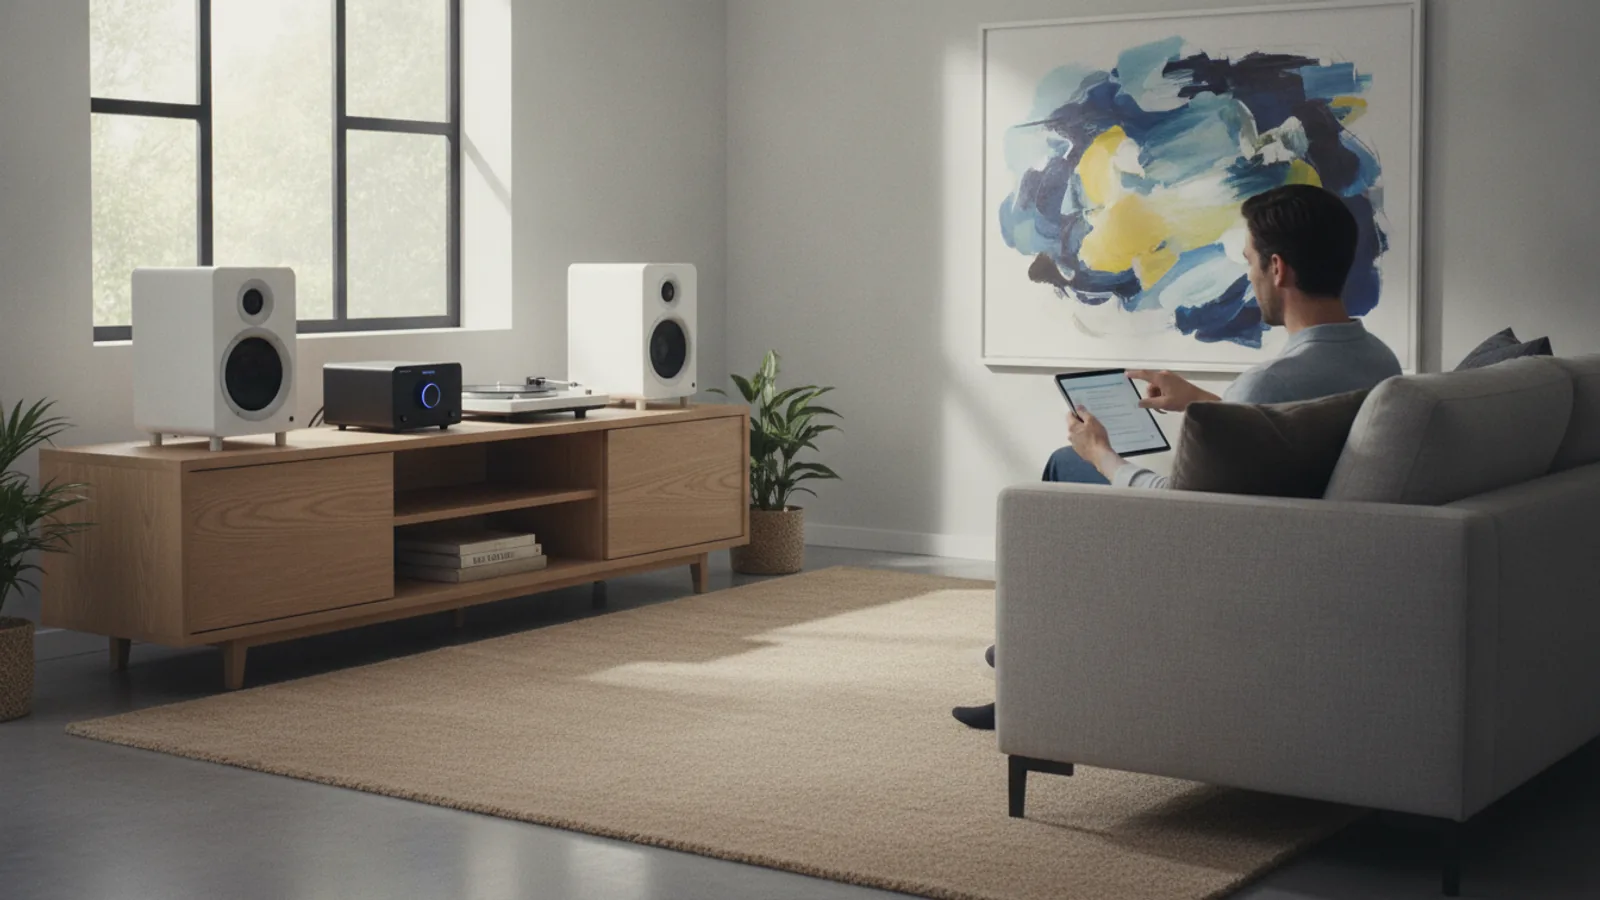
A Practical Guide To A Turntable And Speaker Setup That Is Easy To Live With
A practical step-by-step guide to a practical guide to a turntable and speaker setup that is easy to live with, including preparation, instructions, common issues, tips, and next steps.
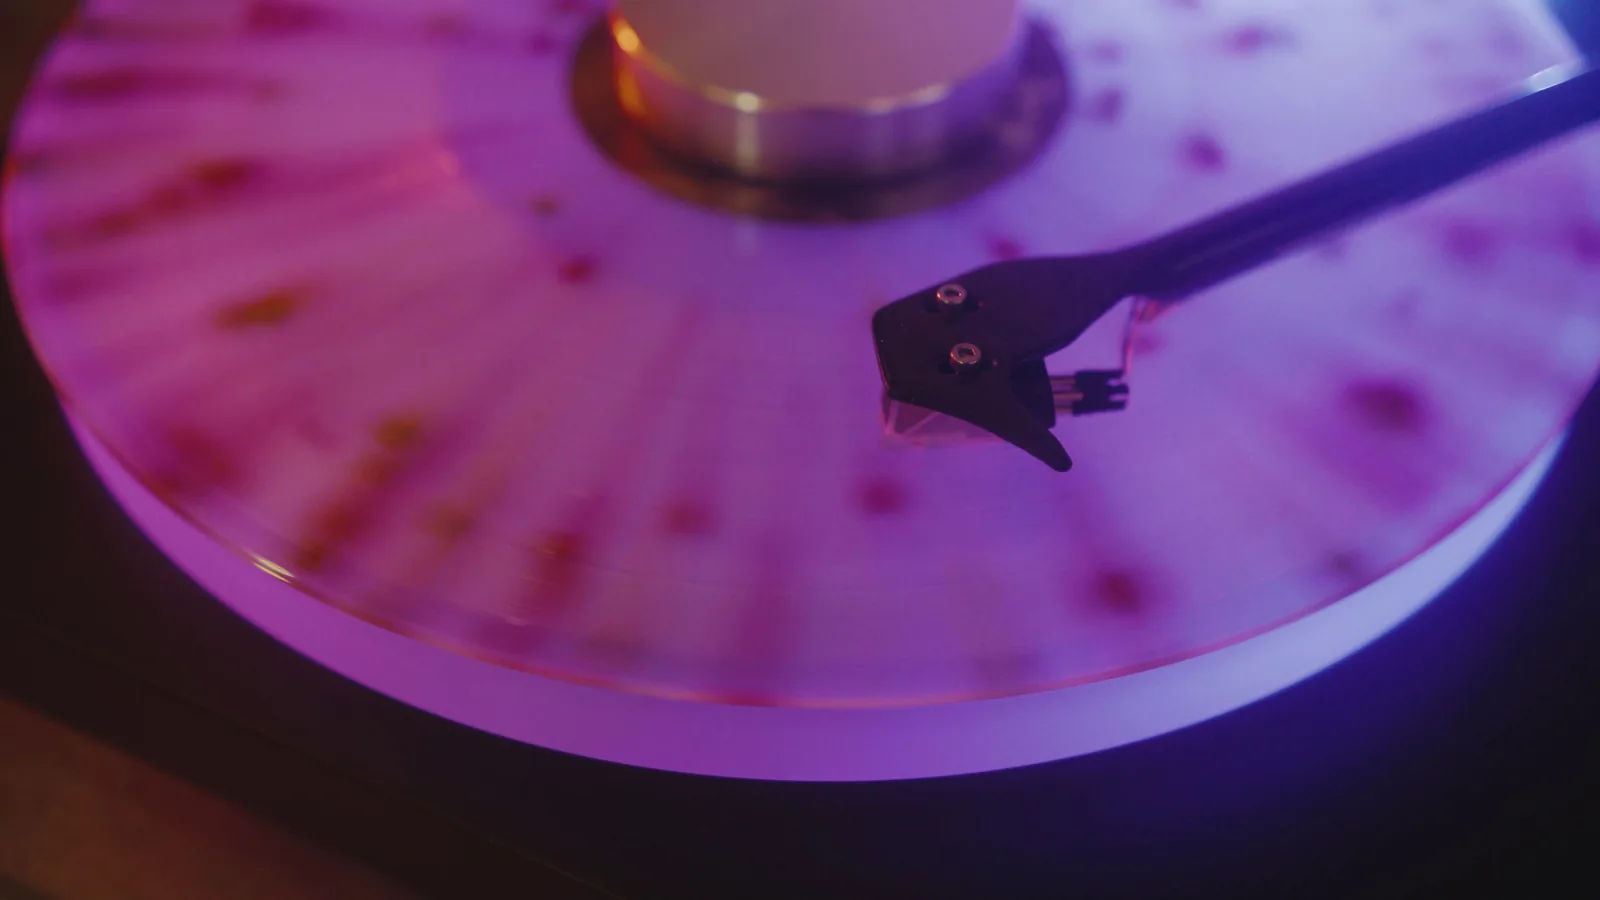
A Practical Guide To A Turntable And Speaker Setup That Is Easy To Live With
Setting up a turntable and speakers in a way that fits into daily life means balancing sound quality with practicality. This guide walks through choosing a spot, connecting components, and adjusting settings so you can enjoy records without constant fuss. It covers cable management, speaker placement, and simple troubleshooting to keep your setup reliable. The goal is a system that sounds good and stays easy to live with, whether you are new to vinyl or refining an existing setup.
Fast Answer
- Place turntable on a stable, level surface away from speakers and vibrations. Connect speakers to the turntable's built-in phono stage or an external one, then plug in and play.
- Position speakers at ear level, forming an equilateral triangle with your listening spot. Adjust volume and tracking force according to your turntable's manual for best sound.
Before You Start
- Choose a sturdy, vibration-free surface like a solid wood table or concrete shelf. Avoid hollow furniture that resonates and check levelness with a bubble level.
- Gather needed cables: typically RCA or 3.5mm, plus speaker wire if passive speakers. Verify your turntable has a built-in phono stage; if not, purchase a separate one.
- Place speakers on stands or shelves at ear height, at least 3 feet from walls to reduce bass buildup. Ensure they are stable and not near heat sources.
- Clean your vinyl records with an anti-static brush and a gentle cleaning solution. Inspect the stylus (needle) for dust and ensure it is aligned.
Step-by-Step Instructions
Select a Stable and Level Location
Begin by choosing where your turntable will live. It must sit on a stable, level surface to prevent skipping and excessive wear on your records. A solid wood table or a wall-mounted shelf works well. Avoid hollow furniture that can act like a drum, and keep the turntable away from floor vibrations (like near a subwoofer) and foot traffic. Use a bubble level to check the surface in both directions. If it is not level, adjust the feet or use thin shims. This matters because a level turntable ensures the tonearm tracks the grooves evenly, preserving sound quality and reducing record wear. Also, leave enough space behind the turntable for cable connections and dust cover opening.
Connect the Turntable to Power and Audio
Now connect your turntable to power and the speakers or amplifier. First, turn off all components. Locate the audio outputs on the turntable: typically RCA jacks or a 3.5mm output. If your turntable has a built-in phono stage, plug directly into powered speakers or an amplifier's line-level input. If it does not, you need to connect the turntable to an external phono preamp first. Use high-quality shielded cables to prevent hum. Ensure the cables are snug and not twisted. After connecting, plug in the turntable and speakers, then turn them on. Check that the turntable's ground wire is attached to the amp or preamp's ground terminal if provided. This reduces audible hum. A quick check: with the volume low, spin a record and listen for a clean signal.
Position Your Speakers for Optimal Sound
Speaker placement heavily influences your listening experience. Place them at ear level, facing your primary listening position. Ideally, the speakers and your head form an equilateral triangle, with the speakers angled slightly toward you (toe-in). Keep them at least 3 feet from walls to reduce bass boom, and avoid corners. If using bookshelf speakers, use sturdy stands. For floor-standing speakers, ensure they are stable. Play a familiar record and listen: if the sound is muddy or boomy, move speakers farther from walls. If vocals seem unfocused, adjust toe-in. This matters because proper placement creates a clear stereo image and balanced frequency response, making music more enjoyable. It also prevents vibration feedback to the turntable.
Set Tracking Force and Anti-Skate
Correct tracking force is crucial for avoiding record wear and distortion. Consult your turntable or cartridge manual for the recommended force in grams. Use the adjustable counterweight on the tonearm to set it. Start by balancing the tonearm: without the stylus touching the record, adjust the counterweight until the arm floats level. Then rotate the weight to the recommended value. Set anti-skate to the same value if separate. Then cue a record and gently lower the stylus. Listen for sibilance (excessive 's' sounds) or distortion—these may indicate wrong force. A practical check: after a track, inspect the stylus for any visible bending. This matters because proper tracking force minimizes wear on your vinyl and stylus, extending their life.
Calibrate Volume and Basic Controls
Start with the volume level low and gradually increase to a comfortable level. If your speakers have tone controls or your amp has a loudness button, consider leaving them flat initially to hear the natural sound. Adjust the bass and treble only if needed to compensate for room acoustics. Set the turntable's speed selector to the correct RPM (usually 33 1/3 for LPs). If your turntable has a pitch control, verify it is at zero. Play a track and listen for pitch stability. If the sound wavers, check the belt or speed setting. This matters because correct volume prevents speaker damage and ensures you hear the music as intended. Avoid cranking volume to compensate for poor placement.
Test, Adjust, and Enjoy the Setup
Finally, play a few records you know well and listen critically. Walk around the room: the sound should stay even without dead zones. If you notice rattling, check that speakers are secure and nearby objects are not vibrating. Adjust speaker toe-in or subwoofer crossover if needed. Over a few days, fine-tune the setup based on your room's acoustics. Keep a small maintenance kit nearby. Your setup is now ready for daily use. This matters because a final test ensures good sound and catches any remaining issues. And remember to place the dust cover down to protect the record and stylus.
Quick Reference
| Situation | Action | Why it helps |
|---|---|---|
| You hear a low hum coming from the speakers when the turntable is on. | Check that the ground wire from the turntable is firmly attached to the grounding post on your amplifier or phono preamp. If no ground terminal, try connecting to a screw on the chassis. | A ground loop or ungrounded turntable causes a 60Hz hum; proper grounding eliminates it. |
| Music sounds distorted or vocals have excessive 's' sounds (sibilance). | Recheck the tracking force and anti-skate. Ensure tonearm is balanced and set to cartridge's recommended force. If problem persists, inspect stylus for wear or debris. | Incorrect tracking force causes distortion and record wear; proper settings preserve sound quality. |
| One speaker is noticeably louder or sounds muffled. | Swap the speaker cables at the amplifier. If the problem moves to the other speaker, the issue is in the first speaker's wiring or driver. If not, check the balance control and source. | This isolates whether the problem is upstream (source/amp) or in the speaker itself. |
Common Issues
- Skipping on certain records even when the turntable is level.: Clean the record and stylus. If skipping persists, adjust tracking force slightly or add vibration isolation like a wall-mounted shelf. Also verify the record is not warped.
- Left and right channels are swapped.: Swap the RCA connections at the turntable or amplifier, depending on where the error is. Ensure intuitive orientation: left channel to left input.
- Speakers rattle at moderate volume.: Tighten all speaker screws and check that the drivers have no cracks. Move speakers away from walls or add isolation pads to reduce resonance.
Advanced Tips
- Use a dedicated phono preamp for better sound even if your turntable has one built-in.
- Experiment with speaker placement height using stands to avoid reflections from room boundaries.
- Consider a record cleaning machine for deep cleaning, keeping your vinyl library in top shape.
Final Checklist
- Turntable is level and stable on a solid surface.
- Speaker positions form an equilateral triangle with your listening spot.
- Tracking force and anti-skate set according to cartridge manual.
- All cables are secure and no hum is present.
FAQ
How much distance should there be between speakers and walls?
At least 3 feet from the front wall and 1-2 feet from side walls is a good starting point. This reduces bass reflection and muddiness. You can adjust based on your room: if bass is boomy, move them further; if thin, move closer.
What is the safest way to clean a record?
Use a carbon fiber brush before each play to remove dust. For deeper cleaning, use a solution of distilled water and isopropyl alcohol (about 1:1) with a lint-free cloth, working in circular motions. Avoid tap water and household cleaners.
Why does my turntable hum even when no record is playing?
This is often due to a ground loop. Ensure your turntable's ground wire connects properly to the amp or preamp. Also check that audio cables are not near power cords. Sometimes a phono preamp is needed to match signal levels.