How To Clean Vinyl Records Without Damaging Them
A practical step-by-step guide to How to clean vinyl records without damaging them, including preparation, instructions, common issues, tips, and next steps.
How To Clean Vinyl Records Without Damaging Them
Cleaning vinyl records properly removes dust, oils, and static that cause clicks, surface noise, and uneven playback. The goal is gentle, controlled cleaning that lifts debris from the groove without scrubbing the surface or soaking the label. This guide walks through preparation, a safe wet-clean routine, drying, and inspection so your records stay quiet and undamaged.
Fast Answer
- Use a carbon-fiber brush dry for light dust, and a distilled-water and mild surfactant wet clean for fingerprints or oily buildup.
- Always clean along the groove direction, never across it, and let records air-dry fully before playing.
Before You Start
- Set up on a clean, flat, well-lit surface away from food, drinks, and direct sunlight so dust and spills cannot reach the record.
- Gather a soft carbon-fiber brush, lint-free microfiber cloths, distilled water, a mild non-abrasive dish soap free of lotions or dyes, and two clean spray bottles.
- Wash your hands and dry them, because natural skin oils transfer to the record surface and attract more dust during playback.
- Inspect the record under strong light at an angle to note scratches, warps, or stubborn marks, and decide whether it needs a dry brush only or a full wet clean.
Step-by-Step Instructions
Remove loose dust with a dry brush
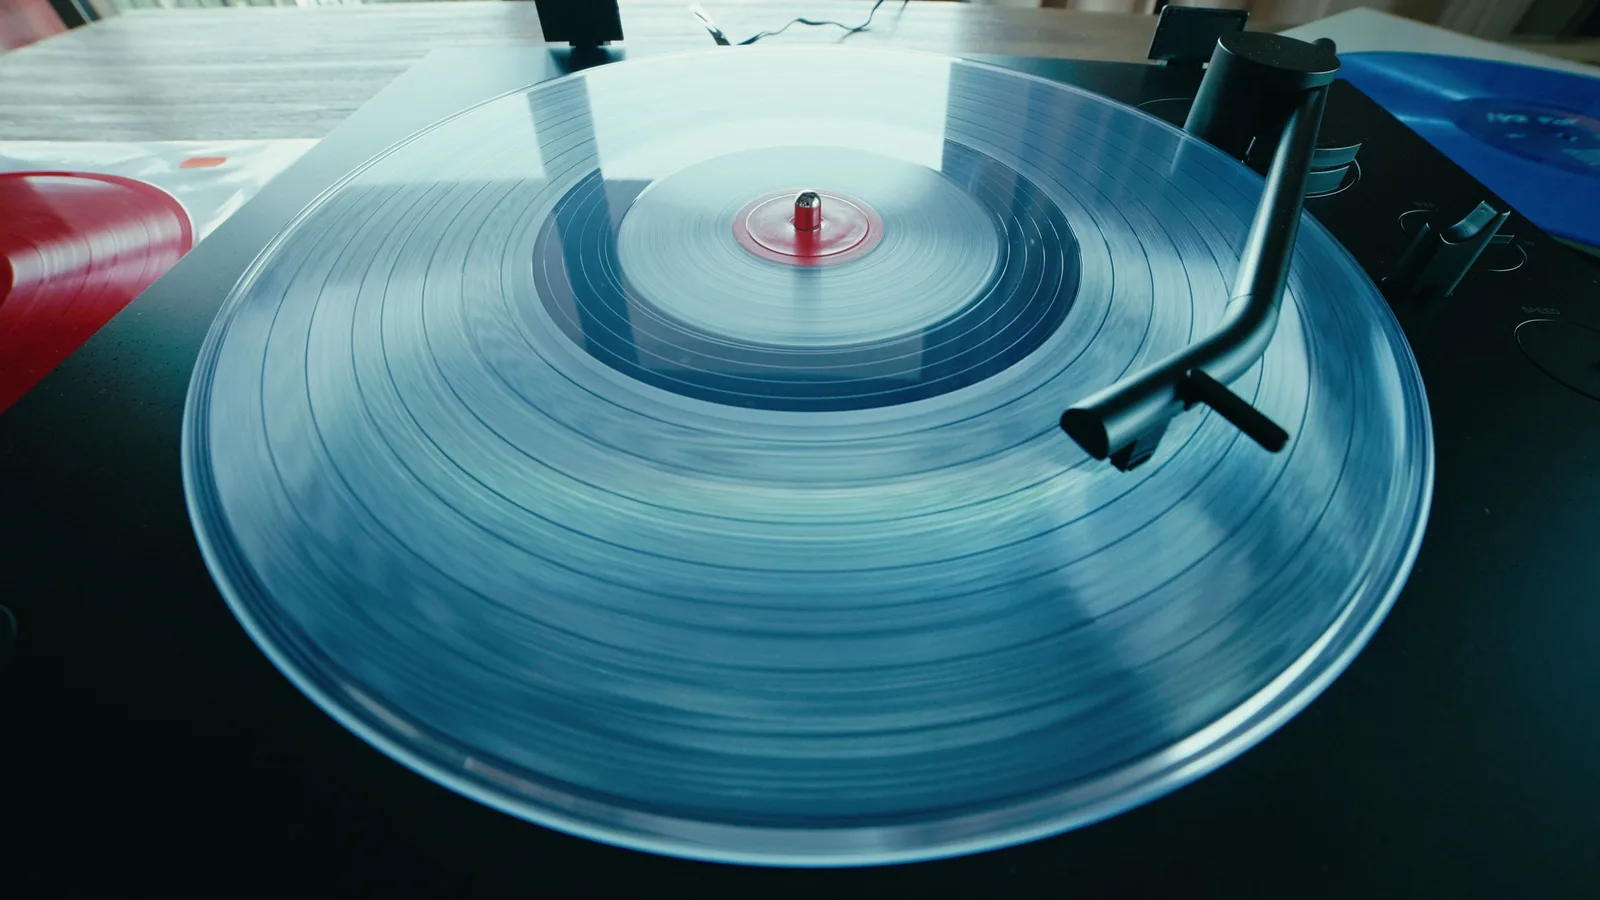
Start with the driest method so you do not grind grit into the groove. Place the record on a clean turntable platter or a soft lint-free mat. Hold a carbon-fiber brush so the bristles rest lightly across the playing surface. Let the record rotate slowly while you hold the brush still, letting the fibers sweep dust toward the outer edge. After two or three rotations, tilt the brush outward to lift the collected dust away rather than flicking it back onto the vinyl. For a record that is only lightly dusty, this single pass is often enough. Check the brush before and after: if the bristles look gray or clumped, tap them clean on a separate surface. This check matters because a dirty brush simply redistributes debris and can press fine grit against the groove walls, which creates the very ticks you are trying to remove.
Mix a safe cleaning solution
Fill one clean spray bottle with distilled water. In the second bottle, mix distilled water with a very small amount of mild, dye-free dish soap, roughly one small drop per cup of water, and swirl gently without shaking hard, since foam is hard to control. Distilled water matters because mineral-rich tap water can leave a chalky film in the groove that dries into visible residue. Label both bottles clearly so you never confuse the plain rinse water with the soap mix. Test the solution on an unimportant record first: apply a little to a small area, let it dry, and look for streaks or clouding. This check matters because some soaps and water sources leave films that mute high frequencies and attract new dust. If you see any haze after drying, dilute further or switch to plain distilled water for that record.
Apply solution along the groove
With the record on a clean, stable surface, lightly mist a folded lint-free microfiber cloth rather than spraying the record directly, which can soak the label. Wipe in a gentle arc that follows the groove, working from the inner label area toward the outer edge in one continuous direction. Use almost no pressure; the cloth and fluid should do the work, not your hand. Rotate the record a little and repeat until you have covered the whole playing surface in overlapping passes. Never wipe straight across the grooves, because sideways motion pushes debris deeper and can catch the stylus later. Check the cloth as you go: if it turns visibly dark or gritty, fold it to a clean side or replace it. This check matters because a loaded cloth smears dissolved dirt back across clean vinyl, undoing the work you just did.
Rinse with distilled water
After the soap pass, rinse the same way using a fresh cloth lightly dampened with plain distilled water. The rinse lifts soap residue and suspended dirt that the first pass loosened. Work again in groove-following arcs from near the label outward, turning the cloth to a clean section as it picks up residue. Do not let standing water pool near the label or run into the spindle hole; tilt the record slightly and use the cloth edge to draw moisture away from the center. One thorough rinse pass is usually enough, but a very dirty record may need a second rinse with another clean cloth. Check the final cloth: if it still looks soiled, repeat the rinse with a fresh cloth. This check matters because leftover soap film is sticky, attracts dust quickly, and can create a dull, noisy playback surface even when the groove itself is clean.
Dry completely before playing
Set the rinsed record on a clean, lint-free drying rack or stand it upright on a soft towel in a dust-free spot with gentle air movement. Let it air-dry fully; this usually takes several minutes to a quarter of an hour depending on room conditions. Do not use a hair dryer, a heater, or direct sun, because heat can warp vinyl and force dust onto the wet surface. Do not wipe a wet record with a dry cloth to speed things up, since that can leave lint and drag grit. If you must handle the record before it is dry, touch only the edges and the label area. Check the surface by looking at it at a low angle under good light: it should look even with no streaks, droplets, or cloudy patches. This check matters because trapped moisture and dried residue both increase surface noise and can transfer onto the stylus, so a fully dry, even surface is the sign that cleaning actually finished.
Inspect and store correctly
Once the record is completely dry, hold it at a low angle under a bright light and look for remaining marks, streaks, or lint. Play a quiet passage you know well and listen for clicks, hiss, or distortion that were not there before. A small improvement in surface noise is normal; a sudden increase in noise means residue or a damaged area, so repeat a plain distilled-water rinse and dry again. If the record still looks or sounds worse, stop and avoid further wet cleaning. Return the record to its inner sleeve only after it is fully dry, and keep the sleeve and outer jacket clean and upright. Check the inner sleeve for grit or tears before sliding the record back in. This check matters because a dirty or torn sleeve recontaminates a freshly cleaned record and can scratch it during storage.
Quick Reference
| Situation | Action | Why it helps |
|---|---|---|
| A record looks lightly dusty and you want to play it now. | Use a dry carbon-fiber brush on the spinning platter, holding the brush still for two or three rotations, then tilt it away to lift the dust. | Dry brushing removes loose surface dust quickly without wetting the label or leaving moisture that needs drying time before playback. |
| The record has visible fingerprints or an oily sheen on the surface. | Do a full wet clean with distilled water and a weak mild-soap mix, follow with a plain distilled-water rinse, and let it air-dry upright. | Oils and salts from skin do not brush away; they need a gentle surfactant and a rinse to lift them out of the groove without abrasion. |
| You just finished a wet clean and the record still shows streaks or sounds noisy. | Rinse again with plain distilled water using a fresh clean cloth, dry upright, then inspect under an angled light before playing. | Persistent streaks usually mean soap or mineral residue remains, and another plain rinse removes it without adding more cleaning agent or pressure. |
Common Issues
- Dust returns within minutes of cleaning.: Check for static buildup and for a dirty inner sleeve or storage area. Clean the sleeve, store records upright, and use a dry carbon-fiber brush just before playback instead of re-wetting the record.
- The record sounds worse after wet cleaning.: This usually points to soap residue or a soaked label area. Rinse again with plain distilled water, dry fully upright, and listen to a quiet passage. If noise persists, stop wet cleaning and have the record inspected for groove damage.
- The cleaning cloth leaves lint on the surface.: Switch to a clean lint-free microfiber cloth kept only for records, wash it without fabric softener, and dry it away from dusty areas. Replace the cloth when it stays gray or stiff after cleaning.
Advanced Tips
- For very dirty records, clean in small sections rather than soaking the whole surface at once, rinsing each section before it dries.
- Store cleaned records in fresh inner sleeves and keep them upright and away from heat, sunlight, and heavy dust to extend the results.
- Keep a separate brush, cloth, and drying area just for records so household dust and oils never transfer back onto your vinyl.
Final Checklist
- Work surface is clean, flat, well lit, and free of food, drinks, and clutter.
- Records are fully dry, streak-free, and inspected at an angle before playback.
- Only distilled water and mild, dye-free soap were used, with no harsh solvents or abrasives.
- Cleaned records are back in clean inner sleeves and stored upright away from heat and dust.
FAQ
Can I clean vinyl with tap water?
It is better to avoid tap water because dissolved minerals can dry into a film inside the groove and add noise. Use distilled water for both the cleaning mix and the rinse so nothing is left behind on the record surface.
How often should I clean my records?
Brush lightly before most plays, and wet clean only when you see fingerprints, oily sheen, or hear new surface noise. Over-cleaning with liquid adds wear risk, while regular dry brushing handles ordinary dust between deeper cleanings.
Is it safe to clean the label area?
Keep liquids off the paper label and spindle hole as much as possible. If a little water touches the label, blot it gently and let it air-dry flat, since soaking can lift print and warp the paper or the vinyl around it.