How To Plan A Turntable And Speaker Setup That Is Easy To Live With
A practical step-by-step guide to how to plan a turntable and speaker setup that is easy to live with, including preparation, instructions, common issues, tips, and next steps.
How To Plan A Turntable And Speaker Setup That Is Easy To Live With
This guide explains how to plan a turntable and speaker setup that fits comfortably into your daily life, avoiding common frustrations like tangled cables, poor sound due to bad placement, and constant adjustments. It covers choosing a listening spot, considering furniture, planning cable management, and testing the system before finalizing, so you can enjoy your records without the setup becoming a chore.
Fast Answer
- First, decide where you’ll sit and where your speakers will go, keeping the turntable on a stable, level surface away from direct sunlight and heat.
- Then, map out cable paths and leave room for adjustments, and test the system with a favorite record before committing to a final arrangement.
Before You Start
- Choose a dedicated listening area: a spot away from busy foot traffic, direct sunlight, and heat sources like radiators or vents.
- Decide on a seating position and put the speakers at ear height when you’re seated, with the tweeters aimed at your ears.
- Plan for the turntable to sit on a stable, level surface, ideally a dedicated stand or a sturdy table that doesn’t wobble.
- Gather materials: a spirit level, cable ties or clips, a tape measure, and perhaps some acoustic foam or isolation pads if you notice vibrations.
Step-by-Step Instructions
Identify Your Listening Spot
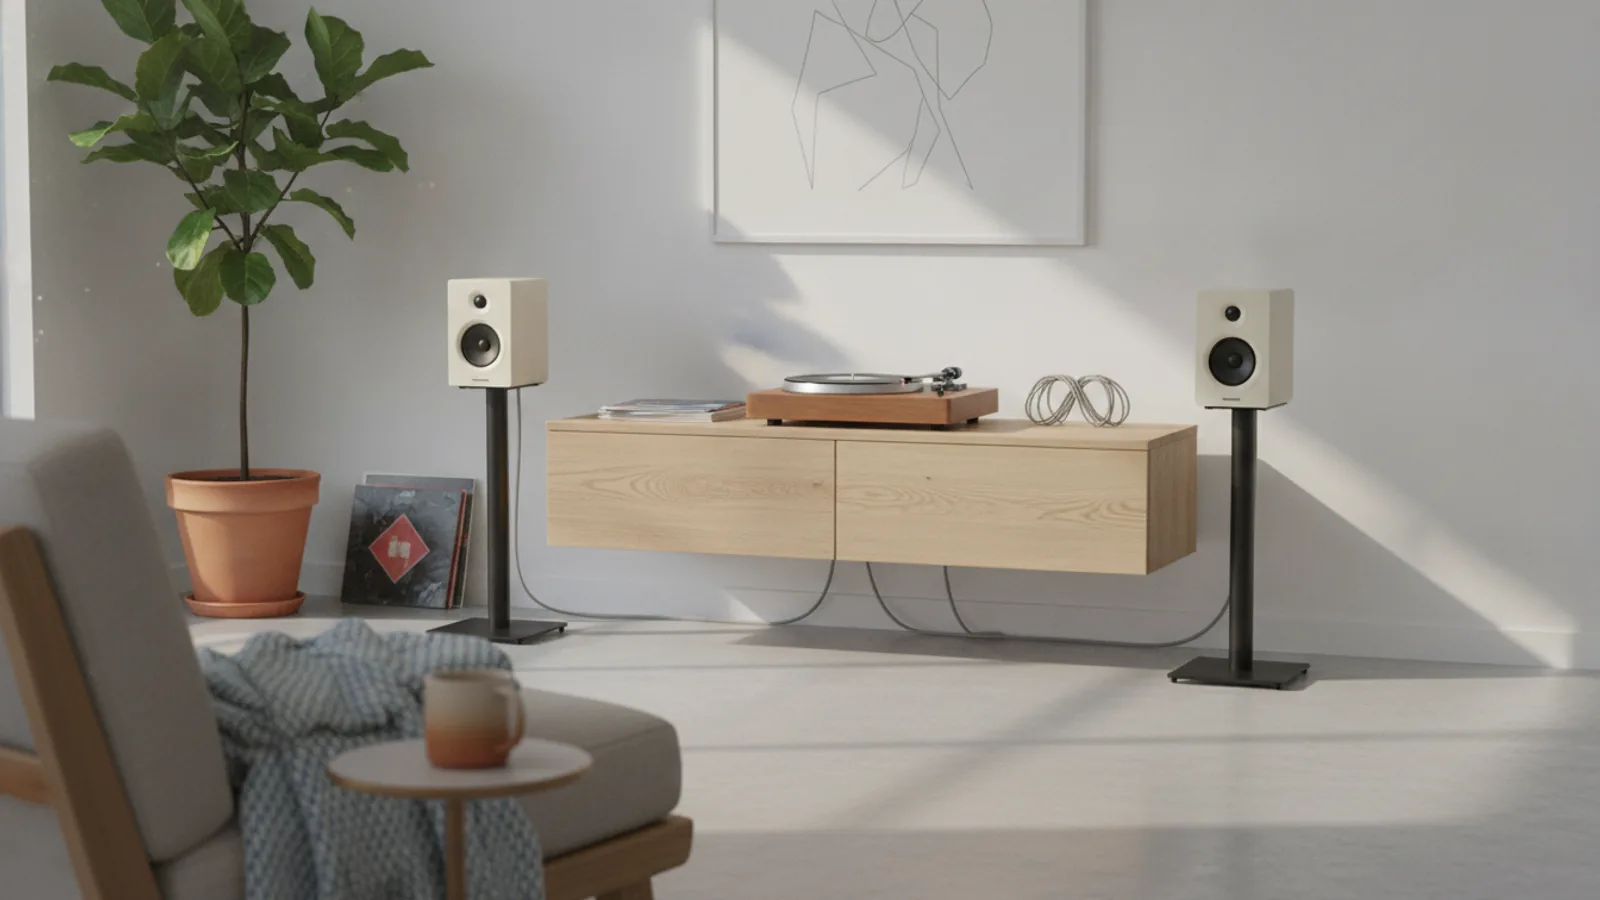
Start by thinking about where you usually sit when you listen to music. This is your prime listening position. You might listen while sitting on a sofa, an armchair, or even at a desk. Mark that spot clearly in your mind or with a piece of tape. The goal is to create an equilateral triangle between you and your two speakers: the distance between the speakers should be about the same as the distance from each speaker to your ears. Sit in that spot and imagine the speakers placed at the corners of that triangle. Also consider the room: you want the speakers placed so that they fire down the longer dimension of the room, not into a corner. If you have a choice, place the speakers along a wall that is opposite to where you usually sit, so that the sound travels across the room. This reduces the risk of harsh reflections from side walls. Take a tape measure and roughly note the distances; this will guide where you put everything and help you plan the layout before moving heavy furniture or drilling holes.
Choose a Stable Surface for the Turntable
The turntable must sit on a perfectly level and stable surface to avoid skipping and to keep the platter spinning evenly. Choose a piece of furniture that is heavy and solid, like a solid-wood sideboard or a dedicated audio rack. Avoid lightweight shelves that flex, and never put the turntable on a surface that vibrates easily, such as a hollow-core door or an unbraced desk. Place the turntable away from the speakers, ideally on a separate stand if you can. If you must put it on the same piece of furniture, at least place the speakers on stands or foam pads to isolate them. Use a spirit level to check that the surface is flat both front-to-back and side-to-side. If it isn’t level, adjust with furniture shims or adjustable feet. The turntable itself should also be leveled after you place it, using its own feet if it has them. A level turntable reduces tonearm skating and ensures the stylus tracks correctly. This simple step prevents many playback problems and extends the life of both the stylus and your records.
Plan Speaker Placement for Balanced Sound
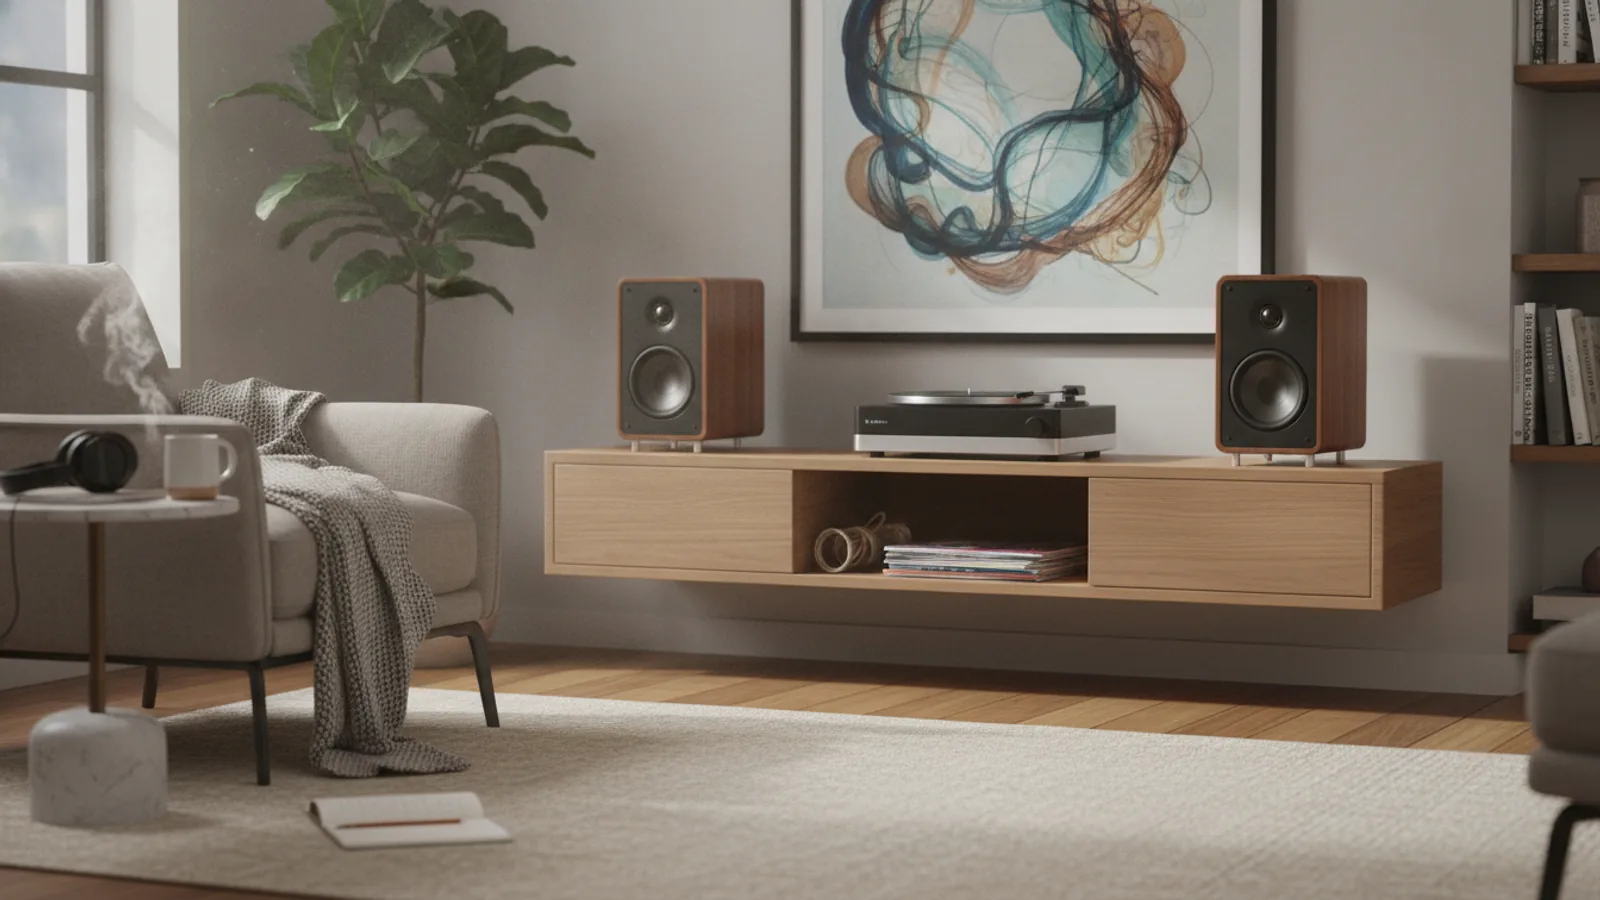
Speaker placement is critical for both sound quality and everyday living. Put the speakers on stands or rigid furniture so that the tweeters are at ear height when you are seated. If you use floor-standing speakers, angle them slightly toward your listening spot. Avoid pushing them right against the wall; a gap of at least 20 to 30 centimeters prevents bass boom. But don’t pull them too far into the room if that obstructs walking paths. The key is to create a space that is both functional and pleasant. Start by placing the speakers at least a few centimeters away from any wall and farther from corners. Test by playing a familiar track and listening for harsh treble or muddy bass. If you hear a lot of boomy bass, move the speakers farther from the wall. If the sound is thin, move them closer. Make small adjustments and give yourself time to listen. Also, consider the speaker cables: you need to route them neatly without making them a trip hazard. This planning ensures that you get the best sound without turning your living room into a cluttered rig.
Map Cable Routes and Power Connections
Now that you know where the turntable and speakers will go, plan how you will route the cables and where you will plug everything into power. Look at the back of your turntable: it typically has RCA outputs and sometimes a separate ground wire. Your speakers or amplifier have input connections. Decide if you will place the amplifier near the turntable or near the speakers. A common layout is to put the amplifier on a shelf between the turntable and speakers, so that signal cables are short, and speaker cables can run neatly along the wall. Measure the distance between components and ensure cables can reach without stretching. If you need extension cords, make sure they are rated for the total wattage and that you don’t overload outlets. Plan a path for the speaker wire: you can hide it under a rug, along the baseboard, or inside a cable channel. Avoid running speaker wire parallel to power cords for long distances to prevent hum. If you must cross a power cord, do so at a right angle. This plan saves time during setup and keeps your living space safe and tidy.
Set Up and Test the System
With your plan in place, physically set up the equipment: place the turntable on its stable shelf, position the speakers on their stands or shelves, and connect everything. Make sure to connect the turntable’s ground wire (if it has one) to the amplifier’s ground terminal to avoid hum. Check all connections are snug. Then, before you play a record, do a simple test: put the stylus on a record that you don’t mind scratching, and listen at a low volume. Check for any distortion, skipping, or buzz. Walk around the room to see if the sound changes drastically, and sit in your chosen listening spot to hear if the stereo image is centered. Try moving the speakers a few millimeters at a time to improve the soundstage. Also, adjust the volume to a normal level and see if there is any vibration feedback when you play a bass-heavy passage. If you hear any rumble, you may need to add isolation feet to the speakers or move the turntable. This testing phase is crucial because it lets you catch problems before you finalize the setup and start enjoying records.
Finalize for Everyday Use
After testing, finalize the setup to make it easy to live with. Tidy up the cables: use cable ties to bundle speaker wire and keep it off the floor where people walk. Secure any loose cables to furniture legs or baseboards with clips. Make sure the turntable’s dust cover is easily opened and closed so you can access the platter without moving things. Place your records in a storage shelf nearby, but not too close to a heat source or in direct sunlight. Put a small cleaning brush and stylus cleaner in a drawer near the turntable so you can easily do a quick clean before playing. Consider adding a simple power strip with a switch so you can turn off the entire system when not in use, but make sure it’s rated for the power draw. Finally, take a step back and see if the area looks inviting: you want to enjoy your music without tripping over cables or struggling to reach the controls. By making these small adjustments, you create a setup that you’ll actually use regularly.
Quick Reference
| Situation | Action | Why it helps |
|---|---|---|
| You sit off to one side, not in the center between the speakers. | Move your seat to the center of the listening triangle, or angle the speakers so they point at your listening position. | Aim the tweeters at your ears so you get a proper stereo image and balanced frequency response. |
| Speakers are on the same shelf as the turntable and you hear a low rumble. | Move the turntable to a separate stand, or place isolation feet or foam pads under the speakers. | Vibrations from the speakers travel through the furniture and can cause the stylus to jump or pick up feedback. |
| Speaker cable runs parallel to a power cord for a few meters. | Separate them by at least 30 centimeters, or cross them at right angles if they must intersect. | Parallel routing can induce a hum in the audio signal; a right-angle crossing minimizes interference. |
Common Issues
- Turntable skips when you walk across the floor.: Place the turntable on a solid, rigid surface and add isolation feet or a thick wooden board to decouple it from floor vibrations.
- Bass sounds boomy or muffled.: Move the speakers farther from the corners and side walls, or add acoustic absorption panels at the first reflection points.
- A low hum is present even when no music is playing.: Check the turntable’s ground wire is connected to the amplifier’s ground terminal, and make sure all RCA connections are secure.
Advanced Tips
- To reduce reflections from the ceiling, place a small area rug or coffee table in front of the listening position to break up sound waves.
- Experiment with toe-in: start with speakers facing straight ahead, then angle them slightly inward; listen for a more focused center image.
- Consider using a phono preamp with adjustable gain and capacitance to fine-tune the sound to match your cartridge.
Final Checklist
- Turntable sits on a stable, level surface away from speakers and heat, and is leveling feet if needed.
- Speakers are at ear height, positioned in an equilateral triangle with your listening spot, and a few centimeters from walls.
- All cables are neatly routed and secured so they don’t create a trip hazard or run parallel to power cords.
- You have played a test record at normal volume and confirmed no skipping, hum, or vibration issues.
FAQ
How much space should I leave between the speakers and the wall?
Aim for at least 20 to 30 centimeters of space between the rear of the speaker and the wall if they are bass-reflex designs. For small bookshelf speakers, a gap of 15 to 20 centimeters is often enough. The exact distance depends on the speaker’s design and your room acoustics. Start with a gap of about 20 centimeters and listen for a change in bass. If the bass seems boomy, move them farther out; if it sounds thin, move them closer. This adjustment gives you a balanced sound without corner boom.
Can I put the turntable on top of the same piece of furniture as the speakers?
You can, but it’s not ideal. Speakers produce vibrations that can travel through the furniture and cause the stylus to skip or produce a low-frequency rumble. If you have no other choice, place the speakers on isolation foam or spike stands to decouple them, and also place the turntable on a heavy isolation platform or even a stack of books. Alternatively, put the turntable on a separate stand or a wall shelf. The goal is to minimize vibration transmission. Test with a bass-heavy record; if you hear any distortion, move them apart.
What is the best way to manage speaker cables without making a mess?
First, measure the required length and cut or use a cable that is long enough but not excessively long. Then, route the cables along furniture edges or baseboards, using adhesive cable clips to secure them. If the cable runs across a doorway, use a floor cord protector to avoid a trip hazard. You can also conceal the cable under a rug, but make sure it is not pinched or stepped on. Use cable ties to bundle any excess length near the speakers, not near the turntable. This system keeps your space tidy and protects the cables.