How To Plan Bookshelf Speakers For A Living Room Without A Large Hi Fi Rack
A practical step-by-step guide to how to plan bookshelf speakers for a living room without a large hi-fi rack, including preparation, instructions, common issues, tips, and next steps.
How To Plan Bookshelf Speakers For A Living Room Without A Large Hi Fi Rack
This guide will help you set up bookshelf speakers in your living room without relying on a bulky hi-fi rack. You will learn to choose speaker placement, manage cables, and integrate audio gear into your existing furniture and decor. The focus is on practicality, visual tidiness, and sound quality, with step-by-step instructions and troubleshooting advice.
Fast Answer
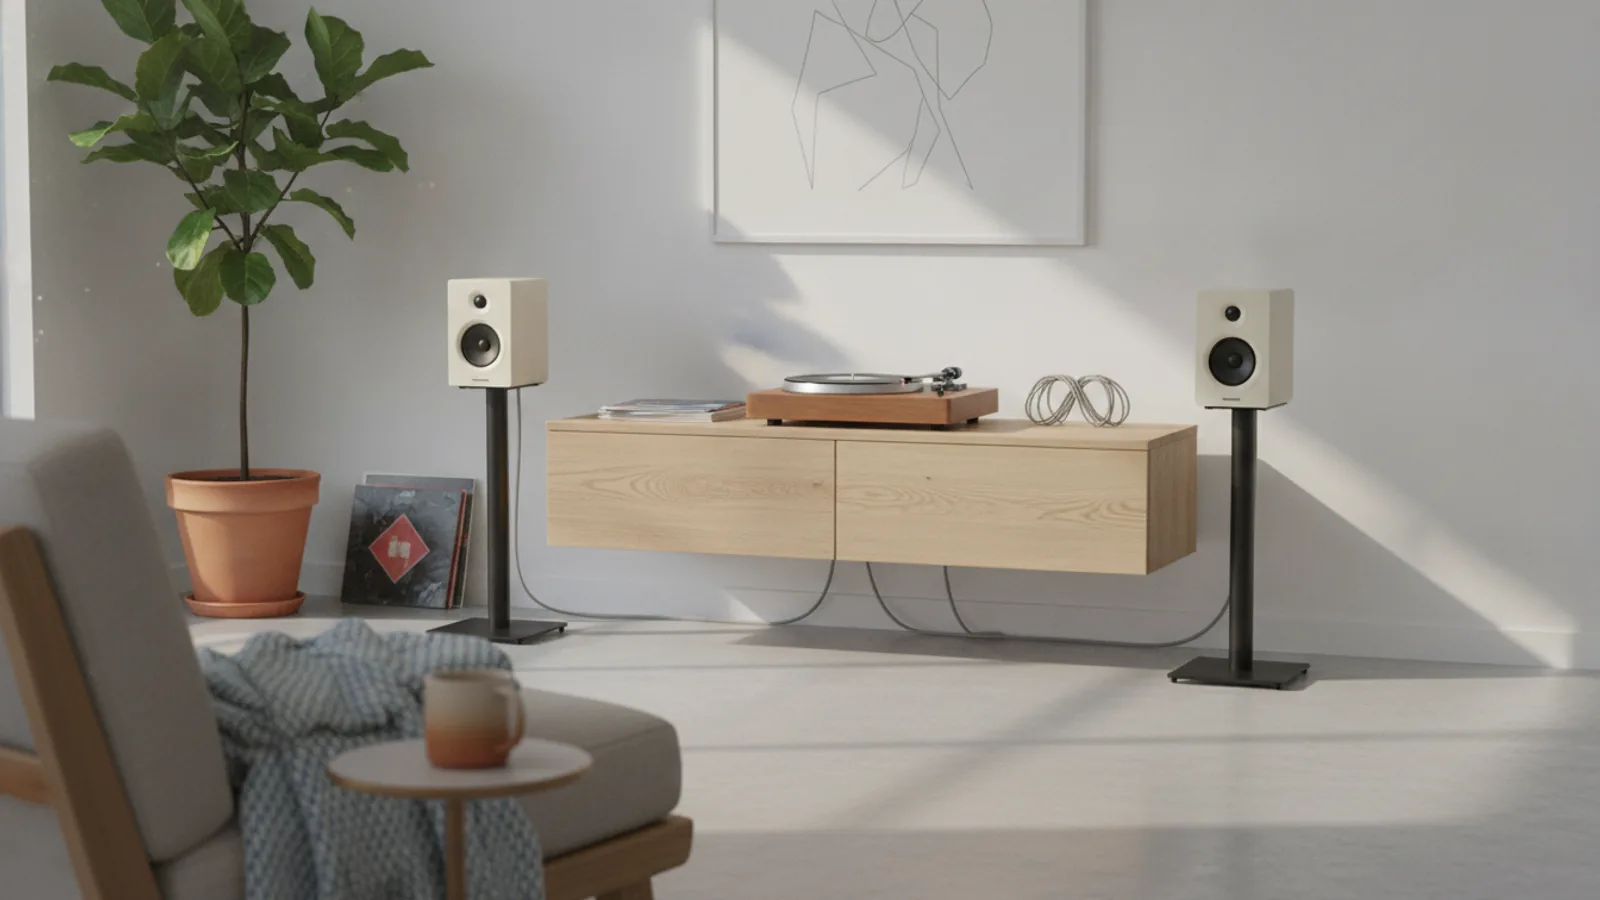
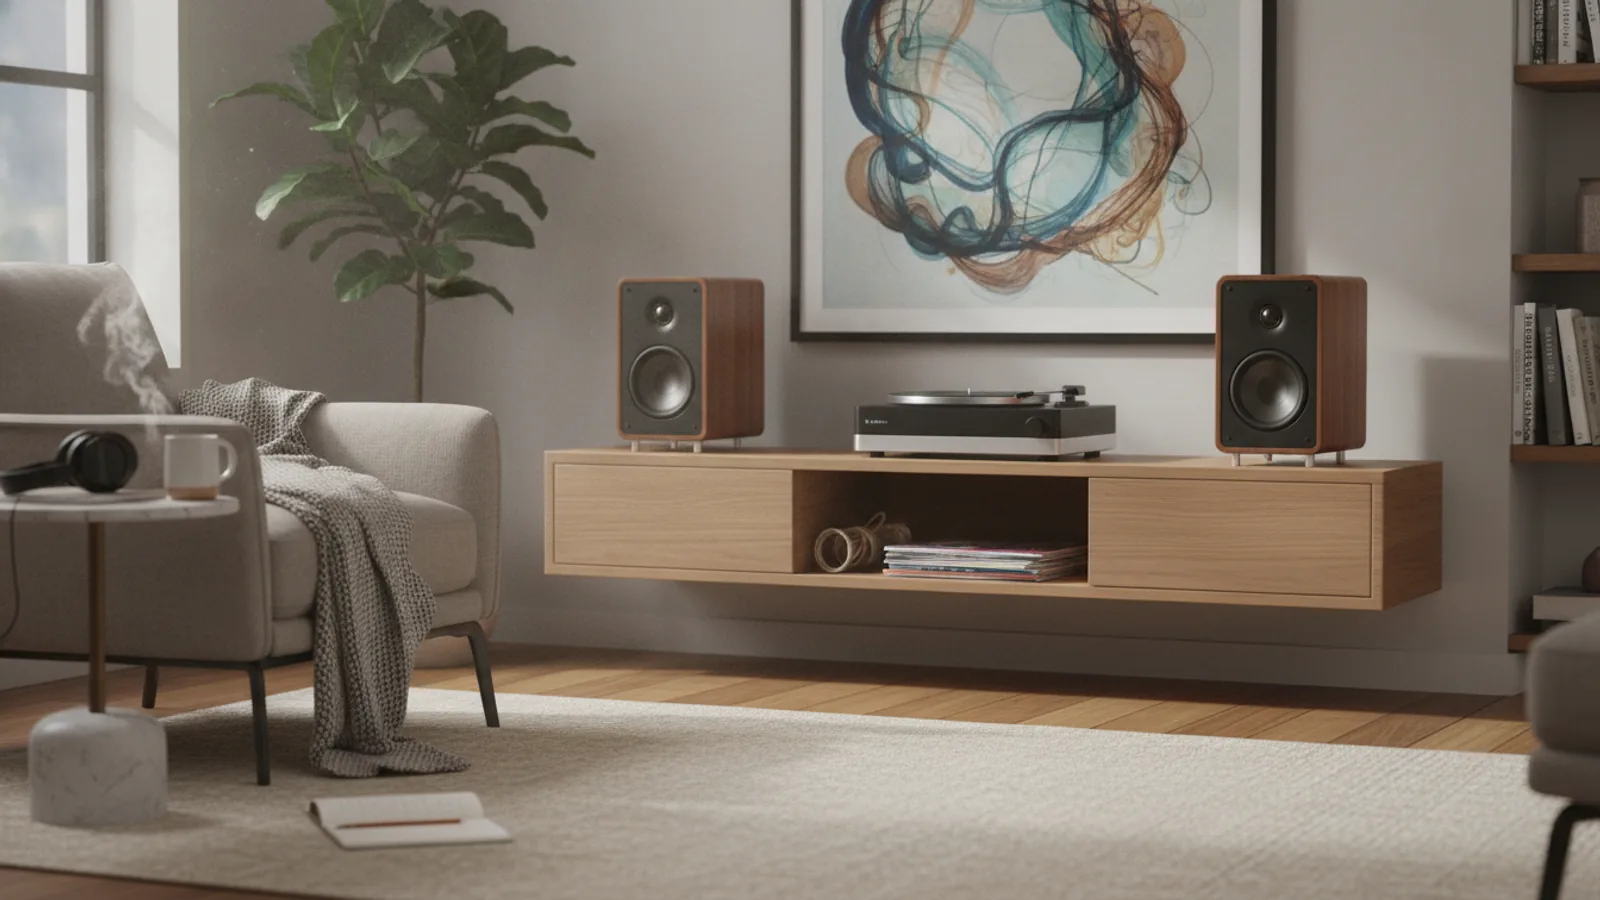
- Place bookshelf speakers at ear height, angled toward your main listening spot, and use wall mounts or sturdy shelves to avoid the need for a hi-fi rack.
- Use a compact amplifier or wireless receiver hidden in a cabinet or behind the TV, and run cables neatly along baseboards or through cable management channels.
Before You Start
- Measure your room dimensions and identify the main listening area where you usually sit.
- Decide on speaker placement options: wall-mounted, on sturdy shelves, or on small stands beside furniture.
- Gather tools and materials: measuring tape, spirit level, pencil, drill or screwdriver, wall anchors, cable clips, zip ties, and cable management sleeves.
- Check your audio source: TV audio output, phone, or computer, and determine what connections you need (e.g., analog, optical, or wireless).
Step-by-Step Instructions
Choose Optimal Speaker Placement
Start by deciding where your speakers will live without a rack. The ideal is to place them at ear height when you are seated, with the tweeters aimed at your ears. If you are mounting them on the wall, mark a spot that is about 2 to 3 feet from the floor, but adjust for your actual seating height. Position the speakers so they form an equilateral triangle with your head: the distance between the speakers should be roughly the same as the distance from each speaker to your ears. This creates a strong stereo image. If you are placing them on shelves, use the same height and angle rule. You can tilt them slightly downward if they are above ear level. The key is to avoid placing speakers too close to corners or walls, as this can cause boomy bass and muddle sound. Leave at least a few inches of clearance from the back wall, and if possible, angle them slightly inward toward your listening spot. Use a measuring tape and a level to ensure precision, and mark the mounting points clearly with a pencil before drilling.
Secure Speakers on Wall or Shelves
If you opted for wall mounting, use sturdy wall brackets designed for bookshelf speakers. First, locate the wall studs with a stud finder and mark their centers. Hold the bracket against the wall, use a bubble level to make sure it is straight, and mark the screw holes. Drill pilot holes if needed, then attach the bracket with appropriate screws and wall anchors for safety. If you are placing speakers on shelves, verify that the shelf is level and can support the speaker's weight. Place thin rubber pads or foam isolation feet under the speakers to prevent vibration and keep them from slipping. Ensure that the speakers are securely positioned so they do not fall, especially if you have pets or children. If you are using floor stands, assemble them according to instructions and fill the base with sand or lead shot if recommended for stability. After placement, double-check that all connections are accessible and that speakers are not hanging over the edge. This step is vital for both safety and sound quality; a stable mount prevents accidents and allows the speaker to produce clean bass without rattling the shelf.
Select a Compact Amplifier or Receiver
Since you do not have a large hi-fi rack, you need a small audio source. Look for a compact stereo amplifier or integrated amp that can fit on a side table, inside a media console, or even mount behind your TV. Check the inputs on your audio source: if your TV has an optical output, you might need a separate DAC or an amplifier with optical input. If you are using a phone or computer, consider a model with Bluetooth or a USB input. Place the amplifier in a location that allows for good ventilation; do not bury it in a closed cabinet without airflow. Make connections using appropriate cables: speaker wire from the amp to each speaker, and an audio cable from your TV or music player to the amp. If your amplifier is hidden, plan for easy access to its power switch and volume knob. Some models come with remote controls, which can be a convenience. Measure the dimensions of the amplifier and your chosen spot to ensure a proper fit. Also, consider whether you need a subwoofer output; many bookshelf speakers benefit from a sub, but that can be added later. The goal is to have the audio gear integrated into your existing furniture without becoming the focal point.
Connect Speakers with Neat Cable Management
After positioning your speakers and amplifier, it is time to run the cables. Measure the distance from each speaker to the amplifier, and cut speaker wire to the appropriate length, leaving a little slack for adjustments. Run the cables along the edges of walls, following baseboards, or tuck them into cable management channels. You can use adhesive cable clips to hold the wire flat against the wall or floor. If the speaker is mounted on a wall, feed the wire through a small hole behind the speaker, then down to the amplifier route. Ensure that the wires are not pinched or bent sharply. Connect the speaker wire to the terminals on the speakers and amplifier, matching the positive and negative poles correctly. For the audio cable from your TV, use a short HDMI or optical cable that can be hidden behind the TV. Use zip ties to bundle wires neatly, but do not over-tighten. Consider using a cable concealer kit that runs along the wall and can be painted to match the room. The importance of this step is twofold: it keeps the room looking tidy and it prevents tripping hazards or accidental disconnection. Neatly managed cables also reduce the risk of interference from other electronics.
Calibrate Speaker Settings and Room Acoustics
Once everything is connected, turn on the system and play some music you know well. Start with the volume low and gradually increase it. If your amplifier has a balance or tone controls, set them to neutral first. Listen for any tonal imbalances. If bass sounds weak, try moving speakers a bit farther from walls, or if bass is too boomy, move them away from corners. You can also adjust the toe-in angle to change the stereo image and high-frequency balance. If you have thick curtains, rugs, or sofas, they will absorb sound and reduce reverberation, which can make the system sound 'dead'. If the room feels too lively, add soft furnishings. Conversely, if it sounds dull, you might need to add some reflective surfaces. This calibration step is crucial because speaker placement in a real room rarely matches the ideal mathematically; listening and adjusting by ear is the only way to get good sound. Pay attention to the level of bass, midrange, and treble. If you have a subwoofer, set its crossover frequency and volume according to your speakers' specifications. Take your time and make small adjustments, then listen again. This process is as important as the equipment itself.
Integrate Audio Gear with Living Room Decor
Finally, make the audio system blend into your living room aesthetics. Since you are avoiding a large rack, your gear should be discreet. Use a decorative basket or a plant to cover the amplifier if it is on a shelf, but ensure proper airflow. Place books on the shelves around the speakers so they look like part of the furniture. Use a TV bench with open shelves to house the amplifier and streaming devices. Arrange cables so they disappear against wall colors. If your speakers are on stands, choose sleek and slim models that do not overpower the room. You can also paint speaker grilles to match the wall or keep them neutral. The goal is to have excellent sound without a cluttered appearance. This integration also involves making the controls accessible; if your amplifier is hidden, keep the remote on the coffee table. This thoughtful placement ensures that the speakers add value to your living space rather than dominate it.
Quick Reference
| Situation | Action | Why it helps |
|---|---|---|
| Speakers are too close to the back wall, causing booming bass. | Move the speakers at least 12 inches away from the wall, and if possible, angle them slightly inward to reduce wall reflections. | This reduces boundary reinforcement that causes excessive bass, giving you a flatter frequency response. |
| You cannot drill into the walls to mount speakers. | Use high-quality floor stands that sit behind your sofa, and place them exactly at ear height. | Stands provide a stable, removable solution that does not damage walls and still allows precise placement. |
| The amplifier overheats when hidden in a closed cabinet. | Move the amplifier to an open shelf or add a small USB-powered cooling fan with vents. | Adequate ventilation prevents thermal shutdown and prolongs the life of the amplifier. |
Common Issues
- One speaker is louder than the other.: Check the balance control on the amplifier and set it to center. Then swap the speaker wire connections at the amplifier to see if the issue follows the speaker or the channel. If it follows, the speaker may be faulty; if it stays, the amplifier input or cable is the problem.
- No sound from both speakers.: Verify that the amplifier is turned on and the input source is correct. Check that speaker wires are firmly connected to both speakers and the amplifier, ensuring the metal leads are touching the terminals. Also test with a different audio source to rule out a dead source.
- Buzzing or humming sound from speakers.: Disconnect all unused audio cables, and ensure that power cables and audio cables are not parallel to each other. Try plugging the amplifier into a different outlet, and if the hum persists, use a power conditioner.
Advanced Tips
- Place speakers on isolating foam or rubber feet to reduce vibration transfer to shelves, which can muddy bass and blur stereo imaging.
- Consider using an external digital-to-analog converter (DAC) between your TV and amplifier if your TV's built-in converter is of low quality, providing a cleaner audio signal.
- Experiment with slight variation in speaker height (raising or lowering by a few inches) to find the sweet spot that aligns with your ears, especially if you have a sloped floor.
Final Checklist
- Speakers are at ear height and angled toward your listening position, with clearance from walls.
- Amplifier is securely placed with proper airflow, and all connections are tight and polarity-correct.
- Cables are neatly routed and secured to avoid tripping hazards and visual clutter.
- System is tested with music you know, and adjustments to crossover, tone, or placement are made for balanced sound.
FAQ
How far from the wall should bookshelf speakers be placed?
Ideally, keep them at least 12 to 18 inches from the back wall to prevent bass buildup. If your speakers are rear ported, the port needs more space. Experiment by pulling them forward until bass sounds natural, not boomy. In small rooms, you may need to compromise. Always listen to test tracks and adjust.
Can I use bookshelf speakers as my main TV speakers?
Yes, you can. Connect them to a compact amplifier that has an optical input to your TV. This will give you better dialog clarity and dynamic sound than the TV's built-in speakers. Place the speakers at ear level on either side of the TV, and consider a center channel if you watch a lot of movies.
What cable do I need to connect my TV to the amplifier?
Check the audio outputs on your TV. Most have an optical audio output or HDMI ARC. For optical, use a digital optical cable. For HDMI ARC, use a standard HDMI cable. If your TV has no optical, use analog RCA cables from the TV's headphone jack, but quality will be lower.