What To Check Before Choosing A Listening Room Layout That Improves Sound Without A Renovation
A practical step-by-step guide to what to check before choosing a listening room layout that improves sound without a renovation, including preparation, instructions, common issues, tips, and next steps.
What To Check Before Choosing A Listening Room Layout That Improves Sound Without A Renovation
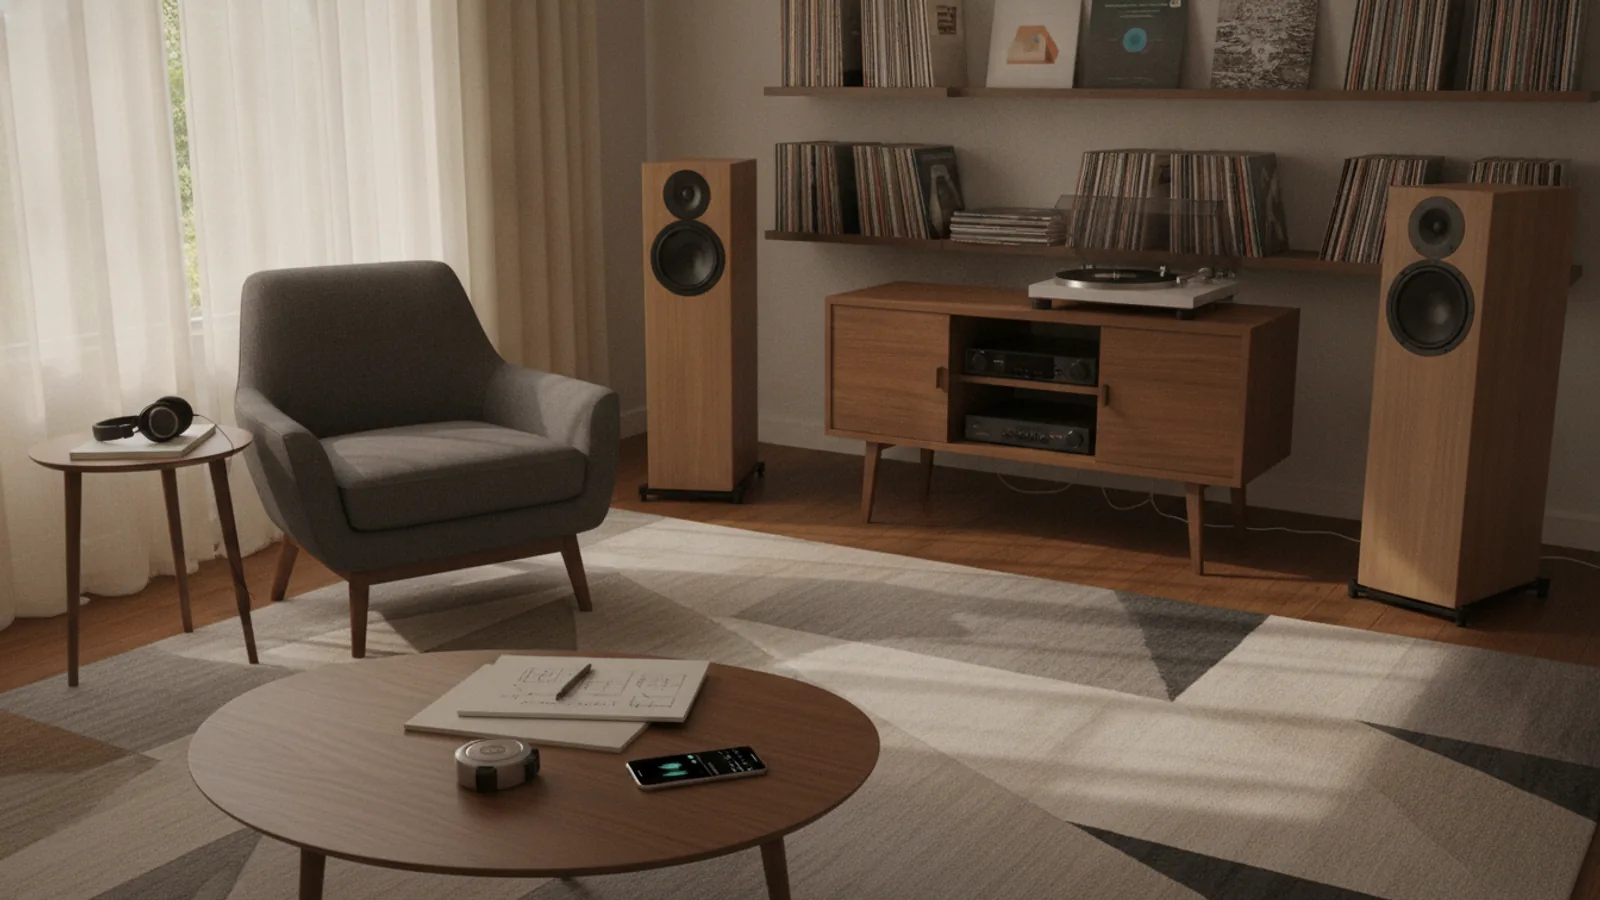
Choosing a listening room layout that improves sound without renovating means working with the space you already have. This guide walks you through practical checks—from identifying the room's shape and reflective surfaces to positioning your speakers and listening seat. You'll learn how to use furniture, rugs, and bookshelves to tame reflections and bass issues, place your speakers away from walls for clearer imaging, and set up a symmetrical listening triangle. Each step includes a hands-on action, a clear reason, and a useful tip, so you can make informed layout decisions that noticeably boost clarity and depth before spending on any structural changes.
Fast Answer
- Start by measuring your room and mapping its reflective surfaces—hard floors, bare walls, and large windows—because they directly affect clarity and echo. Move your listening chair and speakers into a symmetrical triangle away from walls, then use rugs and furniture to break up reflections.
- Use the 38% rule or the equilateral triangle positioning as a starting point, then fine-tune by walking around the room to find where bass disappears and placing soft furniture there. No renovation is needed—just smart placement of what you already own.
Before You Start
- Gather a tape measure, a notepad, and a pencil to sketch the room's shape and mark key dimensions, including ceiling height, because symmetry and proportions affect sound distribution.
- Identify all hard surfaces—windows, floor type, bare walls, or large mirrors—and note them on your sketch, as these reflect high and mid frequencies and cause flutter echoes.
- List the furniture you can move, such as sofas, bookshelves, rugs, and heavy curtains, because these can serve as adjustable diffusors and absorbers without tools.
- Find the room's listening position and speaker locations by imagining a triangle from your chair to each speaker, and clear a path to move things around for testing.
Step-by-Step Instructions
Measure Your Room and Create a Floor Plan
Start by measuring your room's length, width, and height, then sketch a simple bird's-eye view on graph paper. Mark all doors, windows, and built-in features like alcoves or columns. This gives you a mental map to work with, which is essential because symmetrical placement is the foundation of good sound. Why this matters: if you place speakers at different distances from side walls, stereo imaging collapses and bass becomes uneven. Take a minute to note floor type (wood, tile, carpet) and wall materials—these are your acoustic reflectors. A practical check: stand at your listening seat and count how many bare walls you can see in your peripheral vision; those surfaces need treatment. Even before moving anything, you'll know where the best listening triangle can fit.
Identify Reflective and Absorptive Surfaces
Walk around the room and note every surface that reflects sound: hard floors, glass windows, bare walls, and even large tabletops. Clap your hands to locate flutter echoes between parallel walls. Record which corners are most exposed. Why this check drives layout: reflective surfaces create early reflections that smear detail and reduce clarity. On the other hand, heavy curtains, upholstered furniture, and bookshelves absorb or scatter sound—they become your acoustic tools. A practical action: place a small mirror at each suspected reflection point on the side walls—if you can see a speaker from your chair, that spot reflects harsh highs. You don't need to know exact acoustic science; just remember that your room is both a sound source and a sound modifier. By mapping these zones, you can position your main seating to avoid the worst reflections.
Place Speakers Symmetrically Along the Long Wall
For most rooms, the best layout is to place speakers along the long wall, facing down the shorter dimension. Measure equal distances from side walls and equal distance from the back wall. Start with at least 2 feet from the back wall if possible, but one foot is a common minimum. Why this works: symmetry ensures balanced stereo imaging and correct phase, while distance from walls reduces boundary bass boost and reflection issues. Now form an equilateral triangle: your listening chair is the third point, with each speaker equally spaced from the chair and from each other. A practical check: use string or a long cable to verify those distances. You may need to accept a compromise if the chair is fixed—then move speakers closer to the front wall to shrink that triangle.
Position Your Listening Chair for Best Balance
Set your chair so that your ears are equidistant from each speaker and at a distance that maintains the triangle. Start by experimenting with the '38% rule'—position the chair 38% from the front wall into the room length to avoid the worst bass null. But this is just a guideline; your walls and furniture alter it. Why this matters: the chair determines the sweet spot, where stereo imaging and frequency balance are most correct. A practical check: sit, close your eyes, and have someone slowly walk from left speaker to right—if you can localize them instantly, your chair is placed well. If the bass sounds thin, move the chair closer to a wall; if it's boomy, move it away. Move only the chair first and listen for changes before adjusting speakers.
Add Soft Surfaces to Tame Early Reflections
Once speaker and chair positions are set, use your existing furniture to control reflections. Place a rug over hard floor in the reflection zone between you and the speakers. Add heavy curtains on windows, and put a bookshelf or dense plant at first reflection points on side walls. Why this check improves sound: these soft materials absorb mid and high frequencies, eliminating echoes and improving clarity. A practical action: sit in your chair and have a friend hold a mirror at each suspected reflection point—cover that wall area with fabric, a corkboard, or a wall-hung tapestry. Avoid covering the entire front wall behind speakers; some reflections there are good. Also consider the floor: a carpet can be a major helper. Test by clapping your hands and listening for ringing—less is better.
Fine-Tune Speaker Angle and Toe-In
With speakers at equal distances, adjust their toe-in—the angle pointing them toward the listening chair. Start with speakers aimed directly ahead, then rotate each inward until they point at your shoulders. Listen for a balance between center image and spaciousness. Why this matters: toe-in affects the direct-to-reflected ratio, altering treble energy and soundstage. A practical check: slowly rotate one speaker while listening to a vocal track; you'll hear the voice become more focused if angle is right. Walk around the room to ensure the sound is even, and note that crossovers fire differently at different angles. After tweaking, re-verify distances—toe-in should not change them. This final step fine-tunes your layout without any structural change, and it's the most powerful tool you have.
Quick Reference
| Situation | Action | Why it helps |
|---|---|---|
| Your room is rectangular and symmetrical, but bass sounds boomy near corners. | Move speakers at least 12 inches away from the back wall and 18 inches from side walls, and place a heavy bookshelf along the wall behind the speakers to absorb low-frequency buildup. | Corner proximity excites standing waves and boundary bass boost; simple distance and mass absorption reduce boom without renovation. |
| You have large windows on one wall and a bookcase on the opposite, causing uneven reflections. | Position speakers so the window is not directly behind or between you and the speakers; hang heavy curtains over the window and place a soft armchair on the bookcase side to balance absorption. | Mirror-like surfaces reflect high frequencies; heavy curtains and upholstery absorb or scatter, equalizing the sound field from left to right. |
| Your listening chair is against a wall, and you hear excessive deep bass and lack of clarity. | Pull the chair away from the wall even if only 2 feet, and place a thick rug in front of the chair to absorb floor reflections; if the room is small, add a dense foam panel on the wall behind you. | A wall behind the seat creates strong bass nodes and echoes; distance and soft materials reduce pressure build-up and reflections. |
Common Issues
- A continual 'ringing' or hollow sound when clapping hands anywhere in the room.: Place a rug on the floor, hang a tapestry or moving blanket on one wall, and move a bookshelf so it's not parallel to the opposite wall; this breaks up flutter echoes without adding permanent structure.
- The stereo image collapses—no clear center, and sounds seem to come from speakers only.: Reduce the distance between speakers or move your chair closer so the triangle is equilateral; also ensure toe-in aims directly at your ears, which focuses the soundstage.
- Bass sounds extremely loud at one location but weak at another, even when walking a foot.: Identify the bass null spots by walking around while playing a bass-heavy track, then move the listening chair away from nulls and into the center of the room's long axis; adding a sofa against the wall behind you can even out response.
Advanced Tips
- Use the 'rule of thirds' as a starting point: place each speaker a third of the room's width from each side wall, and your chair a third from the back wall—then tweak based on listening tests.
- Consider using a diffuser made from a bookshelf with varying book depths placed at the first reflection point to scatter sound rather than absorb, preserving spaciousness.
- If you have multiple listening positions, use the 'average' sweet spot: position speakers so the triangle's center falls midway between the two main seats, then accept a wider sweet spot.
Final Checklist
- Measured room dimensions and sketched a floor plan with all surfaces, doors, and windows noted.
- Ensured speakers are symmetrically placed with equal distances from side and back walls, and form an equilateral triangle with your listening chair.
- Identified and treated at least three first reflection points using rugs, curtains, bookshelves, or temporary blankets.
- Adjusted speaker toe-in and confirmed by listening to a familiar track that the center image is clear and bass is even.
FAQ
What if my listening chair must stay against a wall?
If the chair cannot move far from the wall, compensate by pulling speakers forward into the room at least a foot away from the front wall and angle them inward to aim directly at your ears. Place thick, absorbent material on the wall behind the chair—such as a heavy tapestry or a floor-to-ceiling bookshelf—to reduce reflections and bass bounce. You may need to accept a smaller sweet spot, but you can still achieve balanced sound by experimenting.
Do I need to treat all surfaces to get good sound?
No, you only need to target the first reflection points, which are the areas where you can see a mirror image of your speakers when seated. Treat one or two side walls, the floor between you and speakers, and possibly the front wall behind the speakers with soft materials. Over-treating can make the room sound dull and lifeless, so start with minimal absorption and add more if you still hear flutters.
How important is speaker toe-in for music listening?
Toe-in matters greatly for focusing the treble and creating a coherent stereo image. Start with speakers aimed straight ahead, then rotate them inward 10–15 degrees until they point just past your shoulders. Listen for a clear center vocal and a natural left-to-right pan; if the sound is too narrow, reduce toe-in; if it's diffuse, increase it. Careful adjustment can yield noticeable clarity.