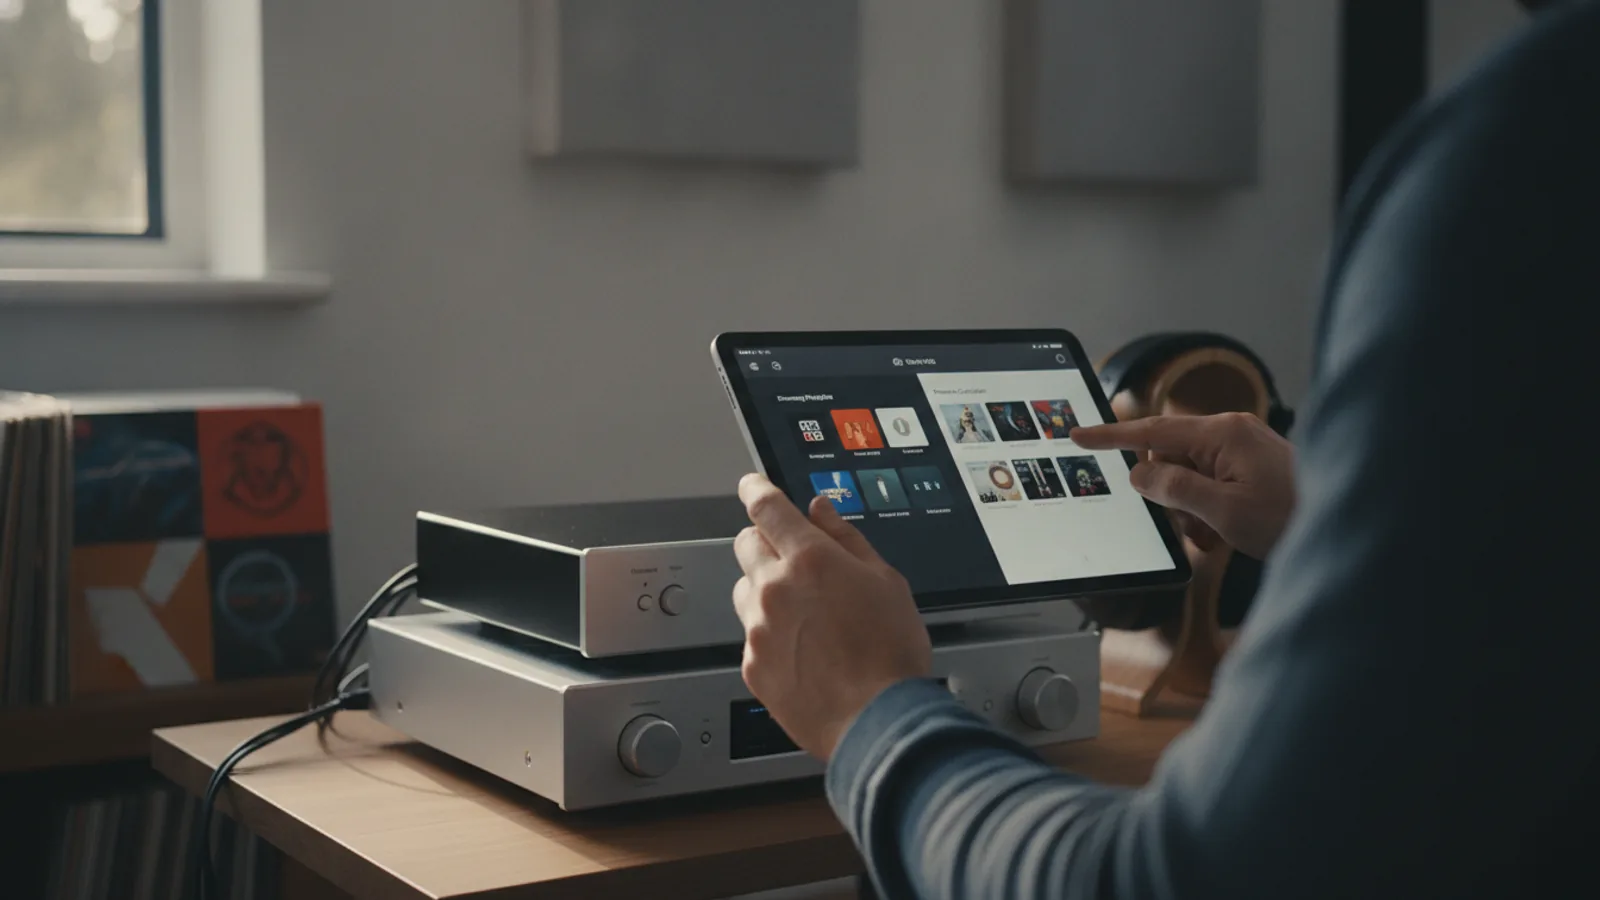
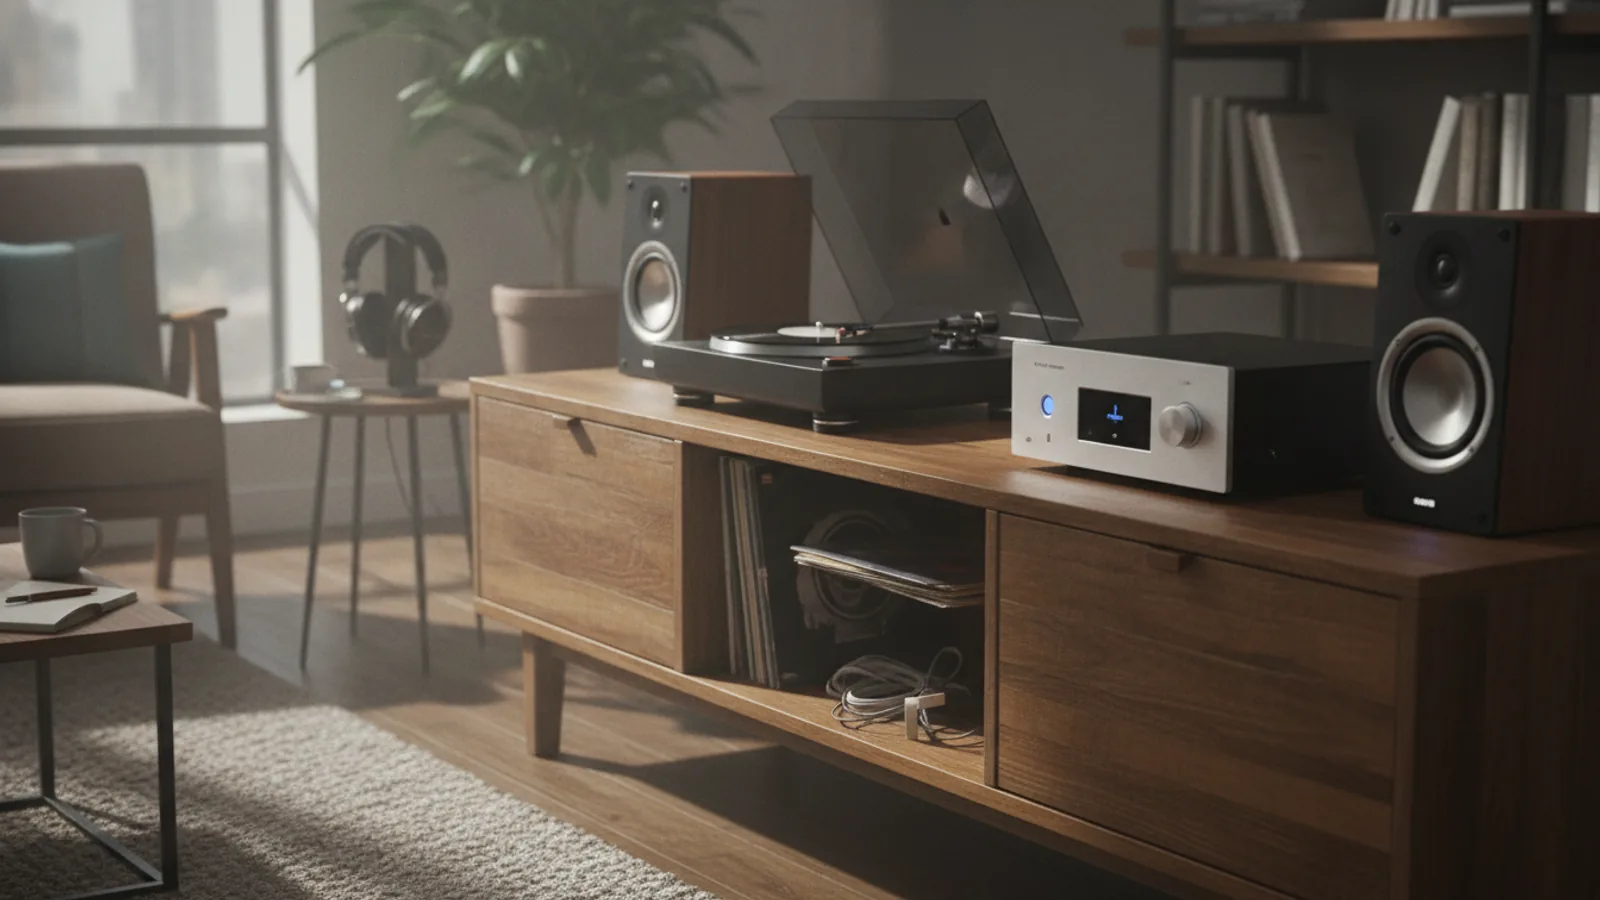
A Practical Guide To A Compact Desk Audio Setup For Music And Calls
A practical step-by-step guide to a practical guide to a compact desk audio setup for music and calls, including preparation, instructions, common issues, tips, and next steps.
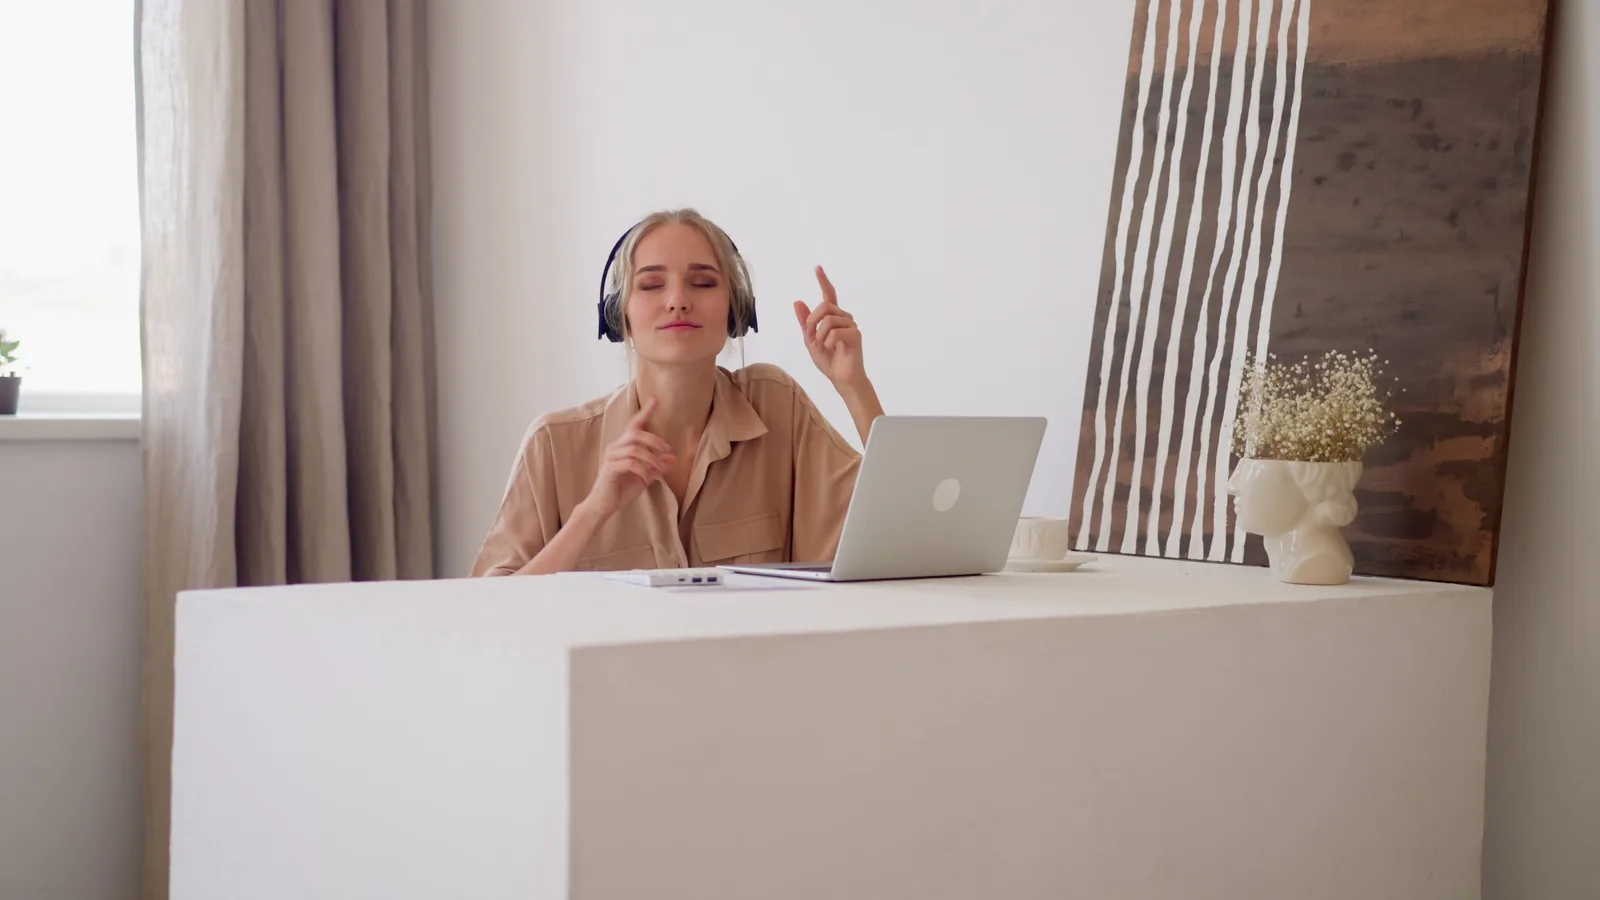
A Practical Guide To A Compact Desk Audio Setup For Music And Calls
This guide walks you through building a compact desk audio setup that handles both music and calls with minimal clutter. You will learn to choose a small audio interface, a quality microphone, and a pair of near-field monitors or headphones, then connect them, adjust levels, and test for echo and background noise. The steps focus on practical, affordable choices that fit a small desktop, with tips for placement, cable management, and troubleshooting common issues like hum or low volume.
Fast Answer
- Choose a compact USB audio interface with at least one microphone input and two balanced outputs, then connect studio monitors or headphones and a condenser microphone with a pop filter.
- Set your interface as the default playback and recording device in your computer's sound settings, then adjust microphone gain to avoid clipping and enable echo cancellation if available.
Before You Start
- Before you start, identify the physical space on your desk where the audio gear will live. Measure the available width and depth so you can choose devices that fit without blocking your monitor or keyboard.
- Decide whether you will use speakers, headphones, or both. For a very small desk, headphones or compact near-field monitors on stands are easier to fit than floor-standing speakers.
- Gather the necessary cables: USB cable for the interface, balanced XLR or 1/4-inch TRS cables for microphone and monitors, and a headphone extension if your desk setup requires it.
- Check your computer's operating system settings for sound output and input devices. You will need to know how to change default devices and access sound control panels for later adjustments.
Step-by-Step Instructions
Position Your Gear for a Clean Layout
Start by arranging your desk so that the audio equipment has a stable, dedicated spot that does not interfere with your keyboard, mouse, or monitor. Place the audio interface on the side of your dominant hand or on a small stand to keep it within easy reach. If using speakers, set them at ear level and angle them towards your listening position, forming an equilateral triangle between you and the two speakers. Keep them at least 20 centimeters from the back wall to reduce bass buildup. For headphones, ensure the cable can reach your listening spot without stretching. A specific action is to clear a 30x30 centimeter area and place a non-slip mat there for the interface and microphone stand. This prevents accidental bumps. After positioning, check that all cables can reach their ports without tension, and that the microphone is not in the direct path of speaker sound, which would cause feedback. This check matters because proper spacing prevents audio feedback and ensures a balanced soundstage for music and clear voice pick-up for calls.
Connect the Audio Interface and Microphone
Take the USB cable and plug it into the audio interface, then connect the other end to a USB port on your computer. Use a port that is directly on your computer (not a hub) if possible, to ensure stable power and data transfer. Next, connect your microphone to the interface using an XLR cable. Secure the cable to the microphone stand with a Velcro strap to prevent accidental pulls. If your microphone is a condenser type, engage the phantom power switch on the interface (usually labeled 48V). For dynamic microphones, keep phantom power off. After connecting, turn the interface's input gain knob all the way down. Then, in your computer's sound settings, select the interface as the default recording device. Speak into the microphone at your normal volume and slowly increase the gain until the level meter in your interface software or operating system shows peaks around -6 decibels. This step ensures your voice is captured at an optimal level without clipping, which would cause distortion. This check matters because setting gain correctly is the foundation for both clear music playback and intelligible calls.
Connect Speakers or Headphones Output
Decide which output you will use first. If you have studio monitors, connect them to the interface's balanced outputs. Use cables that match the connectors on your monitors: either 1/4-inch TRS or XLR. If you use headphones, plug them into the interface's headphone jack. Turn the interface's main output volume knob to minimum. Then, in your computer's sound settings, select the interface as the default playback device. Play a test track (any favorite song) and gradually raise the volume to a comfortable listening level. For monitors, check that both speakers produce sound and that the stereo image seems centered; if one speaker is silent, verify the cable connections and that the monitor's power is on. For headphones, ensure both sides have sound. This check is important because correct output routing prevents you from hearing nothing or having audio come out of your computer's internal speakers, which would sound small and muddy and could confuse call audio routing.
Set Up Your Computer Audio Preferences
Open your operating system's sound settings and navigate to the 'Playback' and 'Recording' tabs. For playback, select your audio interface as the default device. For recording, also select the interface. Look for any options like 'Enhancements' or 'Audio Enhancements' and disable them, as they can add delay and alter sound quality. If your interface software is installed, open it and check the sample rate (usually 44.1 or 48 kHz) matches your system settings. Set the buffer size to a low value (like 128 samples) for live monitoring, but increase it to 256 or 512 if you experience clicks or pops, especially during calls. Many computers have a 'communications' tab where you can choose to reduce other sounds during calls. Decide if you want that, and set it accordingly. This step ensures your system prioritizes the interface and avoids glitches. This check matters because a mismatched sample rate or high buffer can cause audio stutters, which are extremely distracting in calls and ruin music listening.
Adjust Microphone and Monitoring Levels
Play some music on your system and listen. If using speakers, you may hear the music leaking into the microphone during calls. To test, open a voice recorder or call with a friend and speak while music plays. Adjust the microphone gain downward until your voice is clear and the music is only faintly in the background. For headphones, you can use the 'monitor mix' knob on your interface to blend your microphone input with the computer playback. Set it so you can hear your own voice comfortably without it being too loud. If your interface has a direct monitoring switch, enable it to hear your microphone without latency. Speak at a normal volume and check for any distortion or echo. This step is crucial because balancing these levels is the key to professional-sounding calls and enjoyable music. Without proper adjustment, callers on the other end may hear themselves echoing, or your music may sound lopsided if one channel is louder.
Test the Setup with a Real Call
Initiate a test call with a friend or use a call service that lets you record your voice. Speak at a normal volume for a minute, then play music in the background to simulate a typical scenario. Ask the other person if they hear any echo, tinny sound, or excessive background noise. Also, listen to music on your setup for a few minutes to ensure it sounds natural and full, without harshness or missing frequencies. If you have a second headphone, plug that into your computer's headphone jack as a separate audio output to compare. During the call, try muting and unmuting your microphone to confirm the button works. If you hear complaints, go back to earlier steps and tweak the gain or positioning. This final test verifies that your entire chain works in a real-world situation. This check matters because hearing yourself on the call or being inaudible are common issues that only appear when interacting with another device, and catching them now prevents future frustration.
Quick Reference
| Situation | Action | Why it helps |
|---|---|---|
| You hear a low hum or buzz from your speakers even when no music is playing. | Check that the audio interface and speakers are plugged into the same power strip or outlet, and move power adapters away from audio cables. | Ground loops often occur when devices are plugged into different outlets, and this simple fix breaks the loop and eliminates the hum. |
| During a call, the other person says they hear themselves echoing when you speak. | Lower the microphone gain slightly and enable any echo cancellation feature on your interface or computer sound settings. | Echo occurs when the microphone picks up speaker output, and reducing gain or using a software filter minimizes that feedback path. |
| Your voice sounds very quiet in calls even though the microphone is close to you. | Increase the microphone gain gradually while speaking, and check that the input channel is not muted in your interface software. | A silent channel or low gain can greatly reduce volume; adjusting it ensures your voice registers at an appropriate level. |
Common Issues
- No audio comes out of the speakers or headphones no matter what you play.: Verify that the interface is selected as the default playback device in your operating system's sound settings. Also, check that the interface's main volume knob is turned up and that the speakers are powered on. Then, try plugging the headphones directly into the interface's headphone output to see if sound appears there, which helps isolate whether the problem is with the speakers or the interface output.
- Microphone picks up too much background noise, like the hum of a computer fan.: Use a microphone with a cardioid polar pattern and position it so the back side faces the noise source. Also, lower the gain and speak closer to the microphone. If noise persists, use a noise gate in your recording software to mute the mic when you are not speaking.
- You hear a metallic ringing or rattling sound when you play bass-heavy music.: Tighten all screws on your desk setup and speaker stands, as vibrating components cause these sounds. Place rubber pads under speakers to decouple them from the desk surface, and ensure cables do not touch the desk where they can vibrate.
Advanced Tips
- Use a high-pass filter on your microphone channel to cut frequencies below 80 Hz, which reduces rumble and makes your voice sound cleaner in calls.
- Set up a small acoustic panel or a few bookshelves on the wall behind your speakers to break up sound reflections that cause boomy bass and boxy tones.
- Create separate software profiles or physical volume presets for 'music' and 'calls' so you can instantly switch between a music-optimized EQ and a voice-optimized vocal boost.
Final Checklist
- All cables are firmly connected and no audio cables run parallel to power cords.
- Microphone gain is set so your voice peaks around -6 dB on the level meter.
- Speakers are placed at ear level and angled inward toward your listening position.
- You have made a test call and confirmed no echo or distortion, and you know how to adjust the main volume quickly.
FAQ
Can I use a USB microphone instead of an audio interface?
Yes, a USB microphone is a simpler alternative, but it may limit your ability to adjust gain and use studio monitors directly. If you need zero-latency monitoring or plan to upgrade to XLR microphones later, an interface offers more flexibility. For basic calls and casual music listening, a USB mic can work well, but ensure your computer recognizes it as both input and output if you want to hear playback through it.
Is it better to use headphones or speakers for my desk setup?
Both have pros. Speakers provide a more natural soundstage and don't cover your ears, making it easier to hear your environment. Headphones offer privacy and prevent sound from leaking into a microphone, which is ideal for calls. If you have limited space, a good pair of open-back headphones can feel airy, while closed-back headphones are better for blocking noise. Choose based on whether you prioritize call clarity or music immersion.
How do I stop my microphone from picking up mouse clicks and keyboard typing?
Use a microphone with a cardioid pattern and position it so that the keyboard is to the side or rear. Place a foam windscreen on the mic to soften air blasts, and lower the gain so that only your voice, which is closer, registers above the threshold. In your interface software or operating system, enable noise suppression or use a gate with a low threshold to mute the mic during silent moments.