A Practical Guide To A Home Audio System For Clear Everyday Music Listening
A practical step-by-step guide to a practical guide to a home audio system for clear everyday music listening, including preparation, instructions, common issues, tips, and next steps.
A Practical Guide To A Home Audio System For Clear Everyday Music Listening
This guide helps you set up a clear home audio system for everyday music listening. It covers choosing speakers, positioning, connecting sources, and fine-tuning basic settings. The focus is on practical steps that improve sound clarity without requiring expensive equipment or technical expertise. You will learn how to arrange your room, set up speakers, connect your music source, and adjust simple controls to get better sound. The guide also includes tips for troubleshooting common problems and references for quick fixes. By following these steps, you can enjoy cleaner, more detailed music at home.
Fast Answer
- Place speakers at ear level and form an equilateral triangle with your listening spot for a centered, clear soundstage.
- Use wired connections when possible, as they avoid interference and signal loss that can muddy audio quality.
Before You Start
- Measure your room's dimensions and identify the main listening area, noting where you usually sit or stand while listening to music.
- Choose a flat, stable surface or speaker stands to position your speakers; avoid hollow cabinets or shelves that can vibrate and distort sound.
- Gather speaker wire, a wire stripper or scissors, and a small level; these tools help secure clean connections and ensure proper alignment.
- Locate the audio outputs on your music source, such as a computer, phone, or dedicated player, and prepare the correct connection cables.
Step-by-Step Instructions
Position Your Listening Seat
Start by deciding where you will listen most often. Sit in that chair or spot and measure the distance from your head to where the speakers will be. This distance becomes your reference. Mark the ideal speaker positions so that they form an equilateral triangle with your head: the two speakers and your head should be equal distances apart. For example, if you sit two meters from each speaker, the speakers should also be two meters from each other. Use a tape measure to check. This arrangement helps create a focused stereo image, making voices and instruments sound centered. Adjust your seat or speaker placement slightly to achieve this geometry, which is the foundation for clear audio. A good listening setup reduces reflections and ensures you hear the direct sound from the speakers, not room echo. This is important because the right geometry gives you a balanced frequency response and clearer details in music.
Set Up the Speakers
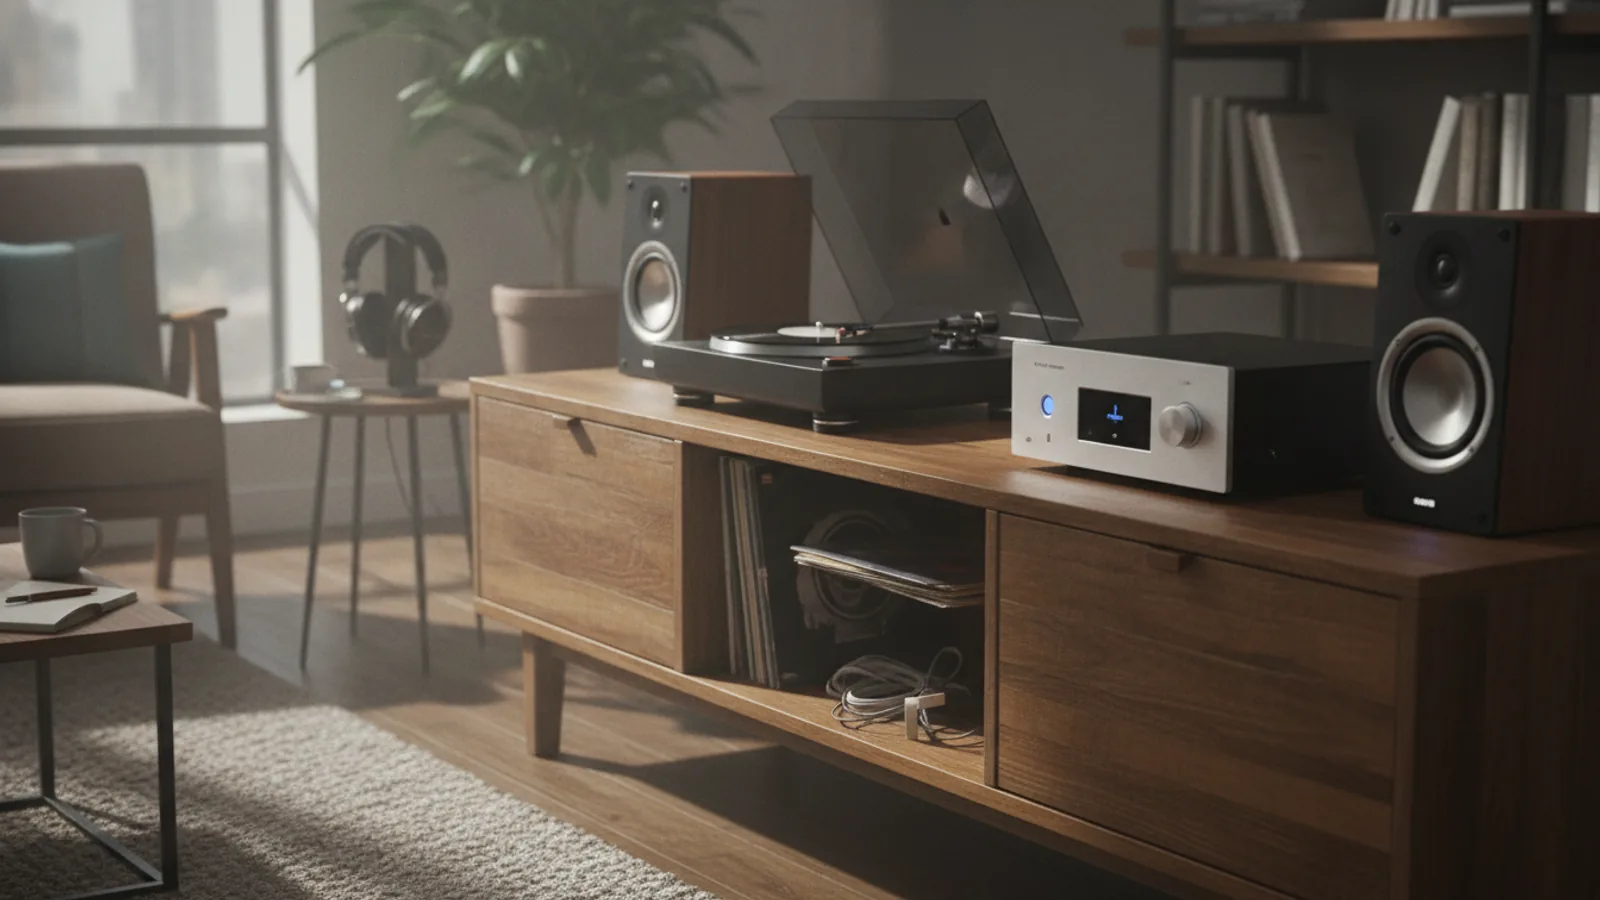
Place each speaker on a stable stand or solid surface at ear level when you are seated. Tilt them slightly inward so they aim at your head if they are not already at ear height. Use a level to check that the tops are flat. If they are on a shelf, ensure they are at the front edge, not buried against the back, to avoid reflected sound. Keep each speaker at least 20–30 centimeters from the back wall and 50 centimeters from side walls to prevent bass buildup. This reduces unnatural booming and keeps the midrange clear. After placing, walk around the room to see if the sound is even; adjust the toe-in angle if one speaker seems louder. The check matters because proper placement prevents phase issues that blur the stereo image. When both speakers are positioned symmetrically and at the right height, you will hear a more cohesive sound where vocals and instruments appear in defined spaces.
Connect Your Music Source
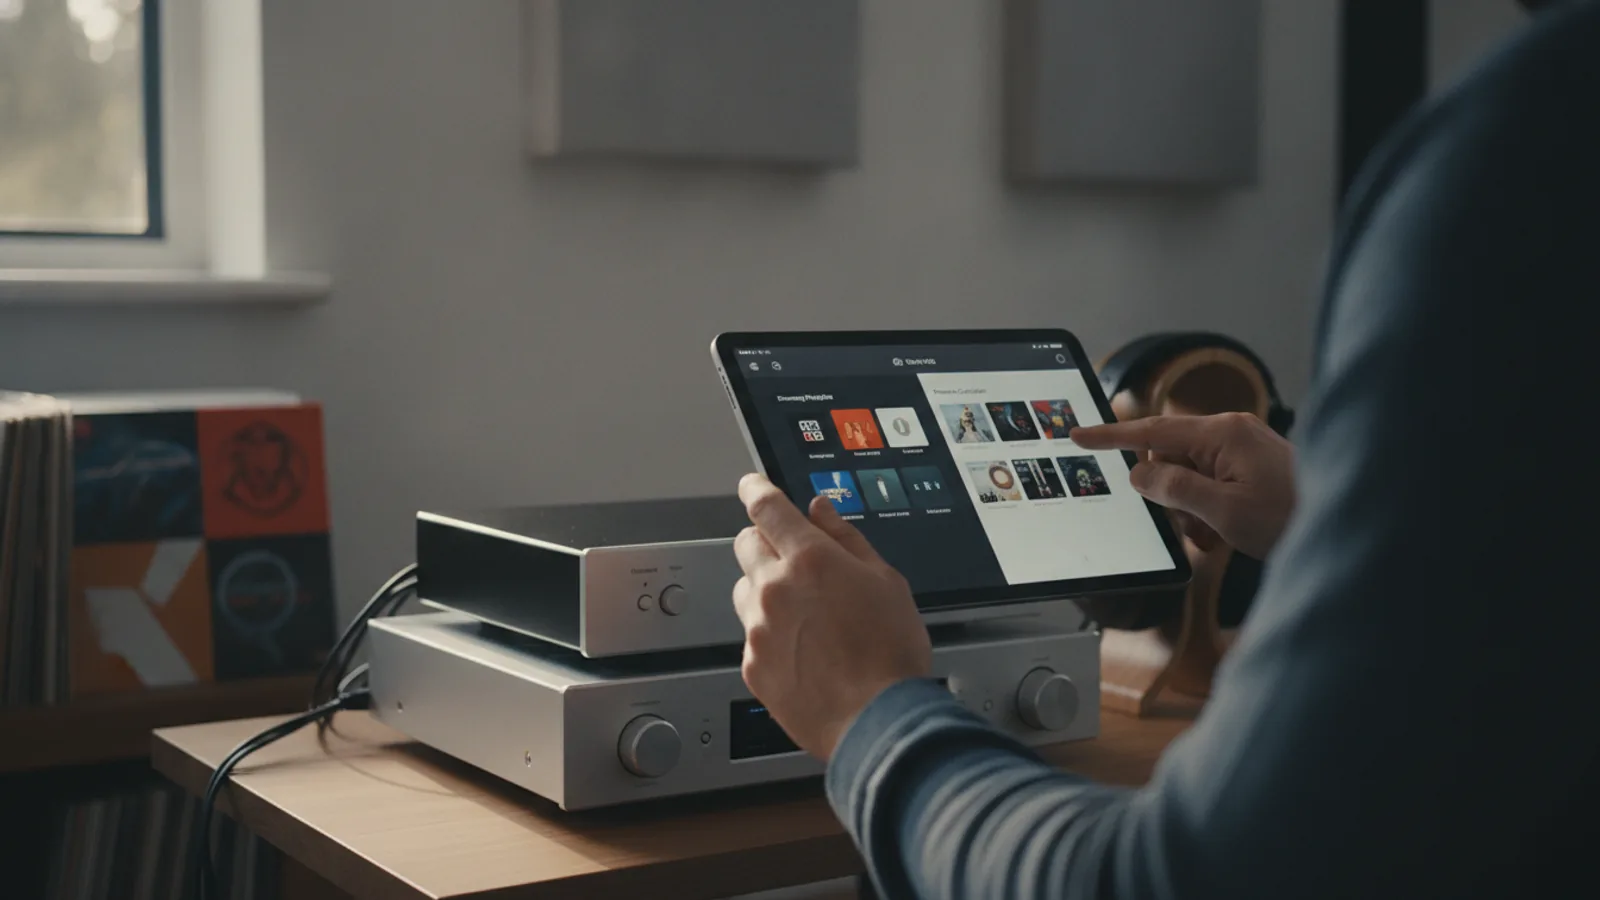
Choose the best available connection from your music source to your amplifier or active speakers. Wired connections like RCA or optical generally provide cleaner sound than wireless. Connect the source to the amplifier and then to the speakers, ensuring that left and right channels match. Use cables that are long enough to allow slack, but not coiled and tangled. Secure each connection by pushing it in firmly until it clicks or tightens the screw. After connecting, set the source's volume to about 50% and power on the amplifier gradually. Then play a test track. Check that you hear sound from both speakers and that the balance is centered; adjust the balance knob if you hear an imbalance. This check verifies that the signal path is intact, which is essential because a loose connection can cause crackling or missing high frequencies. A good connection preserves the original signal, so you get all the details in your music.
Adjust Basic Settings
Once your system is connected, set the base volume on the source to medium (around 50%) and the amplifier volume to your usual listening level. Then adjust the tone controls: set bass and treble to neutral (usually the middle or zero setting) initially. Switch off any 'loudness' or 'enhanced' effects that alter the frequency response. If your amplifier has a balance control, keep it centered. Then play a familiar track and listen. If the sound is too bright, reduce treble slightly; if it's boomy, reduce bass. Change one setting at a time and listen for at least 60 seconds before making another change. This gradual approach helps you find a balanced tone without overcorrection. This check matters because neutral settings let the music reproduce as recorded, and minor adjustments can fix room acoustics. Getting a clear baseline helps you hear the true character of your system, so you know what to tweak later.
Optimize Room Acoustics
Walk around your room and listen for echo or reverberation. If the room sounds very live, add soft materials like rugs, curtains, or upholstered furniture to absorb sound. Place a rug on a hard floor if possible. Pull curtains over bare windows. Also, fill empty bookshelves with books to break up flat surfaces. Arrange furniture so it breaks up large reflective walls, but do not put large objects directly in front of speakers. If you have a small room, consider adding a few acoustic panels behind the listening position. After making changes, play a music track and listen for a reduction in echo and a clearer sound. This check is important because excessive reflection muddies the sound and blurs instrument separation. Adding absorption improves clarity and reduces listening fatigue, making your music sound cleaner.
Confirm and Fine-Tune
Play a variety of music tracks you know well, including ones with vocals, bass, and high frequencies. Listen at different volumes. Check that the sound stays clear even when you raise the volume slightly. If distortion appears, reduce the volume or check that speakers are not overdriven. Also, walk to the other side of the room to see if the sound image collapses; adjust toe-in if needed. Finally, listen at your usual listening volume for 10 minutes to see if you notice any fatigue or harshness. If so, reduce treble or adjust speaker placement slightly. This final check ensures that your system sounds good in real conditions and that you haven't introduced any new issues from earlier steps. This matters because a system that sounds good on one track may fail on another, so a varied test confirms that your setup is versatile and reliable for everyday listening.
Quick Reference
| Situation | Action | Why it helps |
|---|---|---|
| Bass sounds boomy and unclear | Move speakers at least 20 centimeters away from walls and corners, and reduce bass tone control by one or two notches. | Reducing boundary reflections and bass boost helps flatten frequency response, making bass tighter and less muddy. |
| Vocals sound hollow or distant | Toe-in speakers to aim directly at your ears, and ensure they are at ear level. | Aiming the tweeters toward your ears improves high-frequency detail and centers the vocal image. |
| Hearing a faint echo or ringing in the room | Place a rug, curtains, or upholstered furniture to absorb sound reflections. | Softer materials reduce reverberation, which otherwise blurs sound and makes it harder to hear details. |
Common Issues
- No sound from one speaker: Check all connections at the source, amplifier, and speaker. Swap cables between left and right to see if the problem follows; if it does, replace the cable. Also test with a different input to rule out a broken source.
- Distortion at moderate volume: Lower the volume and check if speakers are damaged. Ensure that the speaker wires are not touching each other at the terminals, which can cause a short. Also, avoid turning the source volume to maximum, as that can clip the signal.
- Treble sounds too harsh or sibilant: Reduce the treble control by one step. Also, try turning the speakers slightly away from your direct ear position to reduce high-frequency emphasis. Ensure the tweeters are not at sharp angles to the room corners.
Advanced Tips
- Experiment with speaker placement using the 1/3 rule: place each speaker one-third of the room's length from the back wall and your listening position one-third from the opposite wall for better bass distribution.
- Use a smartphone app that measures frequency response to help identify problematic room modes; then try shifting speakers a few centimeters to see if the response smooths out.
- Consider adding a subwoofer for deeper bass, but set its crossover to a low frequency (around 80 Hz) and adjust the phase so it blends seamlessly with your main speakers.
Final Checklist
- Listen from your primary seating area and verify that music sounds centered and clear, with no obvious booming or harshness.
- Inspect that both speakers are at ear level and angled slightly toward your listening spot to ensure proper stereo imaging.
- Test different music genres, including bass-heavy tracks and acoustic vocals, to confirm that the system handles various content well.
- Ensure that all volumes are set to a comfortable level and that you can adjust them easily without leaving your seat.
FAQ
Do I need expensive cables for better sound?
Not really. High-quality basic cables are sufficient for most home setups. The most important thing is that connections are secure and not damaged. Overpriced cables don't improve sound significantly; instead, focus on speaker placement and room acoustics.
How can I reduce bass boom in a small room?
Move speakers away from walls and corners, which are the main sources of bass reinforcement. Place them at least 20 centimeters from the back wall and ideally more. Also, using a rug or curtains can absorb some low-frequency energy. If possible, avoid placing the listening seat exactly in the center of the room, as that spot may have bass nulls.
Why does my music sound different when standing versus sitting?
This is often due to speaker height and toe-in. When you stand, your ears are higher and may be above the tweeters, causing a loss of high frequencies and a duller sound. Ensure that the tweeters are at ear level when you are in your usual listening position. You can adjust speaker height or tilt them downward if needed.