A Practical Guide To A Music Streaming Setup That Keeps A Personal Collection Easy To Find
A practical step-by-step guide to a practical guide to a music streaming setup that keeps a personal collection easy to find, including preparation, instructions, common issues, tips, and next steps.
A Practical Guide To A Music Streaming Setup That Keeps A Personal Collection Easy To Find
This guide explains how to set up a music streaming system that puts your personal digital music collection front and center, making it easy to find and play the songs you love without digging through menus or relying on an internet connection. It covers organizing your files, choosing a tool that fits your needs, preparing your music library, setting up streaming to your devices, creating smart playlists, and maintaining your system over time. The focus is on practical steps that work for any setup, not on specific companies or products.
Fast Answer
- Start by organizing your music files into a clear folder structure with consistent naming, then use a media server tool to index and stream them to your devices.
- Set up automatic tagging and album art fetching to keep your library clean, then create smart playlists based on metadata like genre, year, or rating for quick access.
Before You Start
- Gather all your music files in one place. If they are scattered across hard drives or devices, move them into a single main folder so the indexing tool can find everything easily.
- Check that your files are in a common format like MP3 or FLAC. If you have unusual formats, convert them to a standard type to avoid playback errors later.
- Install a media server application on the computer that will stay on and connected to your network. This program will act as the hub for your music collection.
- Write down your network settings, such as your router's IP address and the port number your media server uses, because you might need them when connecting other devices.
Step-by-Step Instructions
Organize Your Music Folder
Start by creating a main folder on your computer that will hold all your music. Inside that folder, make subfolders for each artist, and then a subfolder for each album by that artist. For example, put an album called 'Greatest Hits' in a folder named 'The Band Name', and that folder goes inside the main music folder. This structure makes it simple for any media server to scan your library without errors. After you have the folders set up, copy all your music files into the correct folders. If you have files with unclear names, rename them to include the track number and title, like '01 Song Title.mp3'. Once you have done that, do a quick check: open a few folders and make sure you can see the artist and album names clearly. This organization step prevents future confusion and makes it possible for smart playlists to work correctly. Remember, you need to do this step carefully because a messy folder structure means your streaming tool will not know what to show.
Install and Set Up Your Media Server
Choose a media server application that suits your needs. Common options include open-source tools that you can download for free, or built-in features of your operating system. Once you install it, open the application and look for a settings or library section. You will need to tell the server where your main music folder is located. Point it to that folder and then start a scan or index. The server will go through all your files and build a database of your music. During this step, you might see options to enable automatic tagging, which helps fill in missing details like album art. Make sure to enable any feature that lets the server watch the folder for changes, so new music is added automatically. After the scan finishes, take a look at the library view in the server application. Check that artists, albums, and songs appear correctly. If you see any mistakes, it's likely because the file tags were not cleaned up in step 1. This setup step is crucial because the server is what streams your music to other devices.
Prepare Your Music Library for Streaming
Before you start streaming, you need to make sure your library is in shape. This means checking that every song has the correct title, artist, album, and track number. You can use a music tag editor to fix any missing or incorrect information. Open your media server's web interface or a dedicated tagging software and look for songs with missing tags. For each album, verify that the album art is good, because the art shows up on your phone and other devices. If you find songs with no tags, you can search online for the correct information, but try to use your own knowledge if you know the music well. Once you have corrected the tags, force the server to rescan the library so it picks up the changes. After the rescan, browse through a few albums to confirm they look right. This step matters because if the tags are wrong, later smart playlists will not group your music correctly, and you will still be unable to find songs easily.
Set Up Streaming to Your Devices
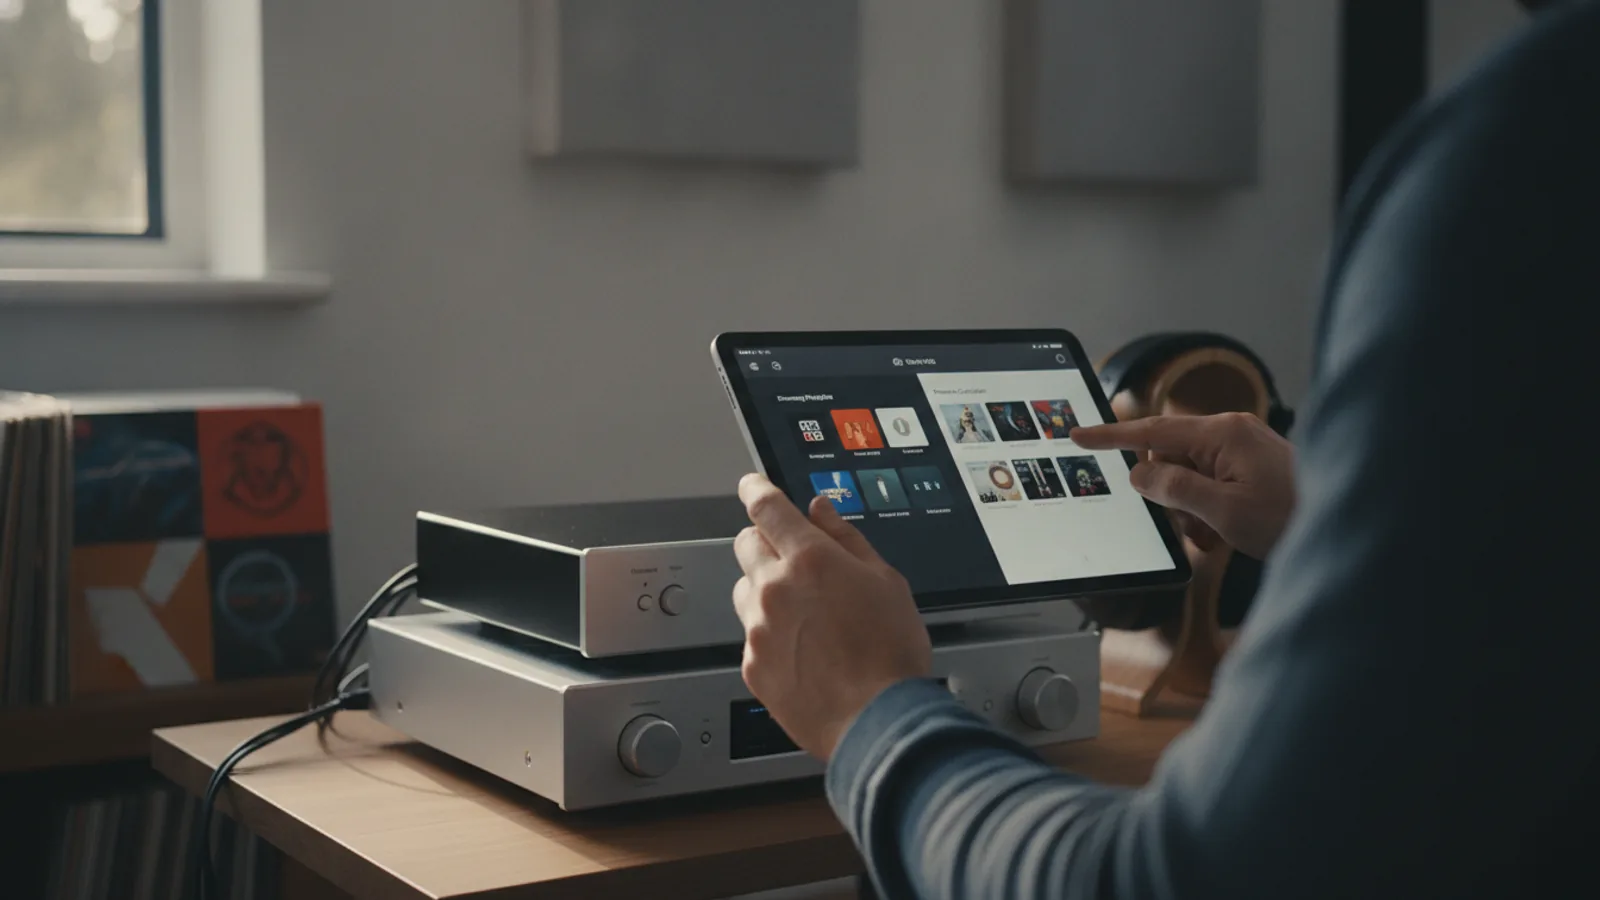
Now that your music library is clean and served by the media server, it's time to allow streaming to your phone, tablet, or other computers. You will need to install a client app on each device that wants to access the music. These apps are often available from your device's app store. After installing, open the app and look for an option to connect to a media server. You will likely need to enter the network address of your computer and the port number that the server uses. You can find this information in the server's settings. Type the address carefully, then test the connection. If it works, you should see your music library appear in the app. Make sure that all your devices are on the same local network, meaning they are connected to the same internet router. If you want to stream when away from home, you may need to set up a secure remote access method, but that is advanced. For now, confirm that you can see your library on at least one device and play a song to verify it works.
Create Smart Playlists for Quick Finding
Smart playlists are your best tool for easy finding because they automatically update based on rules you set. In your media server, look for a feature called 'smart playlists' or 'dynamic playlists.' Create a playlist that shows all songs by a specific artist you like, or songs from the 80s, or songs with a rating of 4 stars and above. The key is to use the metadata you cleaned up in step 3. For example, you can make a playlist called 'Drive Music' that includes songs with the tag 'rock' and a year between 1990 and 2000. Every time you add new music to your library that matches the rule, it automatically appears in that playlist. This way, you don't have to manually add songs over and over. After creating a few smart playlists, test them by viewing them in your streaming app. They should be stored on the server and appear on all your devices. This step is important because it turns your big library into a set of focused lists that match your mood or activity.
Maintain and Update Your System
Over time, you will add new music to your library. To keep your streaming setup useful, you need to maintain it. First, always put new files into your main music folder and make sure they follow the same naming and structure rules. The server should detect changes automatically if you enabled folder watching. If not, manually trigger a rescan. Second, occasionally review your tags for new music; fix any missing album art or incorrect information. Third, clean out old files that you no longer want in your library, and delete them from the folder. Fourth, back up your library and the server's database regularly to avoid losing your setup. You can back up to an external drive or a cloud service. Finally, check that your devices still connect to the server. If you change your router or network, you may need to reconfigure the server address. This maintenance step ensures that your music remains easy to find for years to come.
Quick Reference
| Situation | Action | Why it helps |
|---|---|---|
| You have just downloaded a new album and it won't appear in your library. | Check that the files are in your main music folder and follow your naming rule, then wait for the media server to auto-scan or manually trigger a rescan from the server settings. | The server only indexes files in folders it is configured to watch, and a manual rescan forces it to check the folder for changes immediately. |
| When you open your streaming app, songs show the wrong title or artist. | Use a tag editor to correct the metadata for those specific songs, then force a library rescan on your media server to update the cached information. | The streaming app displays the tags stored in your files, so fixing the tags and rescanning ensures the server sends the correct details. |
| You want to listen to music in your car without using cellular data. | Before leaving, use your streaming app to download a few smart playlists to your phone for offline playback, and make sure the playlists are set to sync when on your home Wi-Fi. | Offline downloads let you access your music without an internet connection, saving data and ensuring continuous playback even in areas with no signal. |
Common Issues
- The media server cannot find my music files.: Verify that the folder path you set in the server settings actually contains the music files. Check for permissions that might block the server from reading the folder. Move the music to a simpler path, such as directly under your user folder, and rescan.
- Streaming lags or stops when playing music on my phone.: Make sure your computer and phone are on the same Wi-Fi network. Reduce the distance between the phone and router. If the problem persists, try lowering the streaming quality in your app settings, and check that the server is not overloaded with other tasks.
- Some albums appear as multiple entries with the same name.: This often happens when album names have extra spaces or characters, or when different files have slightly different album tags. Use a tag editor to make the album name and artist exactly the same across all tracks, then rescan the library.
Advanced Tips
- Use your media server's web-based player to access your music from any computer on your network without installing extra software, which is handy for quick listening sessions.
- Set up a separate user account on your computer for the media server to run under, with only access to the music folder, to reduce security risks.
- Investigate whether your streaming app supports a 'local network permission' prompt on your phone; allow it to avoid connectivity issues when searching for your server.
Final Checklist
- Main music folder is organized by artist and album, with consistent file naming and proper tags.
- Media server is installed, pointed to the correct folder, and scanning completed without errors.
- Device connection is tested and you can browse and play songs from your phone or tablet.
- Smart playlists are created and working, and you have set a monthly maintenance reminder.
FAQ
What if I have music files on an external hard drive that is not always connected?
You should copy the files to your main music folder on your computer's internal drive. If you must use an external drive, connect it before turning on the media server, and make sure the drive letter or mount point is the same each time. Otherwise, the server may not find the files.
Can I stream my personal library to friends or family?
Yes, but only if you set up secure remote access, such as a VPN or a secure tunnel. Without that, you would be exposing your network to risk. Also, you both need to be online, and the server must be running on your computer.
How do I know if a file format is supported?
Check the documentation for your media server and streaming apps. Most support common formats like MP3, FLAC, and AAC. If you have a file in a rare format, try playing it with your client app. If it fails, convert the file to a common format using a free converter.