A Practical Guide To A Listening Room Layout That Improves Sound Without A Renovation
A practical step-by-step guide to a practical guide to a listening room layout that improves sound without a renovation, including preparation, instructions, common issues, tips, and next steps.

A Practical Guide To A Listening Room Layout That Improves Sound Without A Renovation
This guide shows how to improve the sound of an existing room without major construction. You will learn to position speakers and seating, manage reflections, and adjust listener placement using simple tools and strategic furniture moves. The focus is on practical steps that deliver measurable improvements, such as clearer dialogue and more balanced bass, by working with the room's current shape and features. No renovation is needed; all changes are reversible and budget-friendly.
Fast Answer
- Place your speakers and listening seat to form an equilateral triangle, with the speakers slightly angled toward you, to create a clear stereo image and central vocal focus.
- Use soft furnishings such as rugs, curtains, and upholstered chairs to reduce early reflections and echo, which often cause a hollow or muddy sound.
Before You Start
- Measure the room's length, width, and ceiling height with a tape measure, and sketch a simple floor plan showing doors, windows, and built-in features.
- Identify the listening position: usually the center of a sofa or chair where your head will be when seated upright during listening sessions.
- Gather a few portable items like a rug, heavy curtains or blankets, bookshelves, and cushions that can be moved without permanent changes.
- Download a free sound-level meter app on your phone, or use a handheld SPL meter, to help set speaker levels and detect acoustic anomalies.
Step-by-Step Instructions
Position Your Speakers Away from Walls
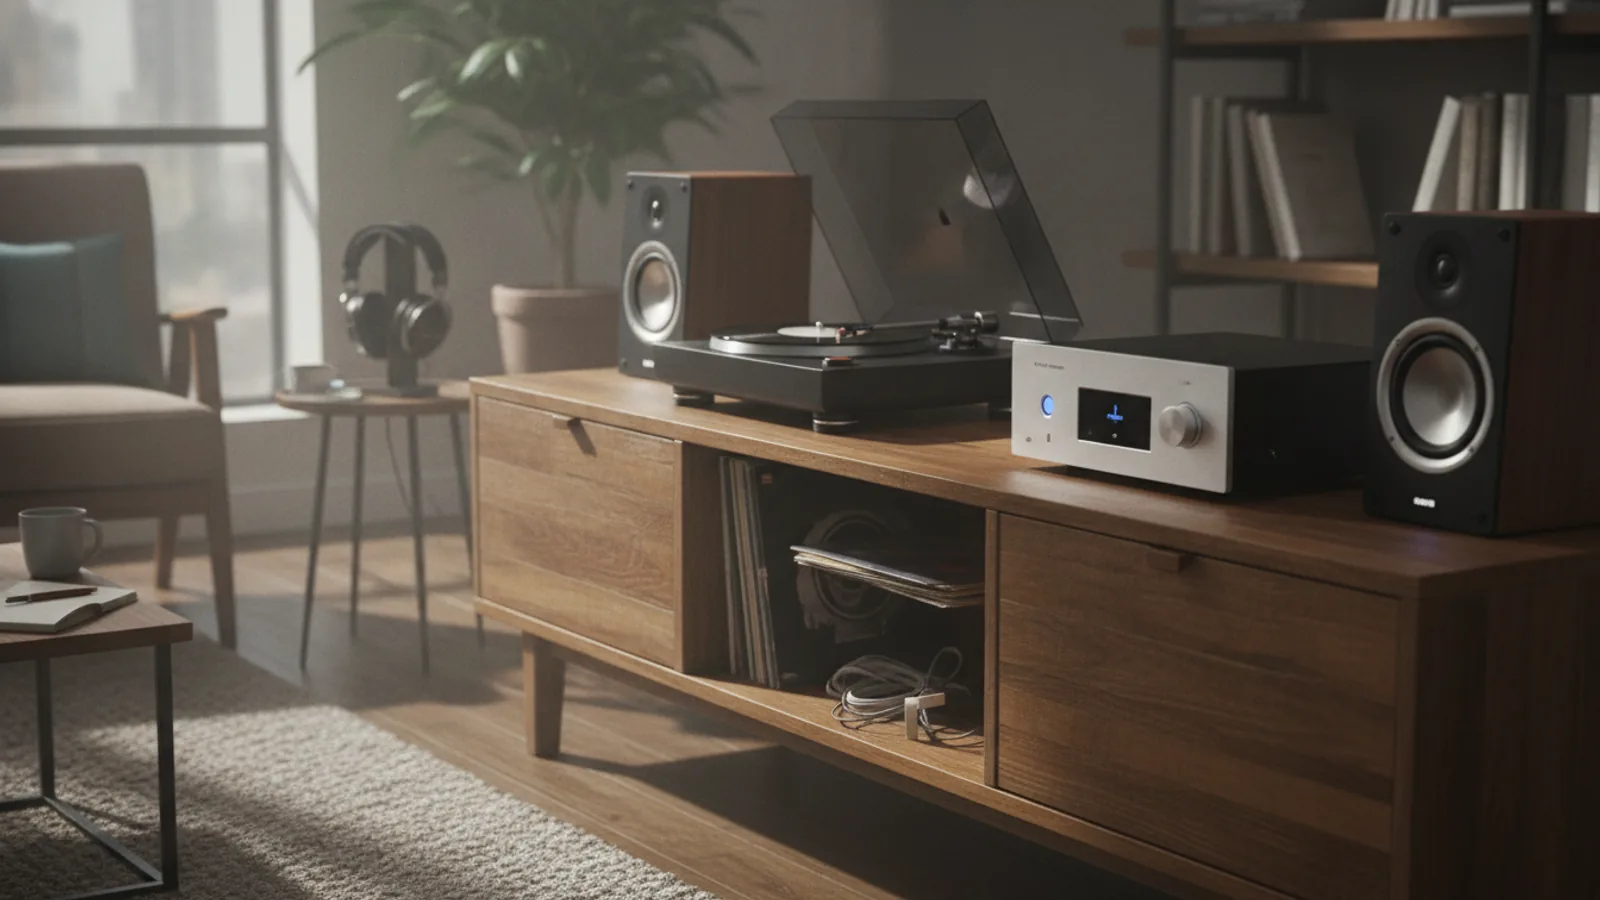
Start by moving your speakers at least 60 centimeters away from the rear wall and 30 centimeters from side walls. This reduces the amount of bass that is reflected and reinforced by the wall, which often causes a boomy or one-noted low end. Ensure both speakers are equidistant from the side walls and the rear wall, creating a symmetrical arrangement relative to your listening position. To check, use a tape measure or a piece of string to verify distances from the closest wall to the front of each speaker. Additionally, place speakers on stands or sturdy furniture so that the tweeters are at ear height when you are seated. This step is important because even a few centimeters can significantly alter the bass response and stereo imaging, making the difference between a muddled and a tight, defined soundstage.
Form an Equilateral Triangle with Your Seating
Position the speakers and your listening seat so that the distance between the two speakers equals the distance from each speaker to your head. This creates an equilateral triangle, which is the classic setup for a focused stereo image. Use a tape measure to place your chair such that the distance from the left speaker to your right ear is similar to the distance from the right speaker to your left ear. Slight toe-in (turning the speakers inward) can help direct the sound toward your ears, but keep the tweeters aligned with your shoulders at the listening position. After seating yourself, get up and check the distances with a measuring tape to confirm they are within a few centimeters. This arrangement ensures that sound arrives at both ears at the same time and level, which is essential for pin-pointing instruments and vocals in the soundstage. Even a few centimeters of asymmetry can cause the image to shift or blur.
Break Up Flat Vertical Surfaces with Absorbers
Identify large, hard surfaces between the speakers and your listening position—such as bare walls, windows, and floors—that can cause flutter echo and early reflections. Place a thick rug on the floor between you and the speakers, especially if the floor is wood, tile, or laminate. Hang heavy curtains, quilts, or moving blankets on side walls at the first reflection points, which you can find by having a helper slide a mirror along the wall while you sit in the listening seat and watch for the speaker reflection. For extra absorption, place a bookshelf filled with books along the wall behind the speakers, or use upholstered chairs and sofas to break up large surfaces. After adding absorbers, clap your hands from the listening position—if a clear, ringing slap subsides quickly, you have reduced the echo. This is important because uncontrolled reflections smear the stereo image, making dialogue less intelligible and music less detailed.
Place Your Listening Chair in the Ideal Spot
Move your listening chair so that your head is roughly one-third to one-half of the room's length away from the rear wall. This region often has the most balanced low-frequency response because it avoids the pressure peaks of resonances. To find the best spot, play a track with continuous bass (such as electronic music or a church organ) and slowly move the chair forward and backward, listening for a spot where the bass is full yet not overwhelming. Mark that position with a small piece of masking tape on the floor. Also, ensure your chair is centered between the side walls so that the left and right channels reach your ears symmetrically. If your chair is against the wall, pull it at least 30 centimeters away, as this can cause a bass null or cancellation that removes certain low notes. The check involves using a sound level meter app to see if bass response is more even when you shift position, but your ears are the final judge.
Optimize Speaker Toe-In and Height
Adjust the toe-in (inward angle) of each speaker so that the inner edges are aimed just past your outer ears. Start with a slight toe-in of about 5-10 degrees, then play a monologue or a track with a centered vocalist and adjust while listening for a focused central image. If the vocals seem diffuse or too wide, increase toe-in by a few degrees; if the sound becomes too narrow, decrease it. Also, set the height of the tweeters so they are at ear level when you are seated. You can raise speakers on stands, books, or sand-filled stands to achieve the correct height. To check, sit in your listening position and use a laser level or simply measure from the floor to your ear, then compare that with the tweeter height. This is important because tweeter height and angle directly affect the high-frequency response and the location of the sweet spot. A misaligned tweeter can make the sound dull or overly bright.
Even Out Bass Response with Subwoofer Placement
If you use a subwoofer, position it along the same wall as your main speakers, but not in a corner unless you can adjust the crossover and level effectively. Corners amplify bass excessively, causing one-note boom. Instead, try placing the sub one-third of the way along the wall, away from a side wall. Use a pink noise track or a subwoofer test tone and move the sub in small increments while listening for a smooth, even bass. Alternatively, try the 'crawling' method: place the sub where you sit, play a bass tone, and crawl around the room to find where the bass is most balanced, then put the sub at that location. After placement, set the crossover to 80 Hz if your speakers handle down to that frequency, and adjust the phase control until the bass seems to integrate with the main speakers. To check, listen to a track with a bassline and a kick drum, ensuring that the bass does not sound detached or boomy.
Quick Reference
| Situation | Action | Why it helps |
|---|---|---|
| I hear echoing or a hollow sound, especially when I clap my hands. | Add a large rug (at least 1.5 by 2 meters) on the floor between the speakers and you, and hang heavy curtains or moving blankets on the two side walls at the first reflection points, using a mirror to locate them. | Hard surfaces reflect high-frequency sound, causing multiple arrivals that smear the signal and reduce clarity, so absorbing those early reflections tightens the sound. |
| The bass sounds boomy and lacks definition, so individual bass notes are indistinct. | Move the speakers and any subwoofer away from walls and corners; reposition the subwoofer using the 'crawling' method and, if possible, increase the distance from the listener to the rear wall. | Proximity to boundaries boosts low frequencies in a narrow region, leading to excessive resonance; spreading the gear and avoiding corners distributes the bass more evenly. |
| Stereo image feels off-center or vocals appear to come from one side, even when you sit centered. | Measure the distance from the left and right speaker to your listening position with a tape, then adjust the speakers so that both distances are equal; also set them at the same height and toe-in, and use a test tone to confirm. | If the left and right paths differ in distance, sound arrives at your ears with a time delay, shifting the virtual image; symmetrical placement ensures balanced arrival times. |
Common Issues
- Reflective floor (wood or tile) creates a tinny, echo-laden sound.: Place a thick shag rug or carpet pad covering at least a square meter around the reflection area between the speakers and you; if a full rug is difficult, lay a heavy quilt or several folded blankets on the floor.
- Speakers placed too close to the rear wall result in booming, muddy bass.: Pull the speakers forward until they are at least 60 centimeters from the wall; if that is impossible, put a dense, angled absorption panel on the wall behind each speaker to divert bass energy, or use speakers with bass ports in the front.
- Symmetrical speaker placement is impossible due to doors or windows on one side.: Place a large, dense bookshelf or a set of acoustic panels on the non-symmetrical side to visually and acoustically balance the reflections, and use a mirror to adjust the first reflection point on that side to reduce side-to-side differences.
Advanced Tips
- Use a calibrated measurement microphone with a free software like Room EQ Wizard to measure the room's impulse response; this reveals specific reflection times and frequencies, allowing you to target absorbers more precisely.
- Add a couple of diffuser panels (such as a bookcase with staggered shelves) to the rear wall behind your listening position to scatter sound without absorbing too much, creating a sense of spaciousness without losing energy.
- Incorporate a few acoustic foam pads or rockwool panels into the corners behind your speakers to tame low-frequency buildup; place them diagonally across the corners rather than parallel to walls for better efficiency.
Final Checklist
- Speakers are at least 60 cm from rear wall and 30 cm from side walls, with tweeters at ear height.
- Listening chair forms an equilateral triangle with speakers; distances verified with a tape measure.
- First reflection points on side walls and floor are covered with absorptive material like rugs or blankets.
- Subwoofer (if any) is placed via the 'crawling' method and crossover, phase, and level are set so bass is even across the room.
FAQ
Do I need to buy expensive acoustic panels to see improvement?
No, you can achieve significant improvement with common household items. Heavy wool rugs, thick curtains, upholstered furniture, and even moving blankets or quilts provide effective absorption. Bookshelves filled with varied books act as diffusers. The key is to place them at reflection points and on the floor. Start with these low-cost solutions, listen, then if needed, you can consider commercial panels later.
How do I find the first reflection points on my side walls?
Sit in your listening position and have a helper hold a small mirror flat against the side wall. Slide the mirror along the wall until you can see the reflection of one speaker from your seat. That exact spot is the first reflection point for that speaker. Mark it with a pencil or a piece of painter's tape. Repeat for the other side. Place your absorbent material there (covering at least a 60 by 60 cm area).
What if my room is rectangular but I have a window on one side and a wall on the other?
This asymmetry can cause differences in reflections between left and right. You can compensate by placing a large, dense curtain over the window and a bookshelf or panel on the opposite wall, aiming to equalize the absorption. Also, ensure your seating is still centered between the side walls, and use the mirror method to treat the first reflection points on each side as best you can. The goal is to make both sides acoustically similar, so measure distances and adjust.