A Practical Guide To A First Vinyl Listening Setup For A Smaller Room
A practical step-by-step guide to a practical guide to a first vinyl listening setup for a smaller room, including preparation, instructions, common issues, tips, and next steps.

A Practical Guide To A First Vinyl Listening Setup For A Smaller Room
This guide walks you through setting up a complete vinyl record listening system in a smaller room, covering equipment placement, speaker positioning, turntable setup, and acoustic tweaks. You'll learn how to arrange your gear for the best sound without needing a large space, and how to troubleshoot common issues like vibration and echo. The focus is on practical, affordable steps that maximize audio quality and enjoyment, with clear checks to ensure each part of the setup is done correctly.
Fast Answer
- Place your turntable on a stable, level surface away from speakers to avoid vibration feedback.
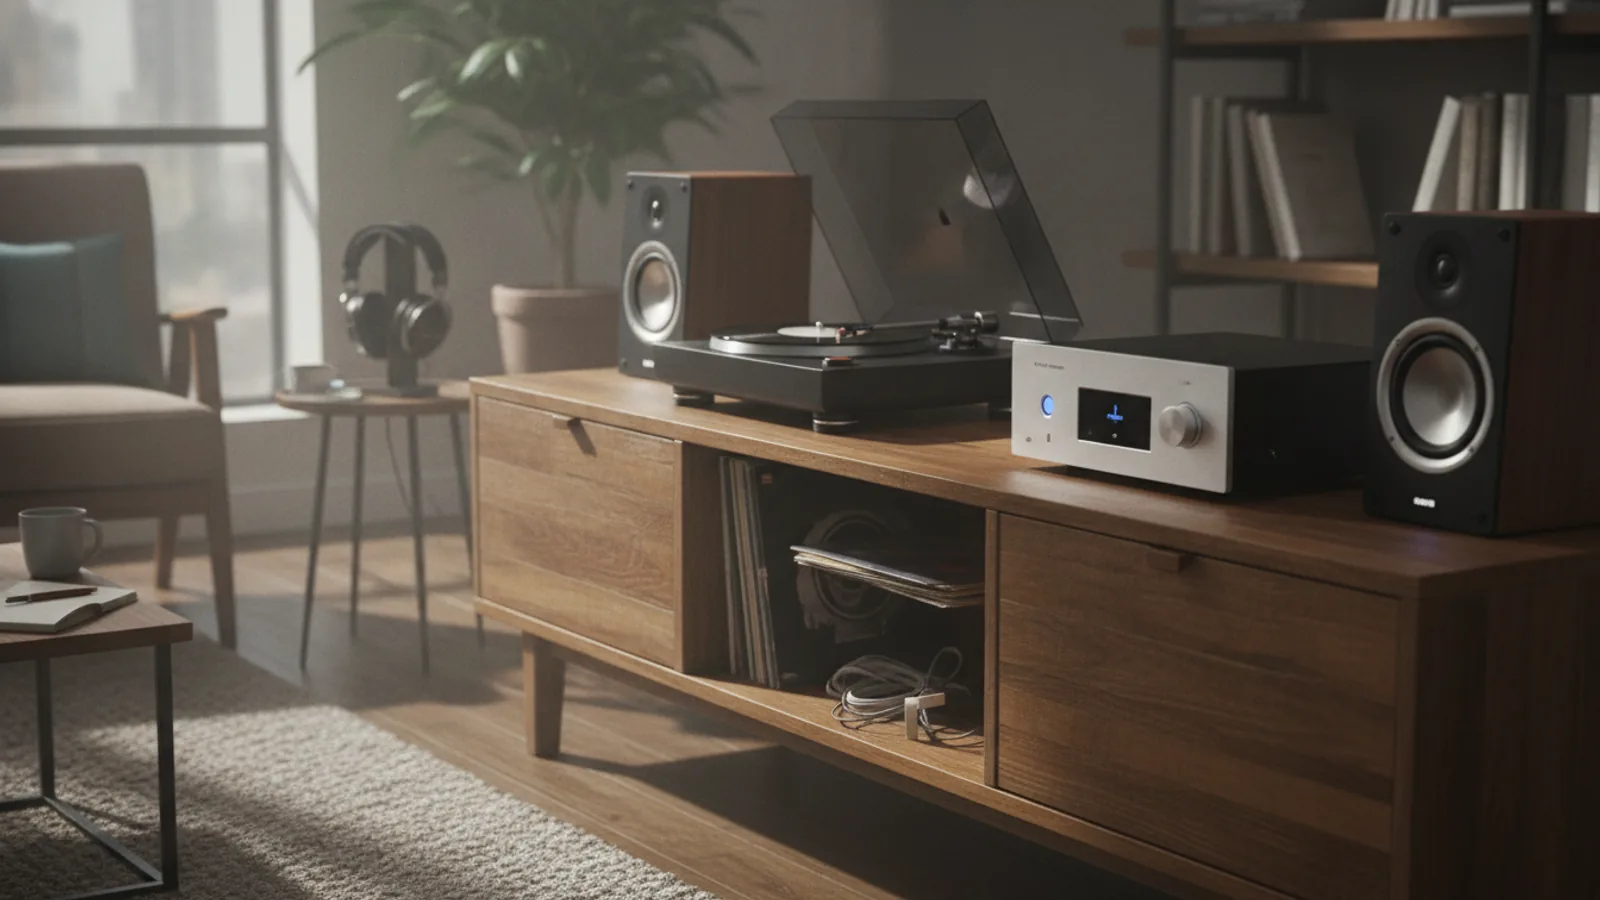
- Position speakers at ear level, forming an equilateral triangle with your listening spot, and pull them a few feet from walls.
Before You Start
- Choose a dedicated spot for your turntable, preferably a low cabinet or shelf that is sturdy and not in a walkway.
- Gather a spirit level, a cloth, a soft brush (for vinyl), and a plumb line or measuring tape for precise placement.
- Move speakers and any large furniture to the sides of the room to reduce early reflections and standing waves.
- If your room has hard floors, have a small rug or mat ready to place under the listening area to dampen surface reflections.
Step-by-Step Instructions
Choose the Right Surface and Location
Start by selecting a stable, level surface for your turntable. A dedicated audio stand or a thick wooden cabinet works well, but avoid lightweight shelves or tables that wobble. Place the turntable away from doors and windows to minimize drafts and accidental bumps. Ideally, the surface should not be against a shared wall if you live in an apartment, as footfall from neighbors can cause vibration. Use a spirit level to check that the surface is perfectly horizontal; if it's not, adjust the feet of the furniture or add thin shims. This initial step is critical because an unstable or uneven base leads to tracking errors, which cause distortion and can skip grooves. Also, leave at least 6 inches of clearance around the turntable platter to prevent accidental contact. Finally, ensure the turntable is not exposed to direct sunlight, which can warp records and degrade the plinth over time.
Set Up Your Speakers Correctly
Position your speakers so that they form an equilateral triangle with your main listening spot. Start by measuring the distance from your listening chair to the midpoint between the speakers. Then, place each speaker the same distance from that midpoint, and turn them slightly toward you. The tweeters should be at ear level when you're seated. If they are not, use stands or shelves to raise them, but avoid placing them on the same surface as the turntable. For smaller rooms, pull the speakers at least 1 foot away from the back wall and 6 inches from side walls to reduce bass buildup and reflections. If you have a subwoofer, place it near the front wall but not in a corner, and set the crossover at a moderate point. After setting positions, play a familiar track and walk around the room to identify any boomy or dead spots. Adjust the speakers in small increments until the sound is balanced.
Connect the Turntable to an Amplifier or Hi-Fi System
Check the back of your turntable for a phono preamp switch. If it has one, set it to 'Phono' if your amplifier has a phono input, or 'Line' if your amplifier lacks a dedicated phono stage. If your turntable does not have a built-in preamp, you must connect it to an external phono preamp before feeding the signal to any standard aux input. Use high-quality RCA cables, keeping them as short as practical to avoid signal degradation. Ensure the ground wire is connected from the turntable to the ground screw on your amplifier or preamp to prevent hum. After making connections, start with the volume on your amplifier at zero, then play a record and slowly raise the volume to a comfortable level. This check ensures the signal chain is working and there is no ground hum. If you hear a persistent hum, re-check the ground wire and cable connections.
Balance the Tonearm and Set Tracking Force
Before playing any record, you must balance the tonearm. First, locate the counterweight at the back of the tonearm. Rotate it slowly until the tonearm floats parallel to the platter without falling to the record or rising. Once balanced, set the dial to '0' on the counterweight (if using a magnetic/stylus force gauge, adjust accordingly). Then, set the tracking force according to your cartridge's specified range, usually between 1.5 and 2.5 grams. Always apply the recommended tracking force for your specific cartridge model, which is typically printed in the manual or on the cartridge body. Use an accurate scale to set the force, rather than guessing, because improper tracking force leads to record wear and distortion. After setting, verify that the tonearm remains level when you release it and that the stylus lands in the groove without skipping. If the arm drifts inward or outward, adjust the anti-skate to match.
Calibrate Anti-Skate and Turntable Speed
Anti-skate adjusts the force that pulls the tonearm outward, compensating for the inward pull of the spinning record. Set the anti-skate dial to roughly the same number as your tracking force, then listen for any channel imbalance or distortion. Play a test tone or a track with a sustained vocal; if the sound is clean and centered, the setting is close. You can fine-tune by adjusting slightly and listening. Next, check the turntable's speed: playing a 33 ⅓ RPM record, use a stroboscopic disc (often included) under a fluorescent light to see if the dots appear still. If they move, adjust the speed trim (if available) until they are stable. A consistent speed is vital for correct pitch and smooth playback. If your turntable has a belt, ensure it isn't slipping or stretched. For belt drive, let the stylus land on the groove after the platter has reached full speed to avoid extra wear.
Prepare Your Records and Clean Them Properly
Before each play, remove dust and debris from the record. Use an anti-static brush, holding it gently on the surface while the platter spins, starting from the inside and moving outward. For deeper cleaning, use a record-cleaning solution applied with a microfiber cloth, following the cloth's instructions. Always place the record on the platter by its edges, avoiding fingerprints on grooves. After every side, return the record to its inner sleeve, and store it vertically in a cool, dry place. This care prevents dust from embedding in the grooves, which can cause pops and hisses. A well-cleaned record not only sounds better but also extends the life of your stylus. If you notice persistent surface noise, consider a thorough wet cleaning, but let the record dry completely before playing. This final step ensures that the mechanical setup you've perfected is not undermined by a dirty record, which can also cause the stylus to jump or skip.
Quick Reference
| Situation | Action | Why it helps |
|---|---|---|
| You hear a low hum coming from your speakers when the turntable is on. | Check the ground wire: ensure it's securely connected to the grounding terminal on your amplifier or preamp, and that the connection at the turntable is tight. If the hum persists, move the turntable away from other electronics and power cords. | Ground loops are a common cause of hum; a proper ground connection eliminates electric interference. |
| The needle skips or jumps when playing a record that looks clean. | Recheck the tracking force using a scale and adjust it to the recommended range for your cartridge. Also, ensure the anti-skate matches the tracking force. If the problem continues, inspect the stylus for debris and clean it gently. | Incorrect tracking force or anti-skate causes poor groove contact, leading to skipping; a clean stylus ensures proper reading. |
| The sound seems to come from one side more than the other. | Verify that both speakers are equidistant from your listening position and that the tweeters are aligned at ear level. Use an audio balance test track to check channel balance, and if needed, swap speaker cables to confirm both channels are working. | Unequal speaker placement or a faulty cable causes sound imbalance; confirming each channel works helps isolate the issue. |
Common Issues
- Booming or muddy bass in a small room.: Move speakers at least 1-2 feet away from walls and corners. Add soft furniture like a sofa or bookshelf to absorb low frequencies. Use the tone controls or room correction if available to reduce bass output around 80-120 Hz.
- Pops and clicks during playback even on new records.: Clean the record thoroughly using a carbon fiber brush and mild solution. Ensure the stylus is clean, as dust accumulation on the needle causes clicks. If the record is warped, press it flat between glass plates and leave it in the sun for a few minutes.
- The turntable picks up floor vibrations causing rumble.: Place the turntable on a thick rubber mat or specially designed isolation feet. If possible, move it to a different shelf or use a wall-mounted platform. Avoid placing it directly above your subwoofer or near large speakers.
Advanced Tips
- For more precise speaker placement, use a laser distance measurer to ensure exact distances from the listening position and side walls.
- Add a small rug or a tapestry on the wall opposite your speakers to reduce reflections and tame harsh highs.
- If you have a table that resonates, place the turntable on a heavy granite slab or a concrete block for better isolation.
Final Checklist
- Turntable placed on stable, level surface at least 3 feet from speakers.
- Speakers positioned in an equilateral triangle with ear-level tweeters and a few feet from walls.
- Tonearm balanced, tracking force set, and anti-skate adjusted correctly.
- All connections made properly, ground wire connected, and a test record plays without hum or distortion.
FAQ
Can I use bookshelf speakers on a desk for a vinyl setup?
Yes, but they should be elevated so the tweeters are at ear level. Place them on stands or sturdy stacks of books, and ensure the desktop is not resonant. You can also place a small pad underneath to reduce vibrations.
What is the ideal speaker placement in a small room?
position speakers along the shorter wall, pulling them at least a foot from the back wall and a few feet from side walls. Toe them in toward your listening spot. This minimizes bass buildup and improves stereo imaging.
How often should I clean my records and stylus?
Clean records with a dry brush before every play to remove new dust. For deep cleaning, do it monthly if you play frequently. Clean the stylus with a soft brush every 20 hours of use or whenever you see dust on the needle.