Common Mistakes When Setting Up A Compact Desk Audio Setup For Music And Calls
A practical step-by-step guide to common mistakes when setting up a compact desk audio setup for music and calls, including preparation, instructions, common issues, tips, and next steps.
Common Mistakes When Setting Up A Compact Desk Audio Setup For Music And Calls
Setting up a compact desk audio system for both music and calls requires attention to placement, connectivity, and software settings. Common mistakes include poor speaker positioning, overlooking room acoustics, and mismanaging input/output devices. This guide walks through six key steps to avoid these pitfalls, ensuring clear audio for calls and enjoyable music playback. It covers physical setup, connection management, system configuration, and testing, with practical tips and a quick reference for troubleshooting.
Fast Answer
- Place speakers at ear level and form an equilateral triangle with your head for balanced sound and clear call audio.
- Set your operating system's default input and output devices to your desk audio gear, and test them before important calls.
Before You Start
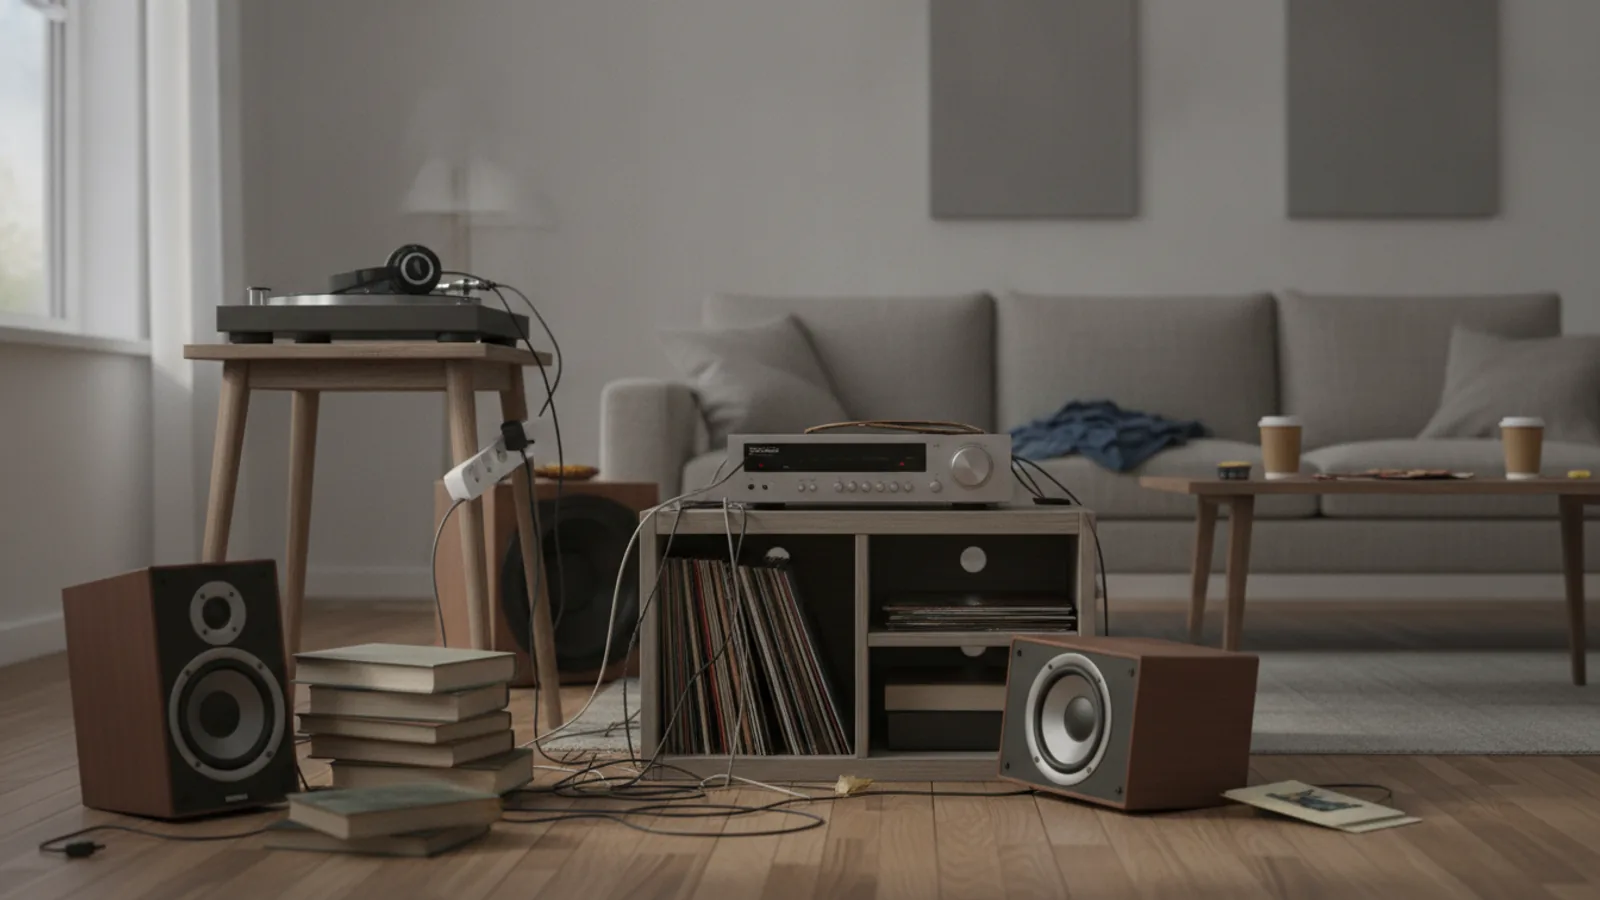
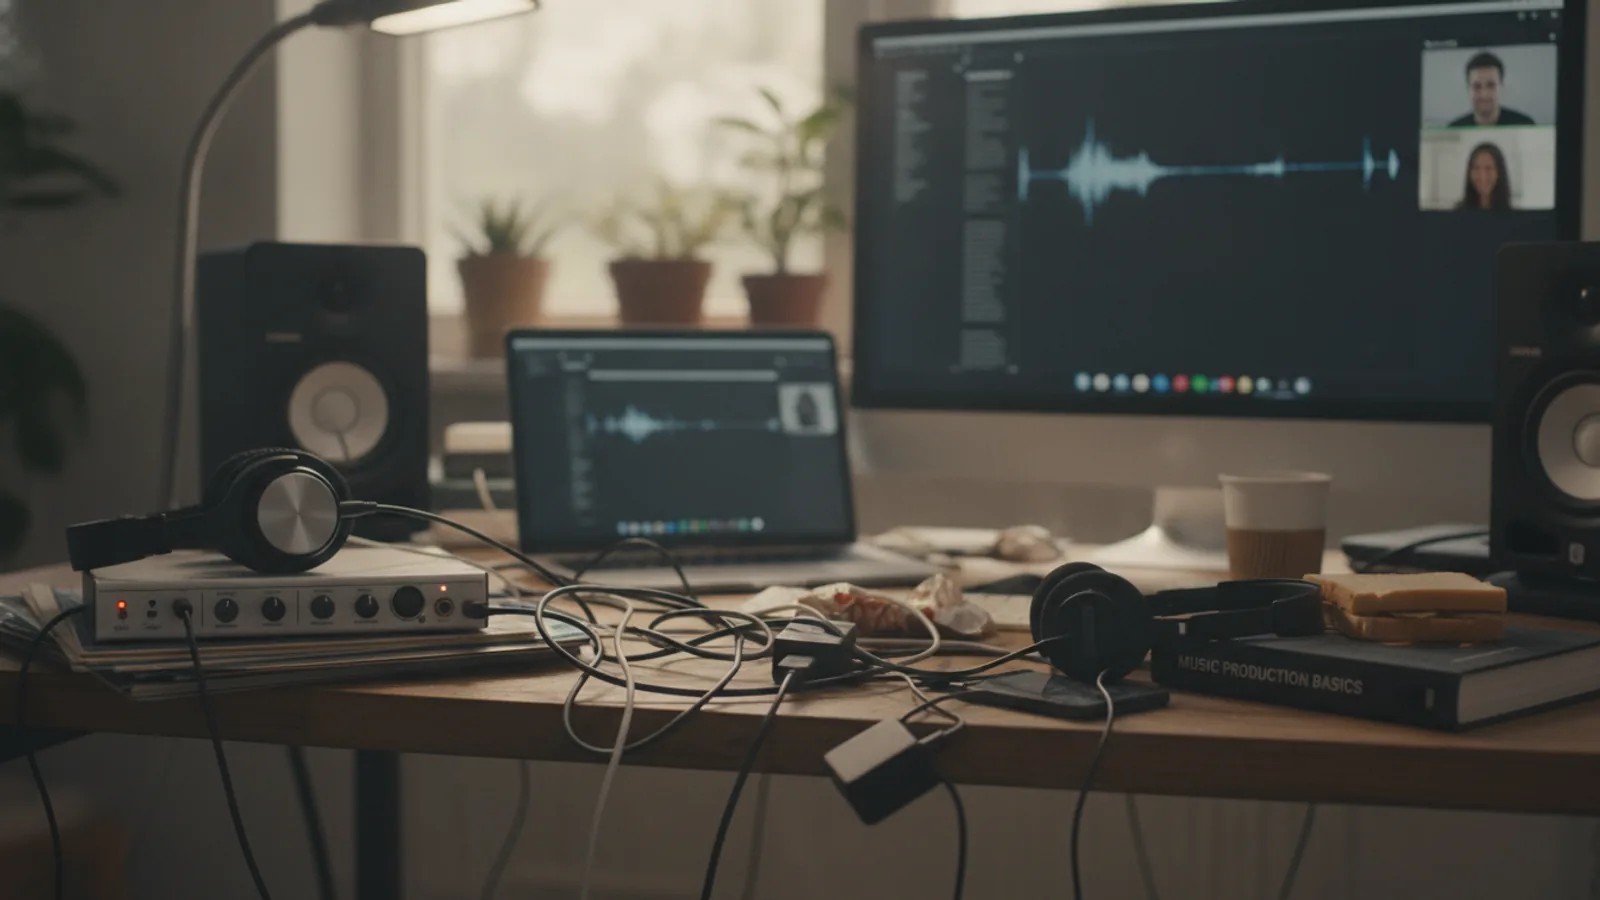
- Clear your desk of any objects that could block speaker sound waves or vibrate, such as stacks of papers, empty cups, or small decorations.
- Measure the distance from your seated head position to where speakers will sit, aiming for about three feet between you and each speaker.
- Check the side and back of your desk for cable management options like clips, ties, or a sleeve to keep power and audio cables tidy and away from foot traffic.
- Identify all ports on your computer and audio interface, noting which are for audio input, audio output, and power, so you can choose the right cables.
Step-by-Step Instructions
Position Your Speakers Correctly
Begin by placing your speakers on your desk, facing your seated position. Aim to create an equilateral triangle between your head and the two speakers, with the speakers angled toward your ears. This means the distance between the two speakers should be about the same as the distance from each speaker to your head. Adjust the height so the tweeters (the smaller drivers) are at ear level. If the speakers are too low, use sturdy stand or books to raise them. This positioning ensures that high frequencies reach your ears directly, giving you a clear and accurate sound. In contrast, if speakers are too high, low, or badly angled, you will hear a dull and phase-cancelled audio, which can make music sound hollow and call directions hard to follow. After placing, sit in your chair and check that you feel the sound is centered between the speakers.
Connect Audio Cables and Power
Now that the speakers are placed, connect them to your computer using the appropriate cables. For most desk setups, you will have a 3.5mm auxiliary cable or USB cable. Plug one end into the speaker (often labeled 'audio in' or 'PC') and the other into your computer's headphone or line-out jack. If you have a separate microphone that is not built into your webcam headset, plug that into the microphone input. Also connect power cables to the speakers and any interface, ensuring they are plugged into a surge protector. After all connections are made, turn on the speakers and any audio interface. Check that the speakers pass a simple test: play a song or a system sound and see if you get clear audio. If you hear nothing, check the connection and ensure the speaker is set to the correct input source. This step anchors the physical link between your devices, and getting it right prevents surprises like having sound only on one side or a hum from loose connections.
Select the Default Playback and Recording Devices
Open your computer's sound settings. On Windows, right-click the speaker icon in the taskbar and select 'Sounds', then go to the 'Playback' and 'Recording' tabs. On macOS, open 'System Settings' and choose 'Sound'. In the playback section, locate your external speaker model and click 'Set Default'. For recording, locate your external microphone or the integrated mic of your webcam and click 'Set Default'. Ensure they are not set to disabled by right-clicking and enabling if needed. Then, open the volume mixer (Windows) or output volume control (macOS) and check that the volume is not muted and is set to a reasonable level. This designation tells your operating system to route all audio to your chosen gear, so you do not accidentally send sound to internal laptop speakers or pick up sound from the built-in mic. After setting, play a test sound and talk to a friend or use a voice recorder to confirm that audio is coming through the intended devices.
Adjust Sound Levels and Enhancements
Before starting calls or playing music, fine-tune the sound levels. Open the volume mixer (Windows) or audio settings (macOS) and set the system volume to about 80% of the maximum slider. Then, use the volume knobs on your speakers to set a comfortable listening level. For calls, test the microphone input level: in Windows recording settings, speak normally and observe the level meter; adjust the mic boost if it peaks too high or stays too low. On macOS, go to Sound Input and check the input volume. If your speakers have built-in amplifiers, ensure they are not overdriven; a moderate volume reduces distortion. Also, disable any 'audio enhancements' or 'sound effects' like bass boosting or virtual surround, as these can alter the sound and make voices sound unnatural. Many computers have effects enabled by default; turning them off provides a cleaner signal for both music and calls. Finally, play a familiar song and listen for harsh treble or bass, and adjust the EQ only if necessary.
Test Your Call Audio and Music Playback
Now that settings are adjusted, do a comprehensive test. Use a recognized video call service or a voice recorder to test the microphone: speak at a normal volume and replay the recording to check clarity and loudness. If the voice sounds muffled, adjust the microphone position closer to your mouth (about six inches away) and off to the side to reduce popping. For music, play a few tracks from different genres, including ones with bass and vocals, and listen for distortion, tinny sound, or off-balance stereo. Walk around your desk area and note if the sound changes dramatically when you move your head; this may indicate a speaker placement issue. Also, test the call audio by joining a call with a friend or a test service and asking them if they can hear you clearly and if you can hear them without echo. This verification catches any remaining issues before an important meeting or a listening session.
Manage Cables and Desk Tidiness
Finally, organize the cables to avoid tangles and stress on connectors. Use cable clips or ties to route power and audio cables along the back edge of your desk, keeping them away from where your feet or chair might snag. If cables are longer than needed, coil the excess neatly and secure it with a twist tie, but do not bend them sharply at the connector. Ensure that the power cable for the speakers has a solid connection to both the wall and the speaker, and that the audio cable is not pulled taut. After tidying, give a gentle tug to each cable to ensure it is secure. This helps prevent accidental disconnections when you reach for the mouse or keyboard, and also reduces electrical interference from loosely hanging wires. A clean desk setup is not just about appearance; it also improves your ability to access the speakers and adjust settings without knocking things over, which in turn helps maintain stable audio quality.
Quick Reference
| Situation | Action | Why it helps |
|---|---|---|
| You hear sound only from one speaker | Check both ends of the audio cable and ensure they are fully inserted. Then swap the left and right audio cables or speaker positions to see if the problem follows the speaker or the cable. | Loose connections or a damaged cable are common causes; swapping helps identify if the issue lies with a specific component. |
| People say you sound far away or quiet during calls | Move your microphone closer to your mouth, about six inches away and slightly to the side, and raise the input volume in system settings until the level meter shows around 70% when you speak normally. | The correct distance and input gain ensure your voice is captured clearly without picking up excessive room noise. |
| Music sounds muddy or boomy, especially bass tracks | Pull your speakers away from the wall and any corners by at least two inches, and angle them so they face your ears directly, then enable any 'flat' or 'direct' sound mode on the speaker if available. | Wall proximity causes reflections that exaggerate low frequencies; moving them away and angling them reduces bass build-up and improves clarity. |
Common Issues
- Echo or feedback during video calls: Lower the speaker volume, reduce the microphone boost, or move the microphone farther from the speakers. Additionally, check if your video call app has echo cancellation enabled and turn it on.
- No sound from speakers even though they are on: Verify the speakers are set as the default playback device in your system settings, and check that the volume is not muted. Also, ensure the audio cable is connected to the correct output port on your computer and speaker.
- Crackling or static in audio: Reseat all cable connections, and try a different audio cable. Ensure cables are not near power adapters or other electronics, and check that the speakers are not placed on a vibrating surface like a wobbly desk or next to a fan.
Advanced Tips
- Consider using a dedicated external audio interface, even a basic one, to bypass the computer's internal sound card, which often has weaker analog output that can pick up electrical noise.
- Set the system volume to about 80% and control loudness from your speakers or amplifier, as running the computer's volume too high can clip the digital signal and cause distortion.
- Use a measurement microphone or a calibration app to measure your room's frequency response and apply a corrective EQ curve, but this is optional; first focus on speaker placement.
Final Checklist
- Speakers placed at ear level, forming an equilateral triangle with your head, and not jammed against the wall or corner.
- All audio cables securely connected to both the computer and speakers, and power cords plugged into a surge protector.
- Your speakers and microphone are set as the default playback and recording devices in your operating system's sound settings.
- You have performed a test call and listened to music at a comfortable volume, verifying that there is no echo, buzz, or distortion.
FAQ
Why do my speakers sound tinny or hollow?
A tinny or hollow sound often comes from placing speakers too far apart or too low, so the tweeters are not aligned with your ears. Move them so the tweeters are at ear level and angle them inward toward your head. Also, make sure they are not backed into a large reflecting surface, and check your audio settings for any enabled sound effects that might cut out low frequencies.
How do I stop the microphone from picking up room noise?
Use a directional microphone if possible and position it close to your mouth, a few inches off to the side. In your operating system, lower the input volume and enable any noise suppression feature if available. Additionally, reduce background sounds from windows, fans, or other electronics, and consider using a background noise removal app or feature in your call software.
Can I use the same speakers for music and calls without switching cables?
Yes, as long as your speakers are set as the default playback device, all audio (music and calls) will route to them. Your computer will mix call audio and music playback unless you mute one. To avoid any confusion, test that your microphone works properly with the same setup, and adjust your call app to use the same default devices.