Common Mistakes When Setting Up A Home Audio System For Clear Everyday Music Listening
A practical step-by-step guide to common mistakes when setting up a home audio system for clear everyday music listening, including preparation, instructions, common issues, tips, and next steps.
Common Mistakes When Setting Up A Home Audio System For Clear Everyday Music Listening
Setting up a home audio system for clear everyday music listening often fails due to overlooked basics like speaker placement, room reflections, and source quality. This guide walks through the most common mistakes, offering practical fixes for each. You will learn how to position speakers, handle bass, manage reflections, choose the right source, and set volume levels properly. By following these steps, you can transform a frustrating setup into a system that delivers balanced, pleasant sound for daily enjoyment without expensive upgrades or complicated gear.
Fast Answer
- To avoid muddy sound, keep speakers at least a foot away from walls and angle them toward your seating position, with tweeters at ear height.
- Before buying new gear, fix the basics: clean your room of clutter, place speakers symmetrically, and use a subwoofer crossover around 80 Hz to reduce boominess.
Before You Start
- Measure your room: use a tape measure to note the distance from your main listening spot to each speaker and to the walls behind and beside the speakers. This helps you plan placement.
- Clear the area around speakers: remove books, vases, or other objects on shelves or tables that could vibrate or block sound. Aim for a clear path from speaker to ear.
- Choose your source quality: for everyday listening, use a high-quality streaming service set to high bitrate or play CDs/FLAC files. Avoid low-bitrate Internet radio or compressed files.
- Set aside time for testing: plan to spend at least 30 minutes playing a variety of music—vocals, bass-heavy tracks, acoustic—to evaluate your setup and tweak positions.
Step-by-Step Instructions
Position Your Speakers Away from Walls
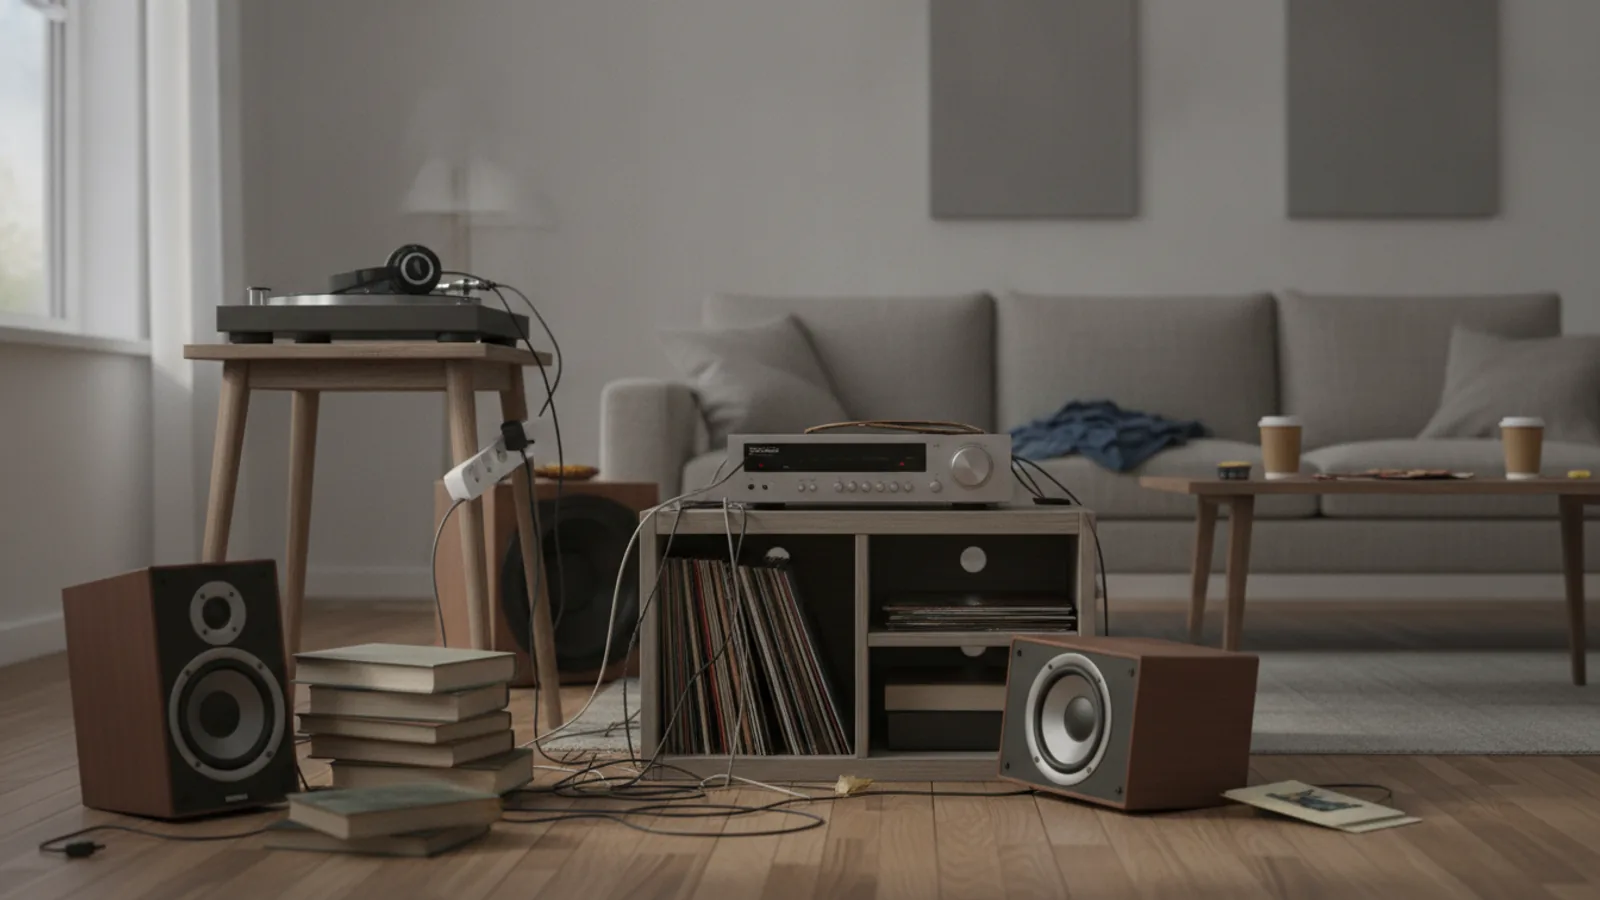
Start by placing your front left and right speakers at least one foot away from the back wall and two feet from side walls. If your speakers are rear-ported (the hole is on the back), they need even more space—two feet or more—to let bass waves develop properly. Angles matter too: point the speakers directly at your listening position or slightly inward, a practice called toe-in. Aim for an equilateral triangle between you and the two speakers, with each speaker the same distance from you. This creates a focused stereo image. To check, play a song with a clear central vocal and see if the voice appears between the speakers, not to one side. If it doesn't, adjust distances or toe-in. The reason this matters is that walls reflect sound; too close and bass becomes boomy, and stereo imaging blurs. A simple tape measure and a few minutes of adjustment can dramatically improve clarity without spending any money.
Elevate Speakers to Ear Height
Ideally, the tweeter (the small driver that produces high frequencies) should be at the same height as your ears when you are seated in your usual listening position. If your speakers are bookshelf models placed on a low table, you are probably hearing a dull sound because high frequencies are angled at your chest or knees. Use sturdy stands or shelves, and if necessary, place small pieces of Blu-Tack or rubber feet under the speakers to prevent vibration and tilt them slightly upward. For floor-standing speakers, check if they have adjustable spikes for leveling. After adjusting, play a track with acoustic guitar or cymbals; these should sound crisp and detailed. If they sound muffled, raise the speakers higher. A quick test: clap your hands near the tweeter height and then move your ear to that height; the difference is noticeable. The reason for this is that high frequencies are directional and attenuate quickly; if they are not aimed at your ears, you lose detail and openness.
Manage Room Reflections with Soft Furnishings
Bare walls, hard floors, and large windows reflect sound waves, causing echoes that smear the clarity of music. To tame reflections, place soft items in the room: a rug on a hard floor, curtains over glass windows, or a bookshelf filled with books along a bare wall. Focus on the wall behind your speakers and the side walls near them—these are the first reflection points. You can find a reflection point by sitting in your listening spot and having a helper move a mirror along the wall; wherever you see a speaker in the mirror, that is a first reflection point. Put a soft panel, a thick blanket, or even a large cushion at that spot. Also, consider placing a soft sofa or armchair behind your listening position to absorb rear reflections. Play a spoken-word podcast or a simple vocal track; if it sounds like the person is in a tin can, you need more absorption. This step directly reduces echo and allows you to hear the original recording rather than the room's coloration.
Set the Subwoofer Crossover and Level
If you use a subwoofer, the crossover frequency determines which sounds go to the sub and which go to the main speakers. For most home systems, set the crossover to 80 Hz—this is a common THX standard and works well for music. Your receiver may have a bass management menu where you can set this. If you have small satellite speakers, you might need a higher crossover (100–120 Hz) to avoid overdriving them. Set the subwoofer's volume to blend seamlessly; you should not notice the sub as a separate source. Play a bass-heavy song and listen for 'one-note bass' where every bass note sounds the same—this indicates the sub is too loud or the crossover is too high. Adjust the volume in small increments and listen from your main seat. Also, avoid placing the sub exactly halfway along a wall or in a corner, as this often causes boomy peaks. Try a few positions along the front wall, about a third of the way from a corner, and listen for the most even bass. This step ensures balanced low-end response without overwhelming the midrange.
Choose a Quality Source and Match Volume Levels
Your music source matters: if you stream from a service, select the highest quality setting available in your device or app. For example, many services offer a 'high' or 'lossless' option—enable it if your data plan and device allow. Avoid playing music from a low-bitrate file or a Bluetooth connection if you want clarity; try a direct wired connection from your phone or computer to the receiver. Also, match the volume levels: when comparing two speakers or settings, play the same track at the same perceived volume, because louder sounds often seem 'better' but actually mask distortion. If you use a receiver, make sure the volume is not too low, because many systems need a certain level to drive speakers efficiently. You can use a 'quiet' track and slowly turn up the volume to see if the sound stays clear or gets harsh. This step eliminates a major source of perceived quality loss that is not really a hardware fault.
Check Phasing and Balance Settings
Incorrect speaker phasing means your left and right speakers are wired out of phase (+ and - reversed on one speaker). This causes bass cancellation and a woolly, unfocused sound. To test, play a mono track (or switch your receiver to mono) and listen from the center: if the sound seems to come from all around rather than from a phantom center image, you may have a phase issue. Double-check that all speaker wires are connected with correct polarity: the red (positive) terminal on the speaker should receive the positive wire from the amplifier. Also, verify your balance control is centered; if turned to one side, you'll favor that speaker. Many receivers have a 'speaker configuration' menu where you can check distances and levels per channel—run any test tone and use an SPL meter or just your phone's microphone app to set levels. Equal balance ensures that the stereo image is centered, and proper phasing ensures bass response is full. This step is easy to overlook but vital for a natural soundstage.
Quick Reference
| Situation | Action | Why it helps |
|---|---|---|
| Vocals sound muffled or buried in the mix. | Raise tweeters to ear level and tilt them slightly upward, then toe in speakers to point directly at your listening position. Check that no furniture or plants block the path between tweeter and ear. | High frequencies are directional; if they are not aimed at your ears, they lose energy and become dull. Correct height and angle restore clarity. |
| Bass is boomy or overpowering. | Pull speakers at least one foot from the back wall and two feet from corners. If using a subwoofer, lower its volume and set crossover to 80 Hz, then experiment with a position not in a corner. | Walls and corners amplify bass due to boundary effects. Reducing wall proximity and adjusting sub settings tames the boom and reveals more detail. |
| Sound seems to be 'all over the room' with no center image. | Check that all speaker wires are connected with correct polarity (+ to +, - to -). Run a mono test and center the balance setting. Also, ensure both speakers are equidistant from your listening spot. | Phasing errors cancel bass and destroy stereo localization. Correct wiring and balance create a solid phantom center. |
Common Issues
- Buzzing or rattling noises during bass-heavy music.: Secure loose objects on or near speakers, tighten speaker binding posts, and place isolation pads or Blu-Tack under speakers to damp vibration. If buzzing continues, check that speaker grilles are not whispering.
- Harsh or 'shouty' sound at moderate volume.: Tone down treble settings (if available) or move speakers away from reflective surfaces. Add softer furnishing near reflection points to reduce high-frequency glare. Also, check that your receiver's 'loudness' or 'enhance' modes are off.
- One speaker sounds quieter than the other.: Use a balance test in your receiver's settings, or swap the left and right speaker cables at the amp to see if the problem moves to the other side. If it moves, the issue is the original speaker or its wire; try a different cable or clean the terminals with a contact cleaner.
Advanced Tips
- If your receiver has room correction software (like a built-in mic), run it after making physical adjustments. It can fine-tune distance and level, but be aware that some modes add coloration; listen critically and disable if it sounds unnatural.
- For serious listening, listen in the 'stereo' or 'direct' mode rather than a multichannel upmixer; these often add artificial reverb that can make music sound distant.
- Invest in a set of speaker stands that have small spikes or rubber feet to decouple from the floor; this reduces vibrations that can blur dynamics.
Final Checklist
- Speakers are at least one foot from walls, two feet from corners, and are exactly equidistant from your main listening seat.
- Tweeters are at ear height (or tilted up), and toe-in is symmetrical so that the soundstage feels centered and open.
- Room has sufficient soft furnishings (rug, curtains, or furniture) to tame first reflections near speakers and on the rear wall.
- Subwoofer crossover is set to 80 Hz (or appropriate) and level blends with mains, with no booming or thin sound.
FAQ
What is the most common mistake people make when first setting up a home audio system?
The most common mistake is placing speakers directly on a shelf or floor, often against a wall, and not at ear height. This causes muffled highs and boomy bass because reflections and boundary effects color the sound. Proper placement—away from walls and at ear level—is the single biggest improvement you can make.
Do I need expensive cables or accessories for clear sound?
No, you don't need expensive 'audiophile' cables. Standard speaker wire of adequate gauge (like 16 AWG for runs under 10 meters) works fine. What matters more is clean connections and proper placement. Overpriced cables are a common mistake; invest your budget in better positioning or room treatment instead.
Why does my system sound fine at low volume but terrible at high volume?
This often happens because of room resonances and speaker distortion at higher output. Boomy bass can overwhelm when loud, or tweeters can become harsh if they are overdriven. Check your speaker placement and try slightly tuning down bass or treble controls. Also, ensure your amplifier is not clipping—back off the volume a notch.